 Pin
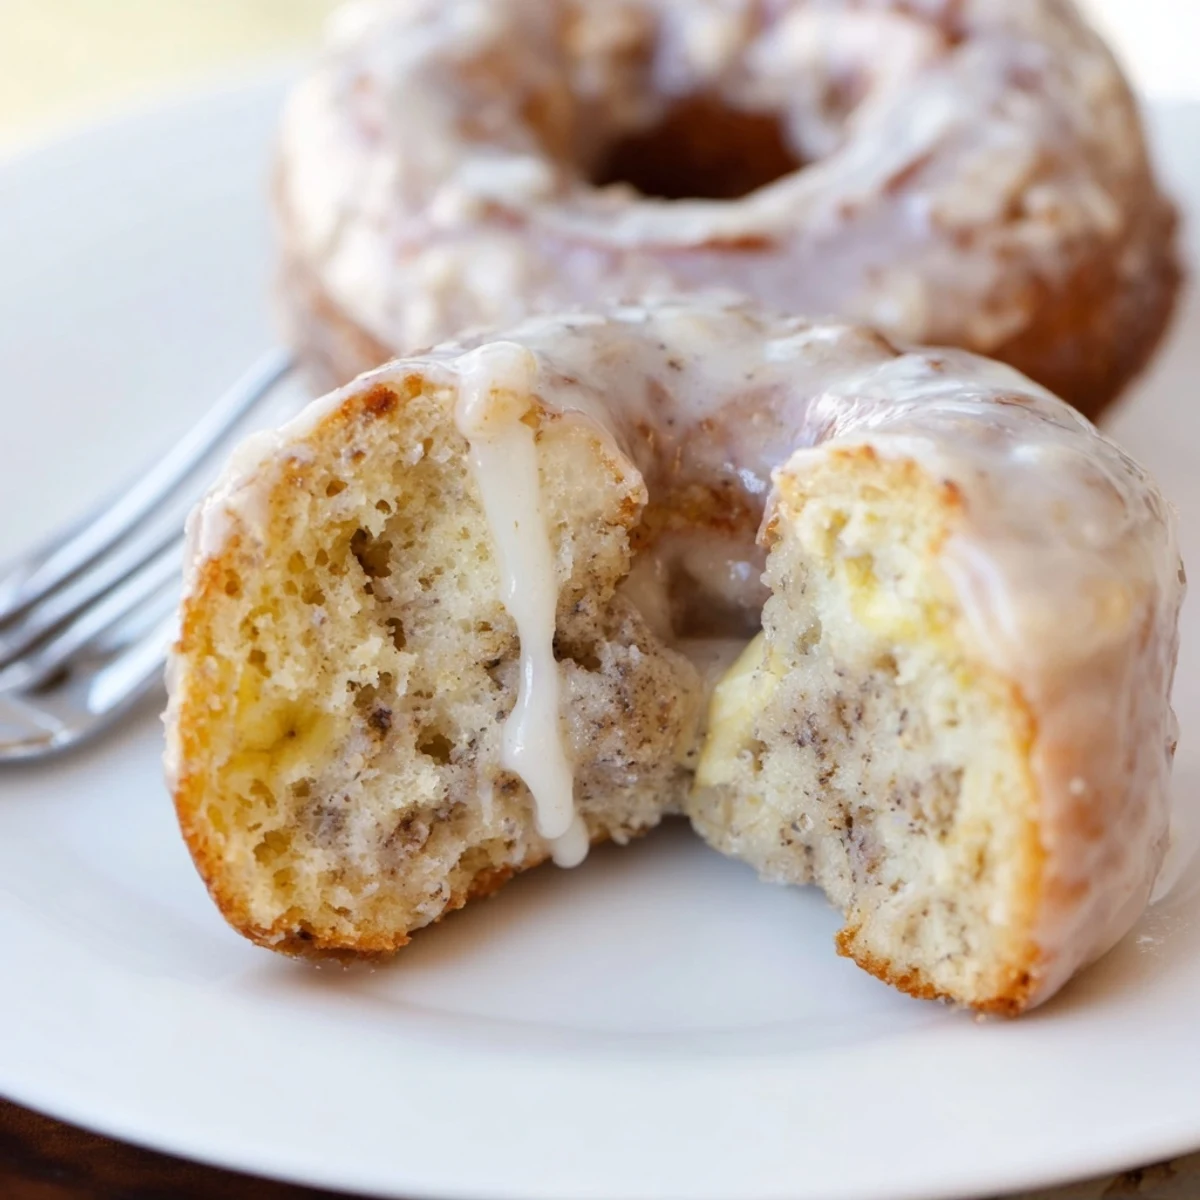
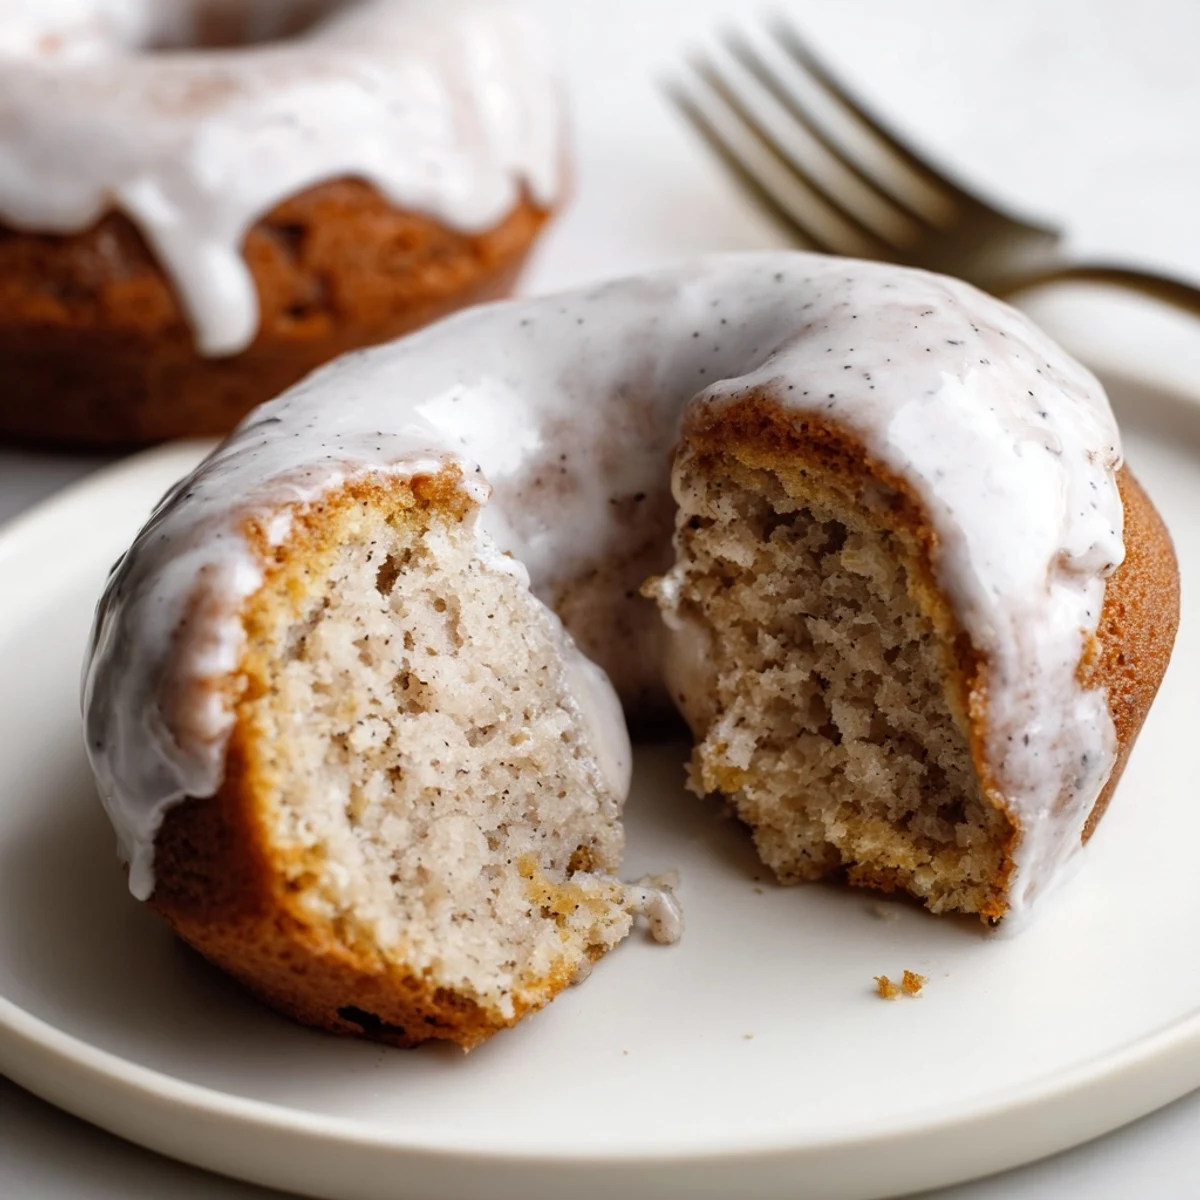
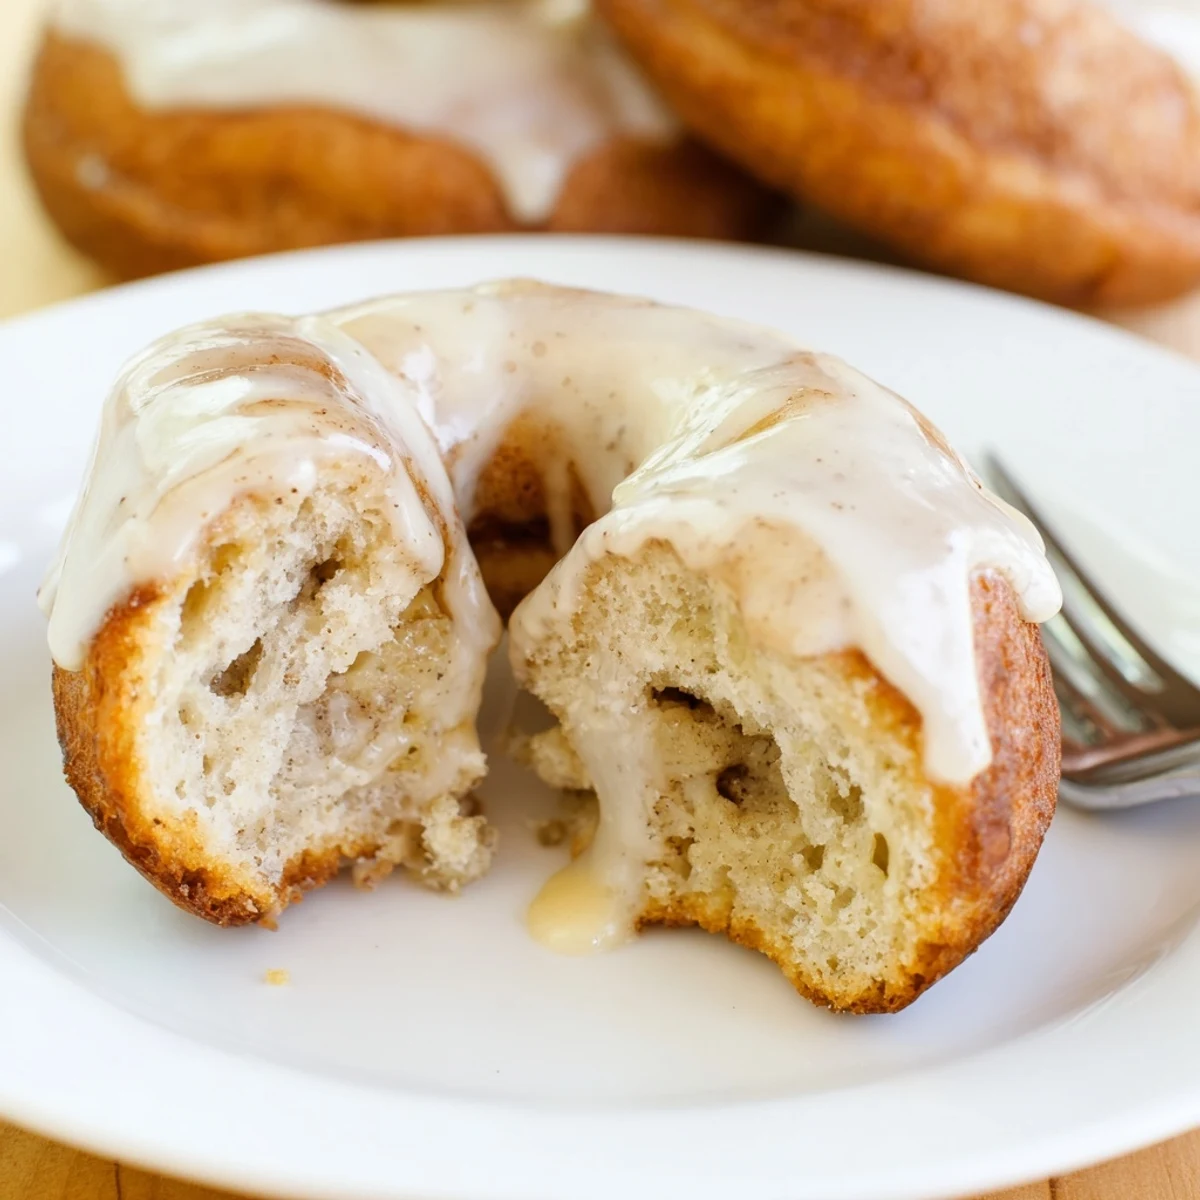
Pin These moist, baked banana donuts blend mashed ripe bananas, milk, eggs and oil with a lightly spiced flour mix to create a tender, cake-like crumb. Combine wet and dry ingredients, fold gently to avoid overmixing, pipe into a greased donut pan and bake 12–15 minutes until golden. Cool briefly, then dip in a simple vanilla glaze. Variations include chocolate chips, chopped nuts or plant-based milk for a dairy-free finish.
Banana donuts always remind me of the time I tried to sneak extra ripe bananas past my housemates, only for the kitchen to fill with a scent so sweet that half the apartment came wandering in. Sometimes recipes find you, rather than the other way around. There’s something delightfully unexpected about putting bananas and breakfast donuts together—a bit of rebellion against soggy cereal mornings. When these emerge golden from the oven, it’s the scent of victory and a hint of dessert before noon.
One rainy Saturday, my friend Emma and I decided to bake these donuts together with her playlist humming softly in the background—by the end, our hands were sticky with glaze, and laughter echoed louder than the downpour outside. Sharing them still warm off the rack made everyone linger in the kitchen a little longer.
Ingredients
- Ripe bananas: The spottier the better—overripe bananas melt into the batter for added sweetness and moisture.
- Milk: Any milk works, but I’ve found whole milk gives a richer crumb; dairy-free plant milk is a solid substitute if needed.
- Eggs: These help bind the batter and create the airy structure—room temperature makes mixing a breeze.
- Vegetable oil: Oil keeps the donuts soft instead of dry (canola or sunflower work best).
- Granulated sugar: A little goes a long way for balance, and it caramelizes gently in the oven.
- Vanilla extract: Pure extract gives just enough warmth without stealing the show.
- All-purpose flour: The foundation for that classic donut crumb, sifted to avoid lumps.
- Baking powder & baking soda: Use both for a celebrated rise and airy interior; double-check the freshness.
- Ground cinnamon: Adds a cozy, aromatic warmth—one sniff and you’ll know it’s right.
- Salt: Just a pinch sharpens all the other flavors.
- Powdered sugar (for glaze): Sifting helps avoid clumps, creating a silky finish.
- Optional glaze additions: Adjust the milk for your desired thickness and experiment with a tiny drop of lemon for brightness.
Instructions
- Get the oven warm:
- Preheat to 350°F and grease your donut pan with a little oil or butter; the sizzle and aroma set the baking mood instantly.
- Mash and mix the wet base:
- In a large bowl, smash the bananas until creamy, whisk in milk, eggs, oil, sugar, and vanilla—don’t worry if it looks a bit lumpy, that means real banana flavor.
- Sift and prep the dry mix:
- In another bowl, combine your flour, baking powder, baking soda, cinnamon, and salt; running a spoon through leaves the mixture as soft as fresh snow.
- Gently join wet and dry:
- Tip the flour mixture into the wet ingredients, folding with a spatula just until the streaks disappear—it should look thick and pillowy, not runny.
- Pipe and fill the pans:
- Spoon batter into a piping bag or zip bag with the corner cut, then squeeze into each donut ring about 3/4 full—neater and more fun than spooning.
- Into the oven:
- Bake for 12 to 15 minutes, until lightly golden and they spring back with a gentle poke; the kitchen fills with banana and cinnamon warmth.
- Cool and release:
- Let donuts cool in the pan for 5 minutes, then twist gently onto a wire rack—they come out cleanest when you wait (I always peek too early!).
- Whisk the glaze:
- Mix powdered sugar with milk and vanilla until smooth—dip the cooled donuts for a glaze that sets silky, adding a playful shine.
 Pin
Pin During a summer brunch, my cousin proclaimed these donuts were breakfast’s answer to banana bread, and suddenly people began requesting them for every family get-together—they became more than just a sweet treat, but a cheerful, edible ritual.
The Power of Waiting for Ripe Bananas
I used to rush and use barely ripe fruit, but after one batch tasted bland, I learned patience pays off—the dark spots mean more natural sweetness and a deeper banana taste that nothing else can fake.
Adapting for Different Diets
Swapping to oat or almond milk works seamlessly and still gives a fluffy result, so everyone can enjoy these at the table regardless of dietary needs—no one ever notices the difference.
Decorating Your Donuts
Dipping donuts into the glaze is only the beginning; I sometimes let the kids sprinkle on chopped nuts, tiny chocolate chips, or colored sugar for a party effect—each version feels like a different dessert.
- If using add-ins, press them gently into the glaze to help them stick.
- For an extra glossy finish, spoon a second thin layer of glaze over set donuts.
- Store completely cooled glazed donuts in a box with parchment between layers to keep them neat.
 Pin
Pin Whipping these up with a few extra bananas on hand turns an ordinary morning into something quietly joyful—sometimes, that’s all it takes for the day to feel special.
Recipe Questions & Answers
- → How ripe should the bananas be?
-
Use bananas with brown speckles for the most sweetness and moisture; overly brown fruit works well but may yield a stronger banana flavor.
- → Can I make these dairy-free?
-
Yes — swap regular milk for almond, oat or soy milk and omit or use a dairy-free powdered sugar glaze; oil keeps the crumb tender without butter.
- → What if I don't have a donut pan?
-
Use a muffin tin for small cakes and reduce baking time slightly, or pipe batter into silicone donut molds; shapes and bake times will vary.
- → How do I prevent dense donuts?
-
Do not overmix once the dry ingredients are added; fold just until combined to keep the batter airy and the crumb light.
- → Can I add mix-ins like chocolate chips?
-
Yes — fold in mini chocolate chips or chopped nuts gently before piping. If using heavier add-ins, reduce quantity slightly to maintain texture.
- → How should I store leftovers?
-
Keep cooled donuts in an airtight container at room temperature for up to 2 days. For longer storage, freeze without glaze and thaw before glazing.
