 Pin
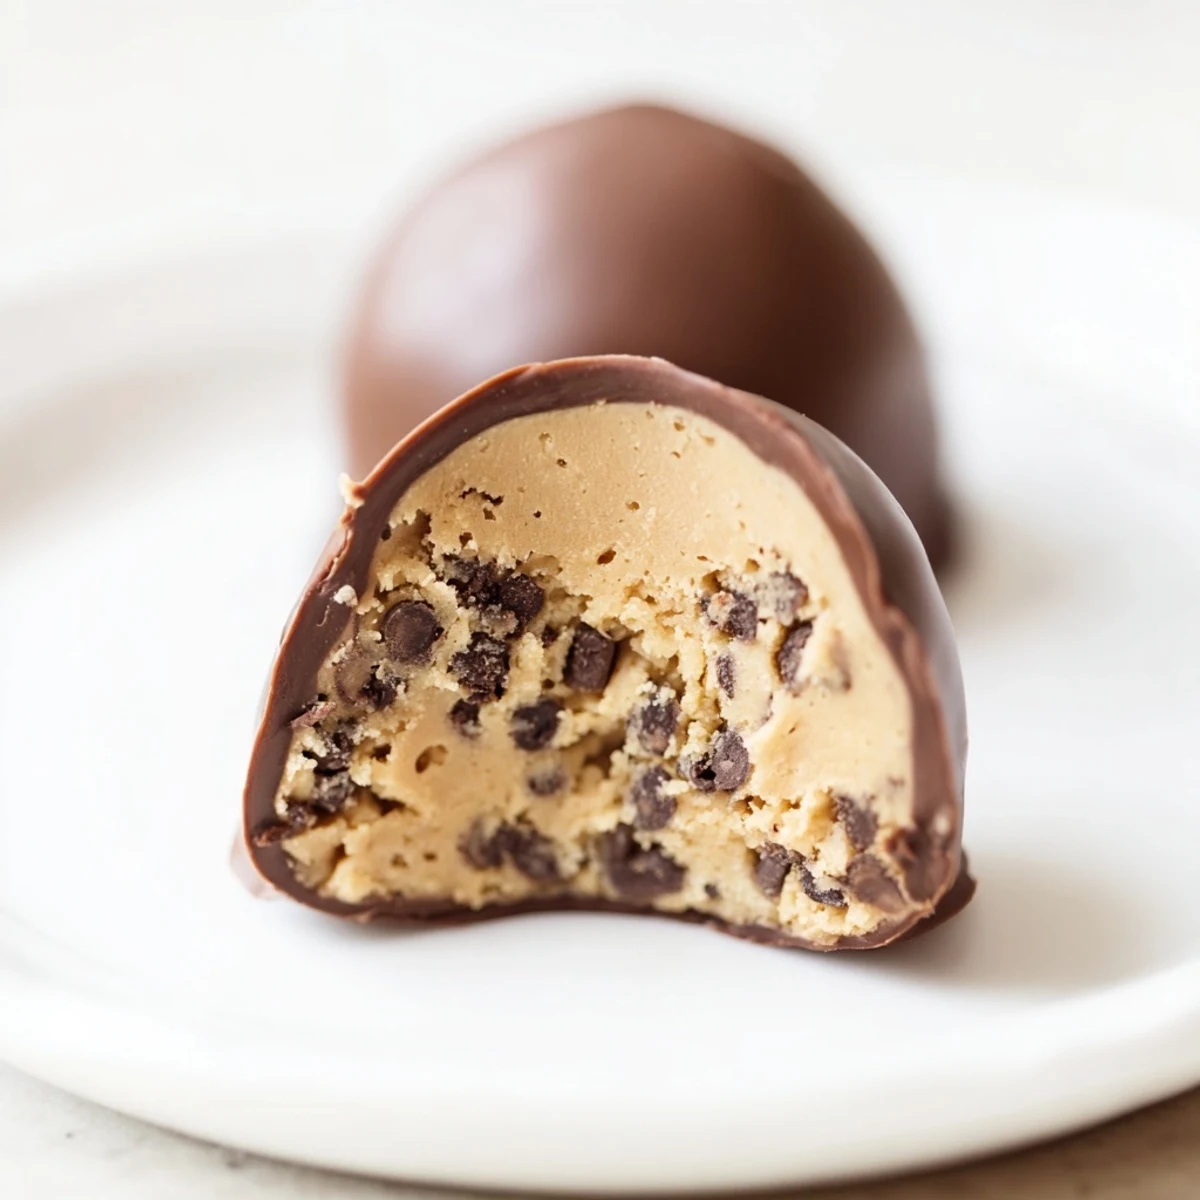
Pin These bite-sized truffles combine rich, egg-free cookie dough studded with mini chocolate chips and coated in a smooth chocolate layer. The flour is heat-treated to ensure safety, while butter, sugars, and vanilla create a flavorful base. After chilling the dough balls, they are dipped in melted semisweet chocolate for a luscious finish. Perfect for quick no-bake indulgence, these truffles offer an easy dessert with a delightful texture and deep chocolate flavor.
My friend Sarah showed up at my door one afternoon with a box of these truffles, and I bit into one expecting the usual dense, overly sweet chocolate confection. Instead, I got this buttery, soft cookie dough center that tasted like edible nostalgia, all wrapped in a snappy chocolate shell. She admitted she'd been nervous about the whole raw dough thing until she realized the flour was heat-treated, and suddenly it clicked for both of us—these were the cookie dough fantasies we'd been sneaking spoonfuls of forever, but finally made safe and presentable.
I made three batches for my coworker's going-away party, and watching people's faces light up when they realized these weren't just chocolate blobs but actual cookie dough was worth every minute of scooping and dipping. One person ate five in a row and didn't even apologize—that's when you know you've made something special.
Ingredients
- Unsalted butter, softened: Room temperature is non-negotiable here; it creams smoothly with the sugars and creates that rich, tender base.
- Packed light brown sugar: The molasses adds depth and chewiness that white sugar alone can't deliver.
- Granulated sugar: Balances the brown sugar for texture and helps everything incorporate evenly.
- Milk: Just enough to loosen the dough slightly and make it workable without being wet.
- Vanilla extract: Use real vanilla if you can; it makes the dough taste like actual cookies, not a chemical approximation.
- All-purpose flour, heat-treated: This is your safety net—5 minutes in a 350°F oven kills any bad bacteria and lets you eat raw dough guilt-free.
- Salt: A small pinch awakens all the other flavors and keeps things from tasting one-dimensional.
- Mini chocolate chips: They distribute more evenly than regular chips and give you that chocolate-in-every-bite promise.
- Semisweet or dark chocolate for coating: Choose something you'd actually eat on its own; cheap chocolate makes cheap-tasting truffles.
- Coconut oil or vegetable oil: This optional addition loosens the chocolate just enough to create a smooth, glossy coating that doesn't crack when you bite into it.
Instructions
- Heat-treat your flour:
- Spread it thin on a baking sheet and let it toast in a 350°F oven for exactly 5 minutes—any longer and you risk browning it. Let it cool completely before touching it; warm flour will melt the butter in your dough.
- Cream the butter and sugars:
- Beat them together for about 2 minutes until the mixture looks pale and fluffy, like clouds. This incorporates air and sets up the tender crumb structure you're after.
- Add the wet ingredients:
- Stir in the milk and vanilla slowly so they don't splash out of the bowl. The dough should look slightly shiny but not slick.
- Fold in the flour:
- Mix until the flour disappears completely and no streaks remain. Overmixing won't ruin these like it would real cookies, but there's no reason to overwork it either.
- Toss in the chocolate chips:
- Fold them in gently so they distribute throughout without crushing them into submission. You want visible chocolate throughout.
- Scoop and shape:
- Use a tablespoon or small cookie scoop to portion the dough into even balls—uniformity matters for even cooking... well, chilling in this case. Roll them gently in your palms if they're too sticky.
- Chill the dough balls:
- Pop them in the freezer for 20 to 30 minutes until they're firm enough to coat without slumping. If you forget about them, they'll keep frozen for weeks.
- Melt the chocolate:
- Use a microwave in 20-second bursts, stirring between each one to avoid overheating. If using a double boiler, keep the water just below a simmer and don't let steam touch the chocolate.
- Dip with intention:
- Let each ball roll around in the warm chocolate for just a second, then use a fork or dipping tool to lift it out and let the excess drip back into the bowl. Set it gently back on parchment as if it were precious.
- Decorate if you're feeling fancy:
- While the chocolate is still soft, drizzle extra chocolate over them or sprinkle on mini chips for added texture. It's optional but it makes them look like they came from a real chocolate shop.
- Set and serve:
- Refrigerate for about 15 minutes until the chocolate hardens completely. They're good served straight from the fridge or left out for an hour at room temperature—your choice.
 Pin
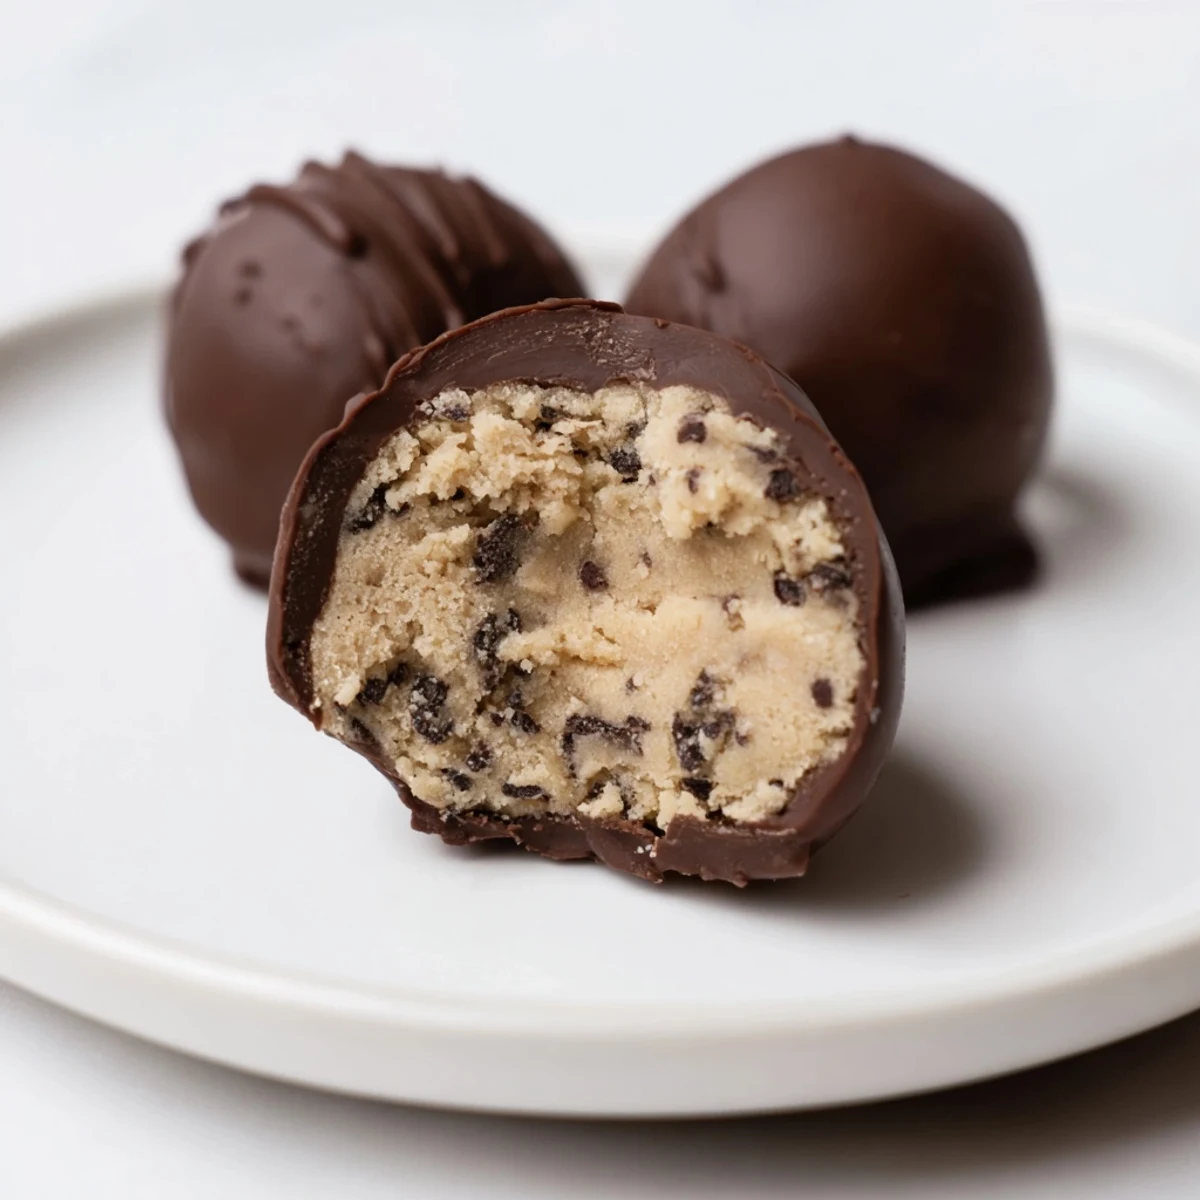
Pin The moment I realized these truffles were more than just a snack was when my sister texted me a photo from work of her coworkers fighting over the last three from a container I'd sent with her. That's when dessert becomes a memory, and these little bites create the kind of memories people actually hold onto.
Storage and Make-Ahead Magic
These truffles live happily in the refrigerator for up to a week in an airtight container, and honestly, that's usually not the issue because they disappear faster than that. If you want to make them days ahead, you can scoop and freeze the raw dough balls for up to two weeks, then pull them out, dip, and serve whenever you need an impressive dessert without the last-minute stress.
Flavor Variations Worth Trying
Once you nail the base recipe, it's fun to play around. I've added a teaspoon of espresso powder to the dough for a sophisticated coffee-chocolate vibe, and another time I swapped in salted caramel chips instead of chocolate chips and coated them in dark chocolate, which was dangerously good. Chopped toasted nuts mixed into the dough add a subtle crunch that makes people pause mid-bite and ask what you did differently.
Why This Recipe Works Every Time
The beauty of these truffles is their foolproof nature combined with genuine elegance. The heat-treated flour removes the anxiety, the simple dough comes together in one bowl, and the chocolate coating is just impressive enough to feel homemade-special without requiring any tempering skills or fancy equipment. These are the kind of treats that convince people you spent hours in the kitchen when you actually spent 25 minutes of active work.
- Make them in batches and freeze different varieties with different coatings or fillings for a custom chocolate box.
- Serve them slightly chilled for a denser, fudgier bite, or at room temperature for a creamier texture.
- Gift them in a small box with parchment between layers, and people will think you're a pastry chef.
 Pin
Pin These truffles aren't just candy—they're the kind of small gesture that means something. Make them, share them, watch people's faces, and let a simple dessert become the thing someone remembers about your kitchen.
Recipe Questions & Answers
- → Why is the flour heat-treated in this preparation?
-
Heat-treating the flour eliminates potential bacteria, making the dough safe to consume without baking.
- → Can I substitute semisweet chocolate for the coating?
-
Yes, semisweet or dark chocolate options work well, and you can also try milk or white chocolate for variation.
- → How long should the dough balls chill before coating?
-
Chill dough balls in the freezer for 20–30 minutes until firm to ensure they hold shape during coating.
- → Are these truffles suitable for vegetarians?
-
Yes, the ingredients used are vegetarian-friendly with no eggs included.
- → What tools are helpful for coating the truffles evenly?
-
A fork or dipping tool is ideal for dipping dough balls into melted chocolate and allowing excess to drip off.
