 Pin
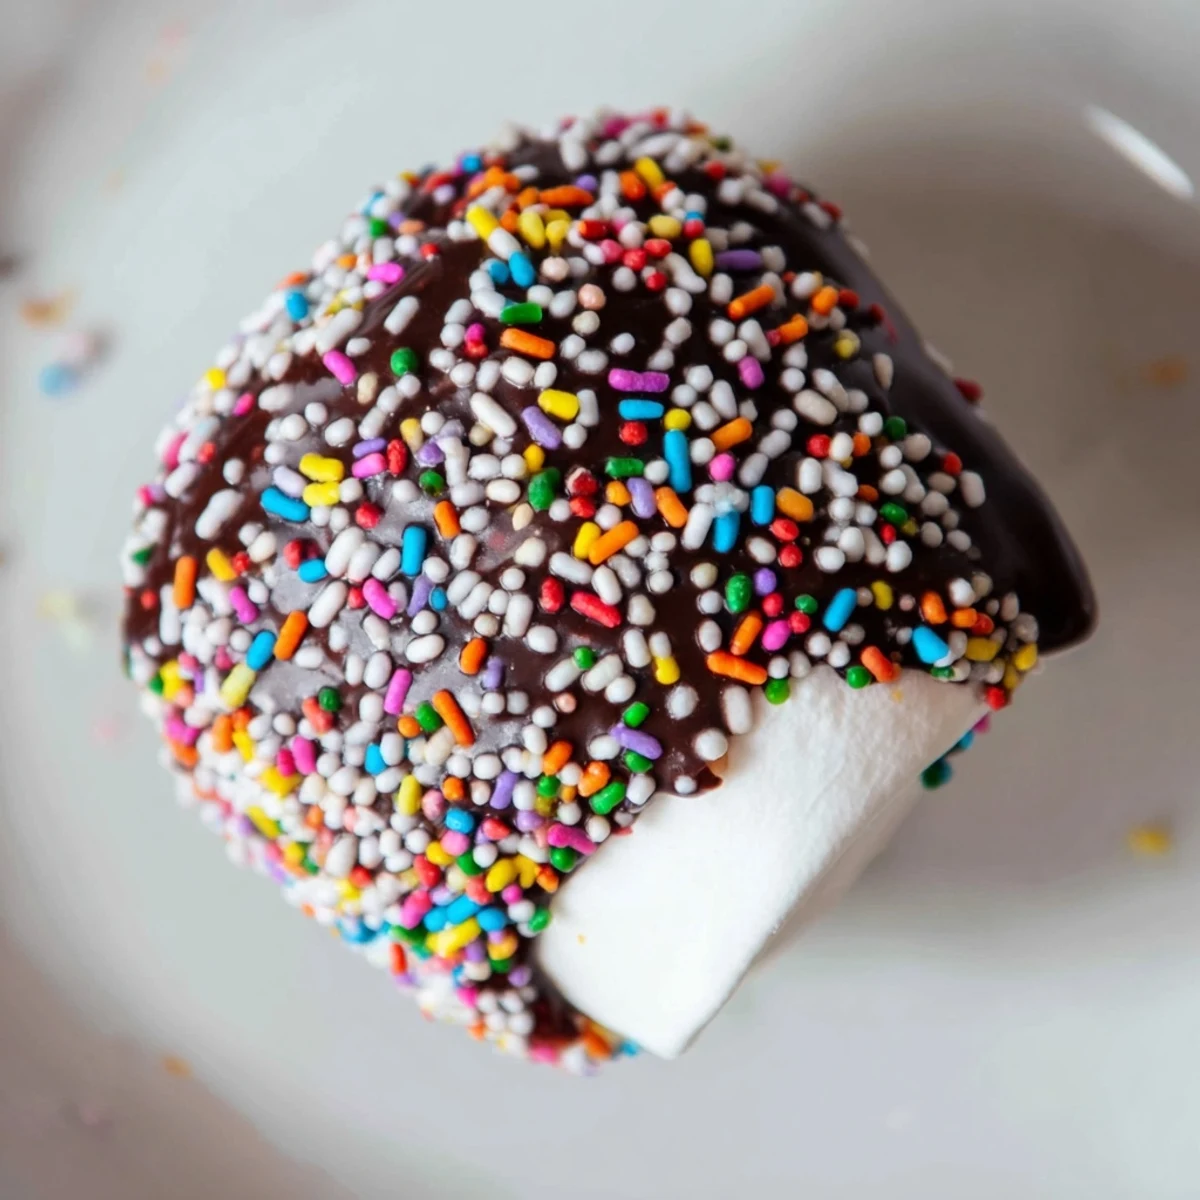
Pin Transform simple marshmallows into elegant confections with just three ingredients and five minutes of active time. Melt semi-sweet or milk chocolate, dip each marshmallow halfway, and immediately coat with sprinkles for vibrant color and texture. Set at room temperature and enjoy—or package as gifts. Perfect for celebrations, bake sales, or holiday events.
The first time I made chocolate dipped marshmallows was for my niece's birthday party when the bakery called to cancel our order last minute. With panic setting in and twenty kids arriving in hours, I rummaged through my pantry and discovered marshmallows, chocolate, and a forgotten container of rainbow sprinkles. The simplicity and joy of watching those first marshmallows transform from plain to magical reminded me that sometimes the most memorable treats are the least complicated.
Last winter during a power outage, my neighbors and I gathered around my fireplace with mugs of hot cocoa topped with these chocolate dipped marshmallows. The kids squealed watching the chocolate slowly melt into their drinks while creating mustaches on their upper lips. In that moment of shared warmth and laughter, these simple treats became something of a neighborhood legend.
Ingredients
- Large Marshmallows: The jumbo size works best as they provide the perfect chocolate-to-marshmallow ratio and are easier to hold while dipping.
- Semi-sweet or Milk Chocolate: Higher quality chocolate makes all the difference here, as it melts more smoothly and has a richer flavor that balances the marshmallow sweetness.
- Assorted Sprinkles: These aren't just decoration but add a delightful textural contrast to the smooth chocolate and squishy marshmallow.
- Lollipop Sticks: While optional, they make the dipping process infinitely cleaner and turn these treats into charming marshmallow pops that kids absolutely adore.
Instructions
- Prep Your Workspace:
- Line a baking sheet with parchment paper and insert sticks into your marshmallows if using. Having everything ready creates a smooth assembly line feeling that makes this recipe almost meditative.
- Melt With Patience:
- Place chopped chocolate in a microwave-safe bowl and heat in 20-second bursts, stirring between each interval. Youll notice it starting to glisten before it fully melts, and that perfect glossy finish means youre ready to dip.
- The Dipping Dance:
- Hold each marshmallow by its stick and dip halfway into the melted chocolate with a gentle twisting motion. Let excess chocolate drip back into the bowl for a few seconds so your coating isnt too thick.
- Sprinkle Magic:
- Immediately after dipping, roll or sprinkle your decoration onto the chocolate before it sets. I like to keep my sprinkles in a small shallow bowl which makes it easy to roll each marshmallow for even coverage.
- Setting Up:
- Place your decorated marshmallows upright on the parchment-lined sheet, giving them space to avoid touching. Let them set at room temperature or speed things up with a quick chill in the refrigerator if youre as impatient as I am.
 Pin
Pin Once during a playdate gone chaotic, I set up a marshmallow dipping station as an impromptu activity. The concentration on those little faces as they carefully dipped and decorated was something magical to behold. What started as a simple snack became an hour of focused creativity, sticky fingers, and proud smiles as they admired their edible masterpieces before gobbling them up.
Decoration Ideas
After making these countless times, Ive discovered the joy of themed decorations that turn these simple treats into conversation pieces. Halloween versions with orange and black sprinkles, Christmas ones with crushed candy canes, or birthday batches with color-coordinated sprinkles to match party themes always bring smiles. Sometimes I even drizzle white chocolate over the dark chocolate base for an elegant marbled effect that makes people think I spent hours in the kitchen.
Storage Tips
The first time I made these for gift bags, I learned a sticky lesson about proper storage. Keep your finished marshmallows in a cool, dry place but never in the refrigerator for more than setting time, as condensation forming when you remove them creates a sticky mess. If packaging them as gifts, I place each in a small cellophane bag tied with ribbon, which not only looks charming but keeps them fresh for up to three days.
Variations Worth Trying
The basic recipe is just the beginning of what these treats can become. Dipping marshmallows in white chocolate tinted with food coloring creates beautiful pastel treats for spring events or baby showers that never fail to impress guests. My experimental nature has led to countless discoveries in the marshmallow dipping universe over the years.
- Try sandwiching two dipped marshmallows with a thin layer of peanut butter between them for an elevated take on a fluffernutter.
- Freeze the marshmallows for 15 minutes before dipping for a firmer texture that creates an interesting temperature contrast when eaten right after the chocolate sets.
- Substitute the sprinkles for finely chopped freeze-dried fruit for a tangy contrast to the sweet marshmallow.
 Pin
Pin These chocolate dipped marshmallows remind us that sometimes the simplest things bring the most joy. Whether made for a special occasion or just because its Tuesday, theres something magical about transforming ordinary ingredients into little bites of happiness.
Recipe Questions & Answers
- → Can I use dark chocolate instead of milk chocolate?
-
Absolutely. Dark chocolate works beautifully and offers a sophisticated contrast to the sweet marshmallows. White chocolate is another excellent option for a creamy, vanilla flavor.
- → How long does the chocolate take to set?
-
The chocolate sets at room temperature in 20–30 minutes. For faster results, refrigerate for 10 minutes until completely firm. Avoid moving them until fully set to prevent coating damage.
- → What alternatives work instead of sprinkles?
-
Crushed nuts, coconut flakes, mini candies, or edible glitter all make excellent toppings. Apply immediately after dipping while the chocolate is still warm for proper adhesion.
- → Do I need lollipop sticks?
-
Sticks are optional and make dipping easier and more elegant. Without them, use a dipping fork or small slotted spoon to handle the marshmallows and coat evenly.
- → How should I store the finished marshmallows?
-
Keep in an airtight container at room temperature for up to one week. Layer with parchment paper to prevent sticking. Avoid humidity, which can soften the chocolate coating.
- → Can I melt chocolate over direct heat?
-
Use a double boiler or heatproof bowl over simmering water instead of direct heat. This prevents scorching and ensures smooth, creamy melted chocolate for consistent coating.
