 Pin
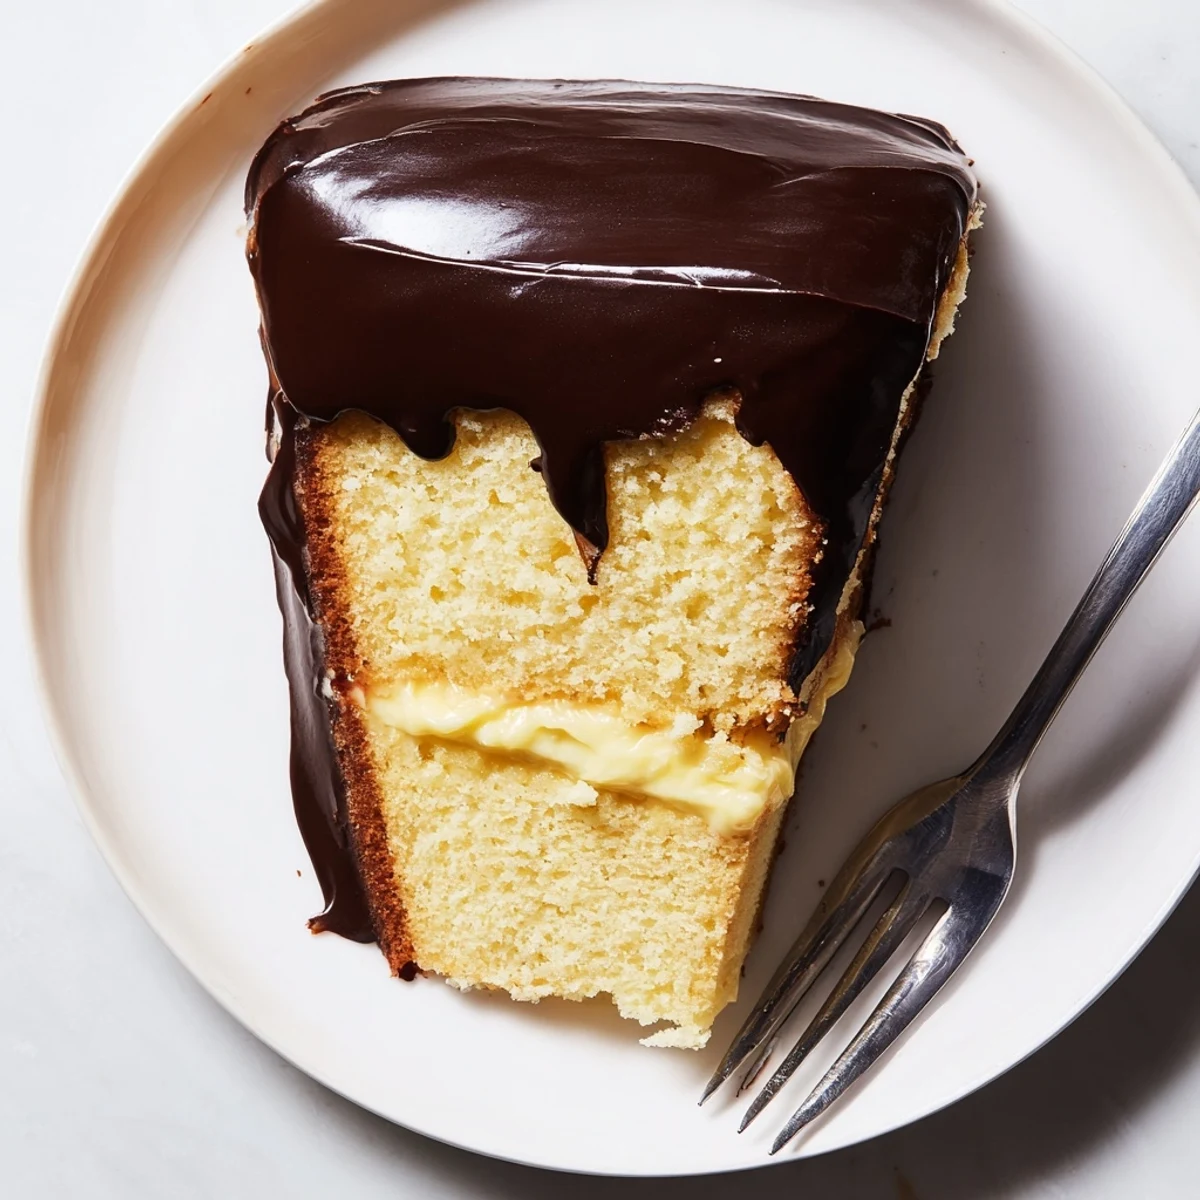
Pin This iconic American dessert combines three essential components: a light and airy sponge cake, a silky vanilla pastry cream filling, and a decadent chocolate ganache topping. The cake layers are baked until golden and tender, providing the perfect foundation for the rich custard. The pastry cream, made with egg yolks, milk, and vanilla, creates a smooth and creamy center. Finally, the glossy chocolate ganache adds a luxurious finish that drips beautifully down the sides.
While the process involves several steps, each component can be prepared ahead of time, making assembly manageable. The result is a stunning dessert that balances textures and flavors—light cake, creamy filling, and rich chocolate—creating an unforgettable treat perfect for special occasions or Sunday dinner.
The first time I attempted Boston Cream Pie, I didnt realize it was actually a cake until halfway through making it. My grandmother had been talking about this legendary dessert from her childhood in Massachusetts for years, painting such vivid pictures of that chocolate dripping down the sides that I never questioned the pie in the name. Standing in my tiny apartment kitchen with flour dusted everywhere, watching the ganache transform into something glossy and perfect, I finally understood why this dessert has captivated people for generations.
I made this for my fathers birthday one year when I was still learning my way around baking. The kitchen was chaos, I had pastry cream everywhere, and the first cake layer stuck to the pan. But when I finally assembled it and sliced into that first piece, watching the chocolate topping give way to vanilla cream and tender sponge, my dad took one bite and went completely silent. That moment of someone enjoying something you created with your own hands became the reason I kept baking.
Ingredients
- All purpose flour: The backbone of the sponge cake, providing structure without being too dense
- Granulated sugar: Sweetens both the cake and pastry cream, helping create that pale thick egg mixture
- Large eggs: Room temperature eggs beat up better and create more volume for a lighter sponge
- Whole milk: Essential for the rich pastry cream that makes this dessert unforgettable
- Unsalted butter: Melted and cooled for the cake batter, room temperature for the pastry cream
- Baking powder: Gives the sponge just enough lift without being too airy
- Salt: A tiny pinch balances sweetness and brings out vanilla notes
- Vanilla extract: Use real vanilla here, it makes all the difference in both components
- Egg yolks: These create the silky thick texture of the pastry cream
- Cornstarch: The magic thickener that transforms milk mixture into custard
- Semisweet chocolate: Forms the signature ganache topping that sets this dessert apart
- Heavy cream: Creates the smooth glossy ganache that pours beautifully over the cake
Instructions
- Prepare your cake pans:
- Grease and flour two 8 inch round cake pans thoroughly or line them with parchment paper for guaranteed easy release
- Mix the dry ingredients:
- Sift together flour, baking powder, and salt in a bowl, then set aside while you work on the wet ingredients
- Whip eggs and sugar:
- Beat eggs and granulated sugar with an electric mixer until the mixture turns pale and thick, about 5 minutes, then mix in vanilla
- Fold in the flour:
- Gently incorporate the flour mixture until just combined, being careful not to deflate all that air you created
- Add milk and butter:
- Mix whole milk and melted unsalted butter together, then fold into the batter until smooth and uniform
- Bake the sponge layers:
- Divide batter evenly between prepared pans and bake at 350°F for 22 to 25 minutes until a toothpick comes out clean
- Cool the cakes:
- Let the cakes rest in their pans for 10 minutes, then turn them out onto wire racks to cool completely
- Heat the milk for custard:
- Warm 2 cups of whole milk in a saucepan until just simmering, watching carefully so it doesnt boil over
- Prepare the yolk mixture:
- Whisk together egg yolks, sugar, cornstarch, and salt in a separate bowl until smooth and pale
- Temper the eggs:
- Slowly pour hot milk into the yolk mixture while whisking constantly to prevent scrambling
- Cook the pastry cream:
- Return everything to the saucepan and cook over medium heat, whisking constantly until thick and bubbling
- Finish the custard:
- Remove from heat and whisk in butter and vanilla, then press plastic wrap directly onto the surface and chill
- Make the ganache:
- Place chopped chocolate and butter in a heatproof bowl
- Heat the cream:
- Bring heavy cream to a simmer, then pour over the chocolate mixture
- Create smooth ganache:
- Let it sit for 2 minutes, then stir until completely smooth and glossy
- Assemble the dessert:
- Place one cooled cake layer on your serving plate and spread cold pastry cream evenly over the top
- Complete the cake:
- Top with the second cake layer, then pour chocolate ganache over the top, encouraging it to drip down the sides
- Chill before serving:
- Refrigerate for at least 1 hour so the layers set and the flavors meld together
 Pin
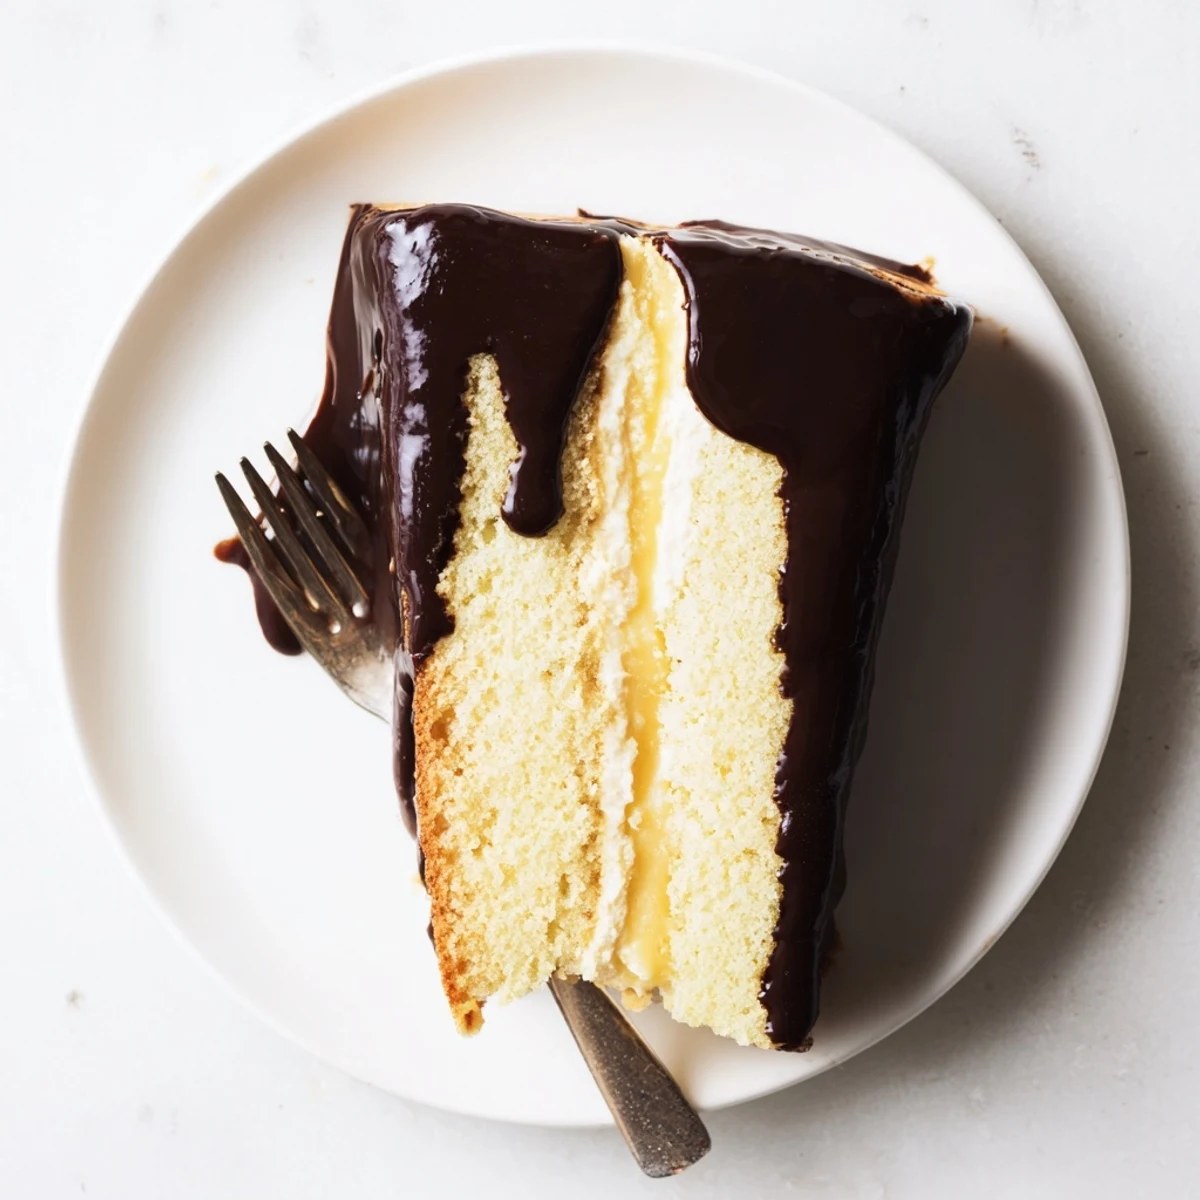
Pin There was a dinner party where everything went wrong, the main dish was overcooked, the salad dressing separated, but this Boston Cream Pie saved the entire evening. When I brought it out and started slicing, the conversation stopped completely. By the time people were licking chocolate off their forks, nobody remembered the mistakes that came before.
Making It Ahead
The pastry cream actually benefits from being made a day ahead, developing deeper vanilla flavor as it rests. The cake layers can be baked and frozen for up to a month, wrapped tightly in plastic and foil, then thawed on the counter before assembly. Only add the ganache the day you plan to serve it for the freshest appearance and texture.
Getting That Perfect Chocolate Drip
Temperature matters more than you might expect. The ganache should be warm and pourable but not hot, and the cake must be completely cool or the chocolate will slide right off instead of setting in those beautiful drips down the sides. I let the assembled cake sit in the refrigerator for about 20 minutes before pouring the ganache to help it grab onto the surface.
Serving And Storing
This dessert is best served chilled, straight from the refrigerator, where the cake becomes tender and the cream firms up just enough to hold its shape beautifully when sliced. Use a sharp knife dipped in hot water and wiped clean between cuts for the cleanest slices. Leftovers keep well covered in the refrigerator for up to 3 days, though the texture of the sponge will soften slightly over time. You can also freeze individual slices wrapped in plastic for those moments when you need just one perfect bite of something sweet.
- Let chilled slices sit at room temperature for about 10 minutes before serving for the best texture
- A dusting of powdered sugar over the plated slice adds a restaurant quality finish
- Serve with coffee rather than dessert wine to let the chocolate shine
 Pin
Pin Every time I make this Boston Cream Pie, I think about how something so seemingly simple can create such lasting memories. Thats the kind of dessert worth making, sharing, and remembering.
Recipe Questions & Answers
- → What makes Boston cream pie different from cake?
-
Despite its name, Boston cream pie is technically a cake. The name dates back to the 19th century when cake pans were uncommon, and pie plates were used instead. The distinction lies in its construction—two cake layers with pastry cream filling and chocolate topping—creating a unique dessert that bridges both categories.
- → Can I make the components ahead of time?
-
Absolutely. The sponge cake layers can be baked and frozen for up to a month. The pastry cream can be refrigerated for 2-3 days before using. The ganache can be made a day in advance and gently reheated. However, assemble the final dessert within 4-6 hours of serving for the best texture and appearance.
- → Why did my pastry cream turn lumpy?
-
Lumpy pastry cream usually occurs when the eggs cook too quickly. Always temper your yolks by gradually adding hot milk while whisking constantly. Cook over medium heat, never high, and whisk continuously until thickened. If lumps do form, press the custard through a fine-mesh sieve while it's still warm.
- → What type of chocolate works best for the ganache?
-
Semisweet or bittersweet chocolate with 60-70% cocoa content provides the ideal balance. The chocolate should be high quality but not overly expensive since the ganache is just one component. Avoid milk chocolate as it will be too sweet, and chocolate above 70% may result in a stiff, dark ganache.
- → How do I know when the sponge cake is done baking?
-
Insert a toothpick into the center of the cake—if it comes out clean or with just a few moist crumbs, the cake is ready. The edges should be golden brown and just starting to pull away from the pan sides. The cake should spring back lightly when touched in the center.
- → Can I use a different size cake pan?
-
While 8-inch round pans are traditional, you can use 9-inch pans for slightly thinner layers. Avoid using smaller pans as the batter may overflow. If using square or rectangular pans, adjust baking time and check for doneness earlier. The total yield and serving size may vary with different pan dimensions.
