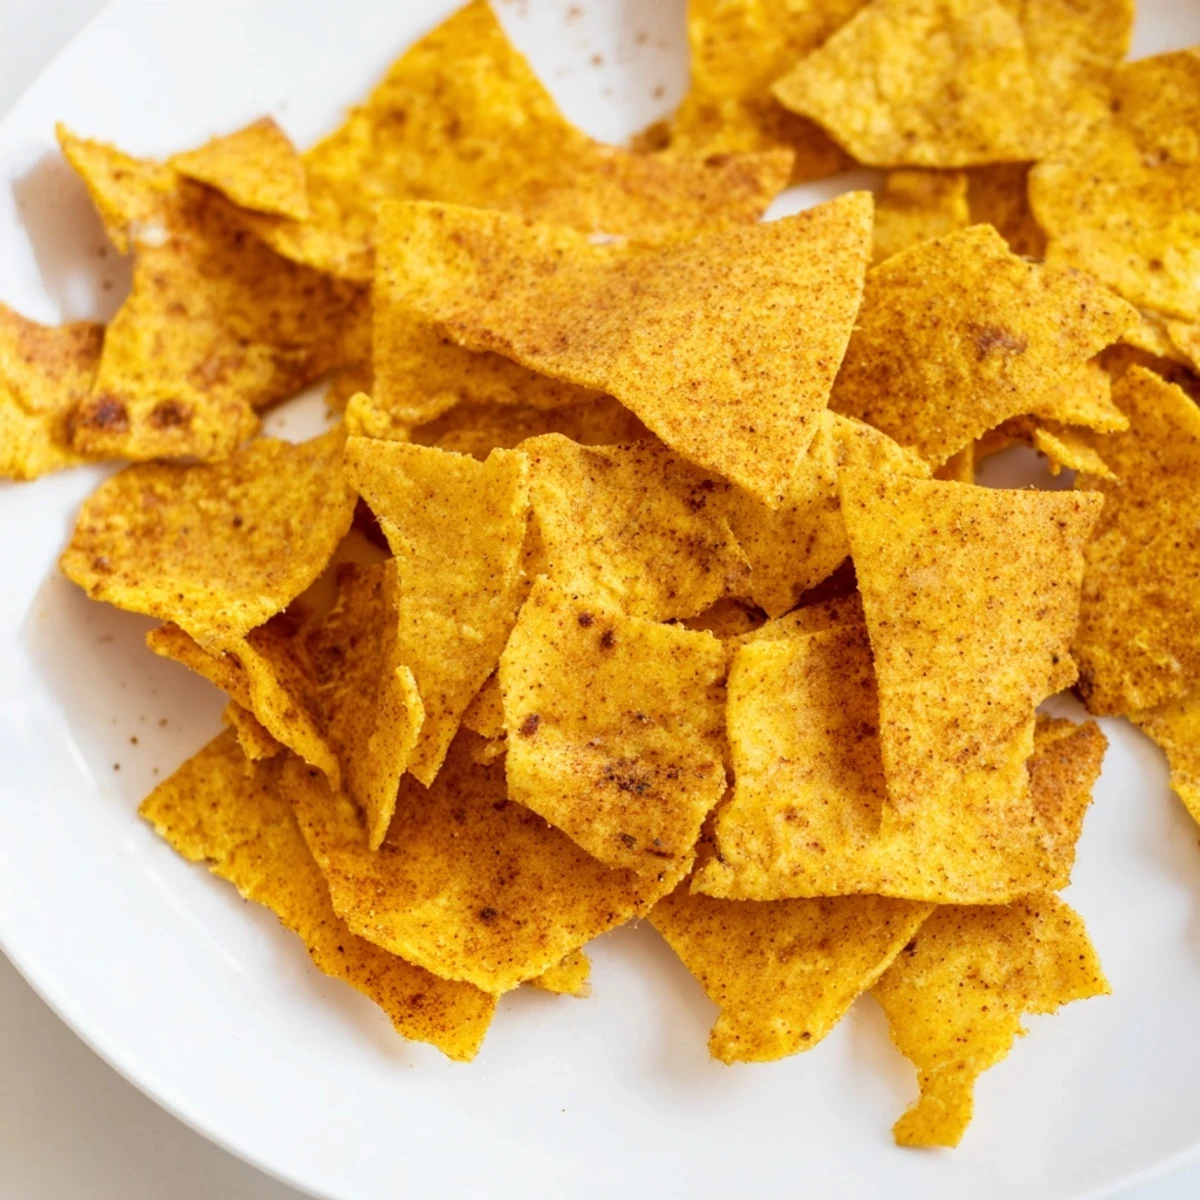
 Pin
Pin Create golden, crispy chips from chickpea flour seasoned with smoked paprika, garlic powder, and cumin. These naturally gluten-free snacks deliver satisfying crunch in just 40 minutes. The batter spreads thin and bakes until edges turn perfectly crisp. Serve standalone or pair with hummus, guacamole, or salsa. Store in airtight containers for up to three days.
The smell of roasted cumin drifting through my apartment on a rainy Tuesday afternoon is what got me hooked on these chickpea chips. I had been staring at a bag of store bought chips with an ingredient list longer than my grocery receipt and decided enough was enough. Twenty minutes later, golden crispy squares were cooling on my counter and I wondered why I had not tried this sooner. They disappeared before dinner even hit the table.
My neighbor knocked on my door that evening asking what smelled so incredible, and we ended up splitting the second batch over a rambling conversation about childhood snacks. She brought over a jar of her homemade salsa and suddenly these humble little chips became the centerpiece of an unexpected hour long visit on my kitchen floor.
Ingredients
- 1 cup chickpea flour (gram flour): The star of everything, providing protein and that satisfying nutty backbone, so make sure it is fresh and not sitting in your cupboard for two years like mine nearly was.
- 1/2 tsp salt: Draws out the natural savoriness of the chickpea flour and balances the smoky spices beautifully.
- 1/2 tsp smoked paprika: Adds a subtle campfire warmth that makes these feel like a treat rather than health food.
- 1/4 tsp garlic powder: Rounds out the flavor profile with a gentle savory depth without overpowering anything.
- 1/4 tsp ground cumin: Gives an earthy, slightly citrusy note that pairs perfectly with chickpeas.
- 1/4 tsp black pepper: Just enough heat to keep things interesting on the finish.
- 1/2 cup water: Brings everything together into a pourable batter, and the exact amount may vary slightly depending on your flour.
- 2 tbsp olive oil plus extra for brushing: Ensures crisp edges and a golden finish, and that extra brush on top makes all the difference.
Instructions
- Preheat and prepare:
- Set your oven to 180 degrees Celsius (350 degrees Fahrenheit) and line a baking sheet with parchment paper so nothing sticks and cleanup is effortless.
- Mix the dry spices:
- In a mixing bowl, whisk together the chickpea flour, salt, smoked paprika, garlic powder, cumin, and black pepper until evenly blended and fragrant.
- Add the wet ingredients:
- Pour in the water and olive oil, then stir vigorously until you have a smooth, lump free batter that pours like thick cream.
- Spread it thin:
- Pour the batter onto your prepared baking sheet and use a spatula to spread it into an even layer about 2 to 3 millimeters thick, getting right into the corners.
- Brush with olive oil:
- Lightly brush the entire surface with a thin coat of olive oil, which helps achieve that gorgeous golden crunch on top.
- Bake until golden:
- Slide the sheet into the oven and bake for 20 to 25 minutes, watching for the edges to turn deeply golden and crispy while the center firms up.
- Cool and break apart:
- Remove from the oven, let it rest for a few minutes until cool enough to handle, then cut into neat rectangles or snap into rustic shards.
- Serve and enjoy:
- Arrange on a plate and serve warm alongside hummus, guacamole, or salsa, though honestly they are perfect completely unadorned.
 Pin
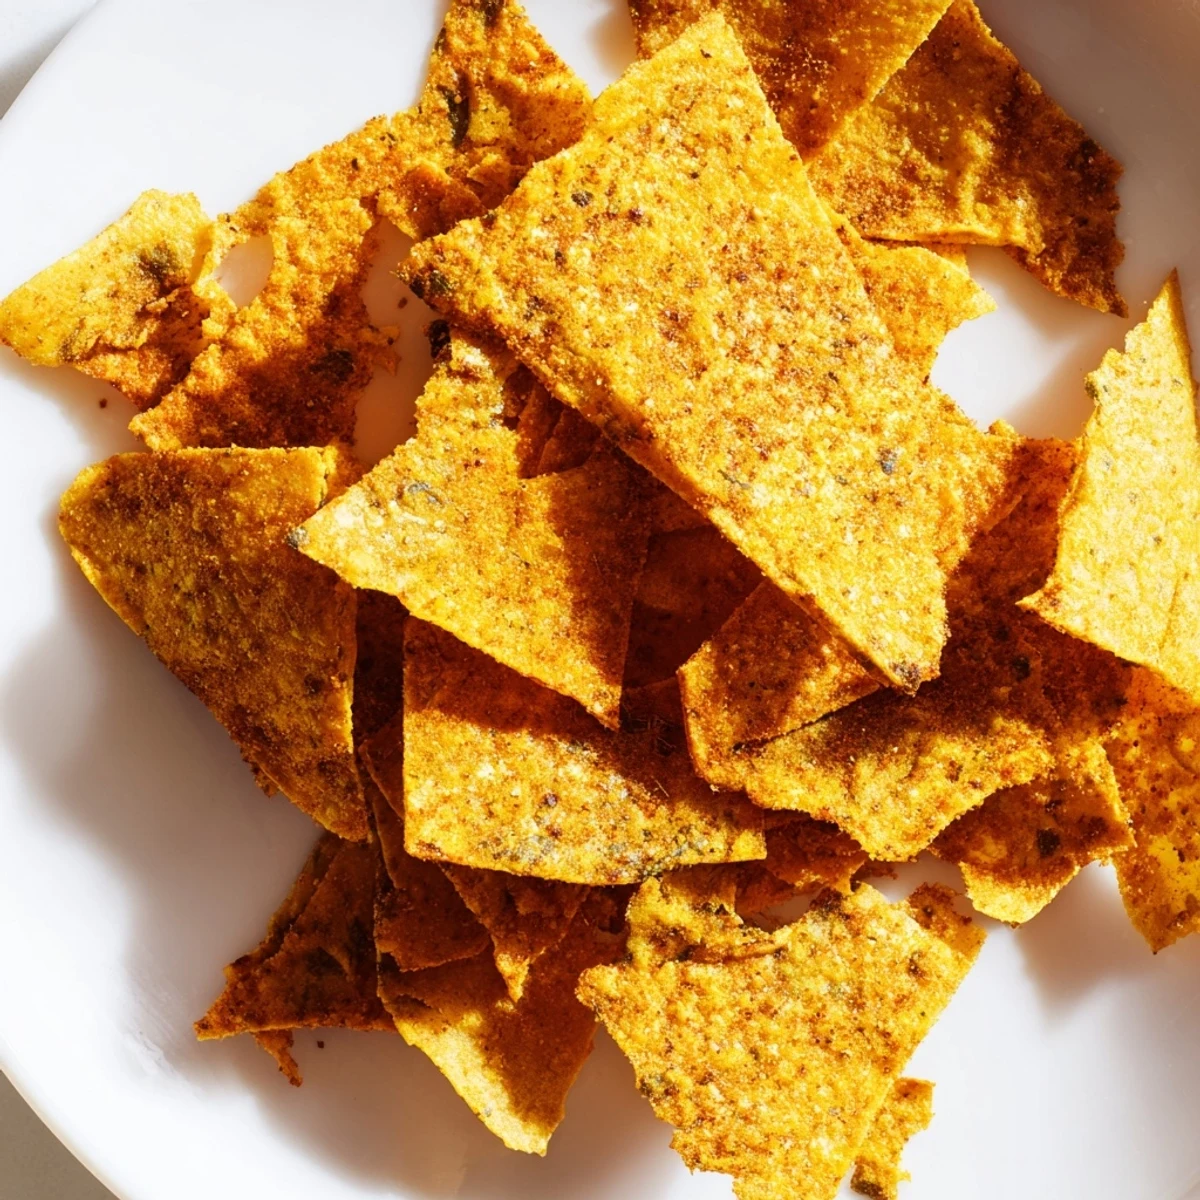
Pin What started as a bored afternoon experiment turned into the snack I now make almost weekly, and the recipe has traveled through my friend group faster than any gossip.
Storage That Actually Works
An airtight container at room temperature keeps them crispy for up to three days, though in my experience they rarely survive past day one.
Flavor Variations Worth Trying
Adding a teaspoon of dried rosemary or a pinch of thyme to the dry mix elevates these into something that feels almost bakery worthy.
Getting the Texture Right
The batter thickness is the one variable that can trip you up, so here are a few guardrails to keep in mind.
- If the batter seems too thick to spread, add water one teaspoon at a time until it flows.
- If it pours too easily and looks watery, sprinkle in a bit more chickpea flour to thicken.
- Always taste a corner piece before serving to check your seasoning levels.
 Pin
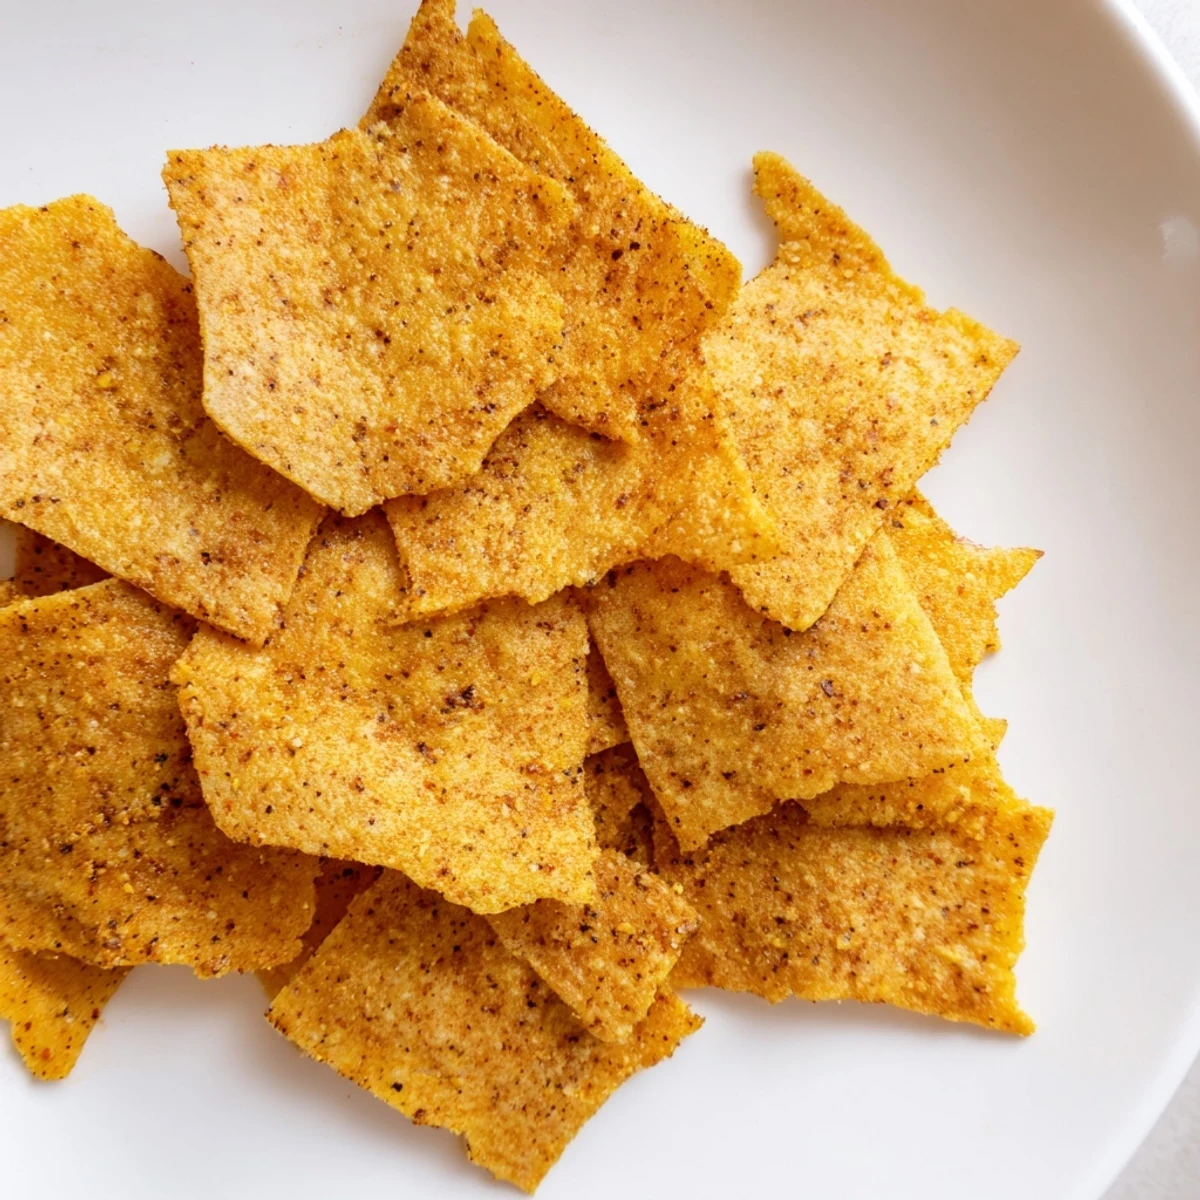
Pin Keep these in your back pocket for unexpected guests or late night cravings, and you will never look at a bag of store bought chips the same way again.
Recipe Questions & Answers
- → What makes these chips gluten-free?
-
Chickpea flour, also called gram flour, is naturally gluten-free since it's made from dried ground chickpeas rather than wheat. All seasonings and other ingredients used are also naturally gluten-free.
- → How do I achieve maximum crispiness?
-
Spread the batter as thinly as possible (2-3 mm) for even baking. Flip the chips halfway through cooking time. Let them cool completely before breaking into pieces, as they continue crisping while cooling.
- → Can I fry these instead of baking?
-
Yes, you can fry small pieces of batter in hot oil until golden and crispy. Drain on paper towels to remove excess oil. Baking yields lighter results with less fat.
- → What seasonings work best?
-
Smoked paprika, garlic powder, cumin, and black pepper create a savory blend. Try adding rosemary, thyme, onion powder, or nutritional yeast for different flavor profiles.
- → How should I store leftovers?
-
Keep completely cooled chips in an airtight container at room temperature for up to 3 days. Place a paper towel inside to absorb moisture. Re-crisp in a warm oven if needed.
- → What dips pair well with these chips?
-
Hummus creates a classic chickpea combination. Guacamole, salsa, tzatziki, or spinach-artichoke dip also complement the savory seasoned flavors perfectly.
