 Pin
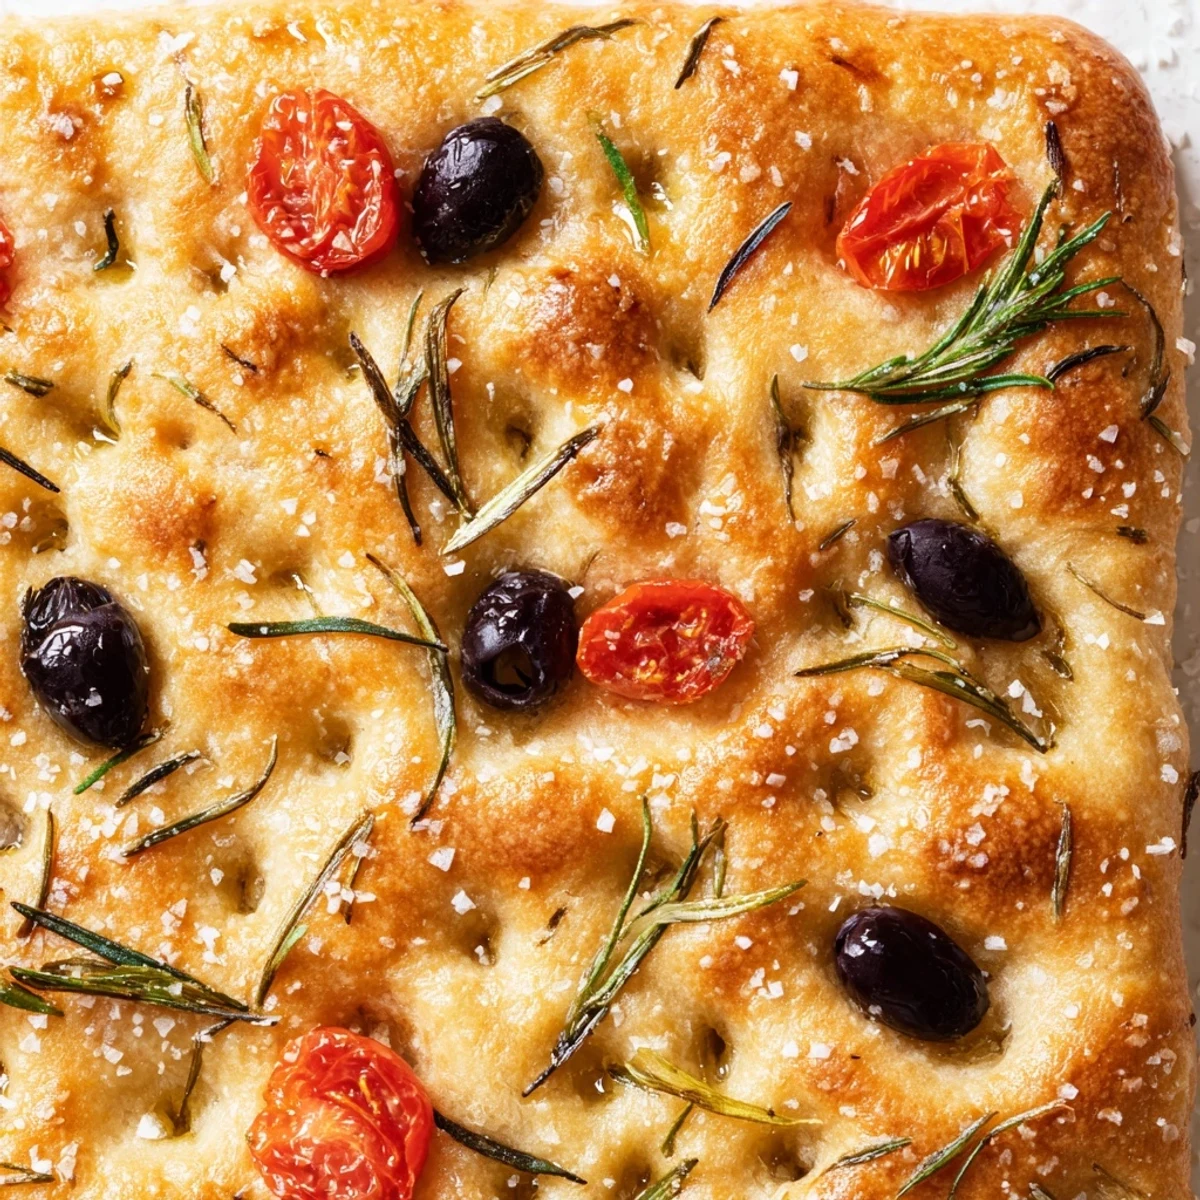
Pin Create authentic Italian focaccia in miniature form with irresistibly crispy exteriors and pillowy soft centers. These individual portions feature dimpled surfaces brushed generously with olive oil, topped with fragrant fresh rosemary and flaky sea salt. The simple yeast dough rises to perfection, developing those signature air pockets that make focaccia so satisfying.
Perfect for serving alongside soups and salads, as appetizers, or enjoyed warm as a satisfying snack. The optional additions of cherry tomatoes and briny black olives add bursts of flavor and color. Each golden round emerges from the oven with a satisfying crunch that gives way to an aromatic, herb-infused interior.
My tiny apartment kitchen smelled like an Italian bakery that first Sunday I attempted focaccia. I had zero experience with yeast breads, just determination and a borrowed cookbook. The dough rose right next to my radiator while I paced around wondering if I had killed it. That first batch came out oddly shaped but my roommates devoured them before they even hit the cooling rack.
Last summer I made a batch for my niece who was visiting from college. She stood watching me dimple the dough with my fingertips, absolutely fascinated by how much oil these little breads crave. We ate them warm from the oven, pulling apart the soft inside while the salty crust crunched. She asked for the recipe before she even finished her second one.
Ingredients
- All-purpose flour: Provides structure while keeping the interior tender and light
- Lukewarm water: Activates the yeast without killing it, aim for bath temperature
- Active dry yeast: The magic behind that beautiful rise and airy crumb
- Fine sea salt: Enhances flavor and strengthens the gluten structure
- Extra-virgin olive oil: Creates that signature crispy crust and rich taste
- Sugar: Feeds the yeast for a better rise and subtle sweetness
- Flaky sea salt: Adds those addictive salty bursts on top
- Fresh rosemary: Brings piney aromatic notes that complement the olive oil perfectly
- Cherry tomatoes: Roast into sweet jammy pockets if you choose to add them
- Black olives: Provide briny contrast to the rich bread
Instructions
- Wake up the yeast:
- Combine the lukewarm water and sugar in a large bowl, then sprinkle in the yeast. Give it a gentle stir and walk away for about five minutes. You want to see it get foamy and alive on top.
- Mix the dough:
- Add the flour, salt, and one tablespoon of olive oil right into that foamy yeast mixture. Stir with a wooden spoon until everything comes together into a sticky shaggy mass. Do not be tempted to add more flour.
- Knead it out:
- Scrape the dough onto a lightly floured surface and start kneading. Push the dough away from you with the heel of your hand, fold it back over, and repeat for about five to seven minutes until it feels smooth and elastic like a stress ball.
- Let it rise:
- Place your dough in a bowl coated with a little oil, turning it once to coat all sides. Cover with a damp cloth and tuck it somewhere warm for an hour until it has doubled in size. This is the hard part where you have to wait.
- Heat things up:
- Preheat your oven to 425°F and line a baking sheet with parchment paper. Position your oven rack in the center so the focaccia bakes evenly without getting too dark on top.
- Shape your minis:
- Punch down the risen dough to release the air, then divide it into eight equal pieces. Roll each into a rough ball and press them into small rounds or ovals on your prepared baking sheet. They will puff up considerably.
- Add those signature dimples:
- Use your fingertips to press deep indentations all over each mini focaccia. Brush them generously with olive oil, letting it pool in those little wells you just created. This creates that incredible crispy dimpled top.
- Load on the toppings:
- Sprinkle the flaky salt and chopped rosemary over each one. Press in cherry tomato halves and olive slices if you are using them. Make sure everything is nestled into the dough so it does not fall off.
- Bake to golden:
- Slide the tray into the hot oven and bake for eighteen to twenty minutes. You are looking for deep golden color with some darker crispy edges. They should sound hollow when you tap the bottom.
- Warm and ready:
- Let them cool on the baking sheet for just a few minutes. These are absolute perfection when still warm but totally cool enough to handle.
 Pin
Pin These little breads have become my go-to whenever friends drop by unexpectedly. I keep all the ingredients in my pantry and can have fresh warm bread on the table in under two hours. Something about tearing into your own personal focaccia makes people feel so taken care of.
Making Them Ahead
You can freeze the baked mini focaccia once they are completely cool. Wrap each one individually in plastic, then store them in a freezer bag for up to a month. Thaw at room temperature and pop them in a 350°F oven for about five minutes to refresh that crispy crust.
Flavor Variations
Sometimes I skip the toppings entirely and brush the dough with garlic infused olive oil before baking. Other times I press small cubes of fontina or mozzarella into the dimples for a cheesy version. The basic dough is incredibly forgiving and welcoming to whatever you are craving.
Serving Ideas
These mini focaccia are perfect alongside a bowl of soup or cut in half for slider sandwiches. I love serving them as part of an appetizer spread with hummus and marinated vegetables. The individual size makes them feel special and portioned perfectly for grabbing.
- Slice them in half and use for mini sandwiches
- Toast leftover pieces and rub with garlic for quick croutons
- Warm slightly and serve alongside any Italian inspired dinner
 Pin
Pin There is something deeply satisfying about making bread that does not require a bread machine or special skills. These mini focaccia deliver huge rewards for minimal effort, filling your kitchen with the most incredible aroma.
Recipe Questions & Answers
- → What makes focaccia different from regular bread?
-
Focaccia features a higher olive oil content and signature dimpled surface created by pressing fingers into the dough before baking. This results in a thicker, chewier texture with a crispy exterior and soft, airy interior that's distinct from standard sandwich loaves.
- → Can I prepare the dough ahead of time?
-
Yes, prepare the dough through the first rise, then refrigerate for up to 24 hours. Bring to room temperature before shaping and baking. This actually enhances flavor development and can make the dough easier to handle.
- → What herbs work best for topping?
-
Fresh rosemary is traditional, but thyme, oregano, or sage also work beautifully. Dried herbs can be used if fresh aren't available—use about one-third the amount. For optimal flavor release, chop fresh herbs finely before sprinkling.
- → How do I achieve maximum crispiness?
-
Use a baking stone preheated in the oven, and place the baking sheet directly on the hot stone. Ensure your oven is fully preheated to 425°F before baking. Brush generously with olive oil and don't overcrowd the baking sheet.
- → Can I freeze these for later?
-
Yes, freeze completely cooled focaccia in airtight bags for up to 3 months. Thaw at room temperature, then refresh in a 350°F oven for 5-7 minutes to restore crispiness. Alternatively, freeze unbaked after shaping and bake from frozen, adding a few minutes to baking time.
- → What's the purpose of dimpling the dough?
-
Dimpling creates those signature pockets that capture olive oil and toppings, distributing flavor throughout. It also helps control air bubble formation during baking, resulting in the characteristic uneven, chewy texture that makes focaccia so satisfying.
