 Pin
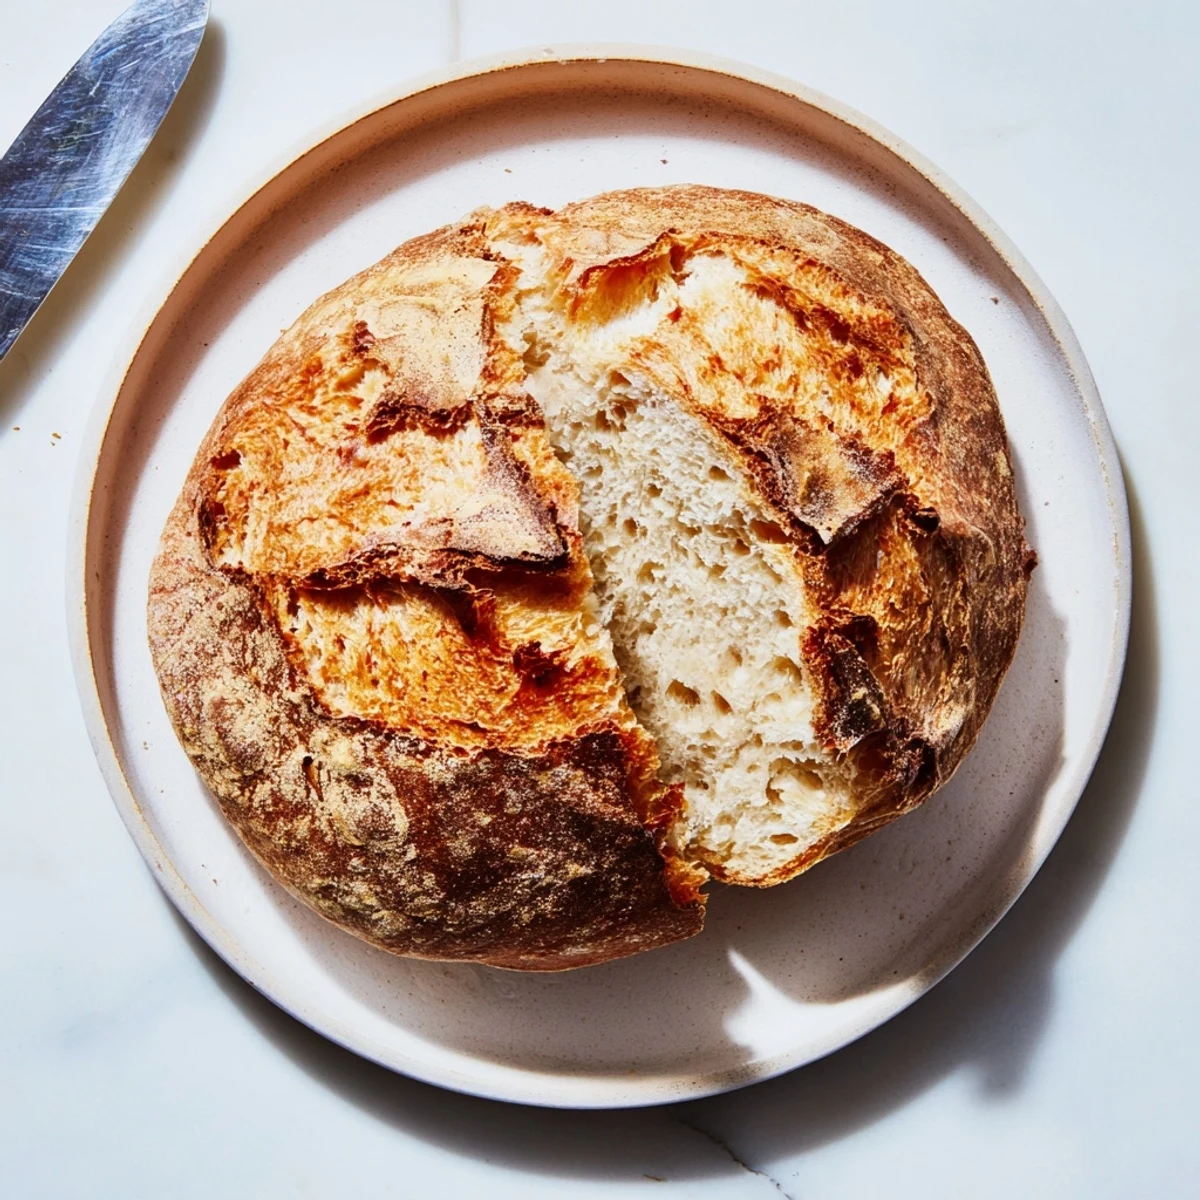
Pin Create bakery-worthy crusty bread at home with minimal effort. This artisan-style loaf features a shatteringly crisp golden crust enclosing a tender, airy interior with perfect chew. The overnight fermentation develops deep flavor while eliminating kneading entirely.
Baking in a preheated Dutch oven creates steam for that signature crackling crust. Enjoy warm with butter, toasted for breakfast, or use as the foundation for exceptional sandwiches. The dough requires just four basic ingredients and patience for an impressive 12-18 hour rise.
My tiny apartment kitchen became an accidental bread laboratory one winter when I discovered how little effort actually goes into crusty, bakery-style loaves. The steam from the shower bathroom trick was a disaster, but a preheated Dutch oven changed everything overnight. Something magical happens when that shaggy, neglected dough hits screaming hot iron and transforms into something that makes your whole building jealous.
I once brought a fresh loaf to a dinner party and watched it disappear before anyone even touched the main course. People kept asking which bakery Id visited, looking genuinely suspicious when I admitted Id mixed it that morning. Now it is my go-to for dinner invitations because nothing makes you look like a kitchen wizard quite than a bread that crackles when you slice it.
Ingredients
- All-purpose flour: Bread flour works too but regular flour gives a beautifully tender crumb that is perfect for everyday eating
- Salt: Do not reduce this as it is crucial for flavor development during the long fermentation
- Instant yeast: This fast-acting yeast eliminates any need for proofing or activating beforehand
- Lukewarm water: Think bathwater temperature, around body heat, to wake up the yeast without killing it
Instructions
- Mix the dough:
- Combine flour, salt, and yeast in a large bowl, then add water and stir until everything comes together into a rough, shaggy mass. Do not worry about smoothness or kneading, the long rest will handle all the gluten development for you.
- Let it rest:
- Cover the bowl loosely and leave it alone at room temperature for 12 to 18 hours. The dough should bubble up and double, looking alive and slightly sticky when you check on it.
- Shape the loaf:
- Turn the dough onto a floured surface and gently fold the edges toward the center to create a ball. Use just enough flour to keep it from sticking but avoid working it too much.
- Second rise:
- Place the dough on parchment paper, cover with a towel, and let it rest for 30 to 45 minutes while you preheat your oven with the Dutch oven inside.
- Bake with steam:
- Carefully transfer the dough into the screaming hot Dutch oven, cover immediately, and bake for 30 minutes before removing the lid to finish until deeply golden.
 Pin
Pin My sister now texts me photos of her bread adventures, usually with captions about feeling like a professional baker. We have turned long weekends into bread experiments, adding everything from roasted garlic to walnuts to rosemary. It became this unexpected way to connect across distance, sharing kitchen victories through photos of crackling crusts.
The Steam Secret
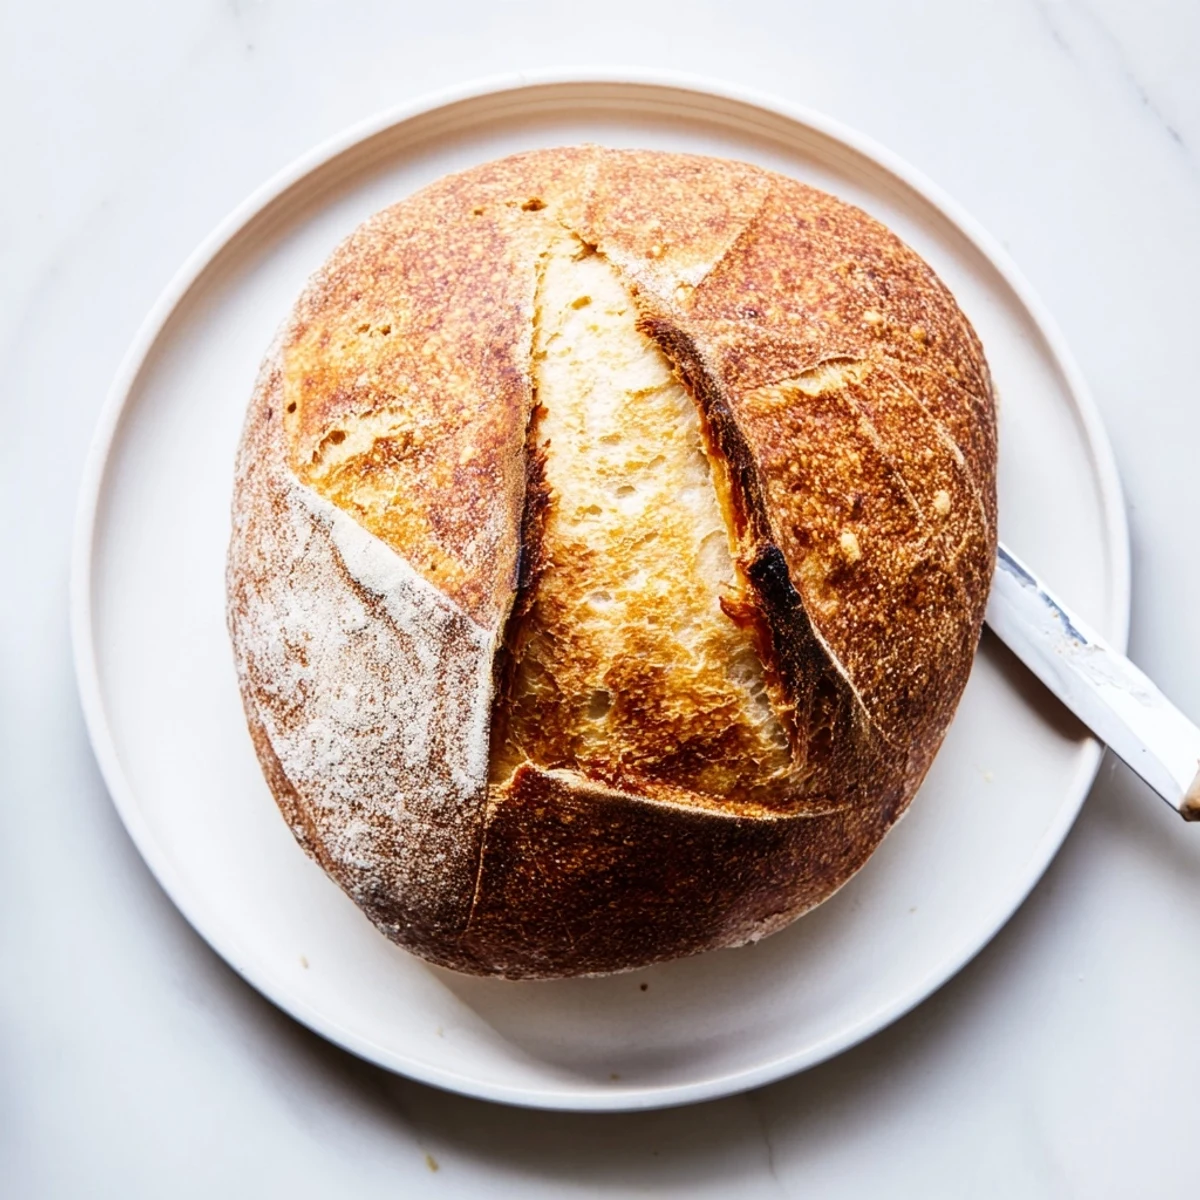
The covered pot creates a steam-filled environment that keeps the crust soft initially, allowing the bread to expand fully before setting. This mimics professional steam injection ovens and is exactly what gives bakery bread that signature crackly crust and open crumb structure.
Timing Your Bake
Mix the dough in the evening after dinner and it will be ready to shape and bake by lunchtime the next day. The long, slow fermentation develops deep flavor complexity that you simply cannot achieve with quick-rise methods.
Making It Your Own
Once you master the basic loaf, experiment with additions mixed in during the initial combining step. Add-ins should be folded in gently right after you add the water.
- Chopped olives transform this into perfect sandwich bread
- Roasted garlic cloves create the most incredible savory variation
- Fresh herbs like rosemary or thyme add fragrance that fills your whole kitchen
 Pin
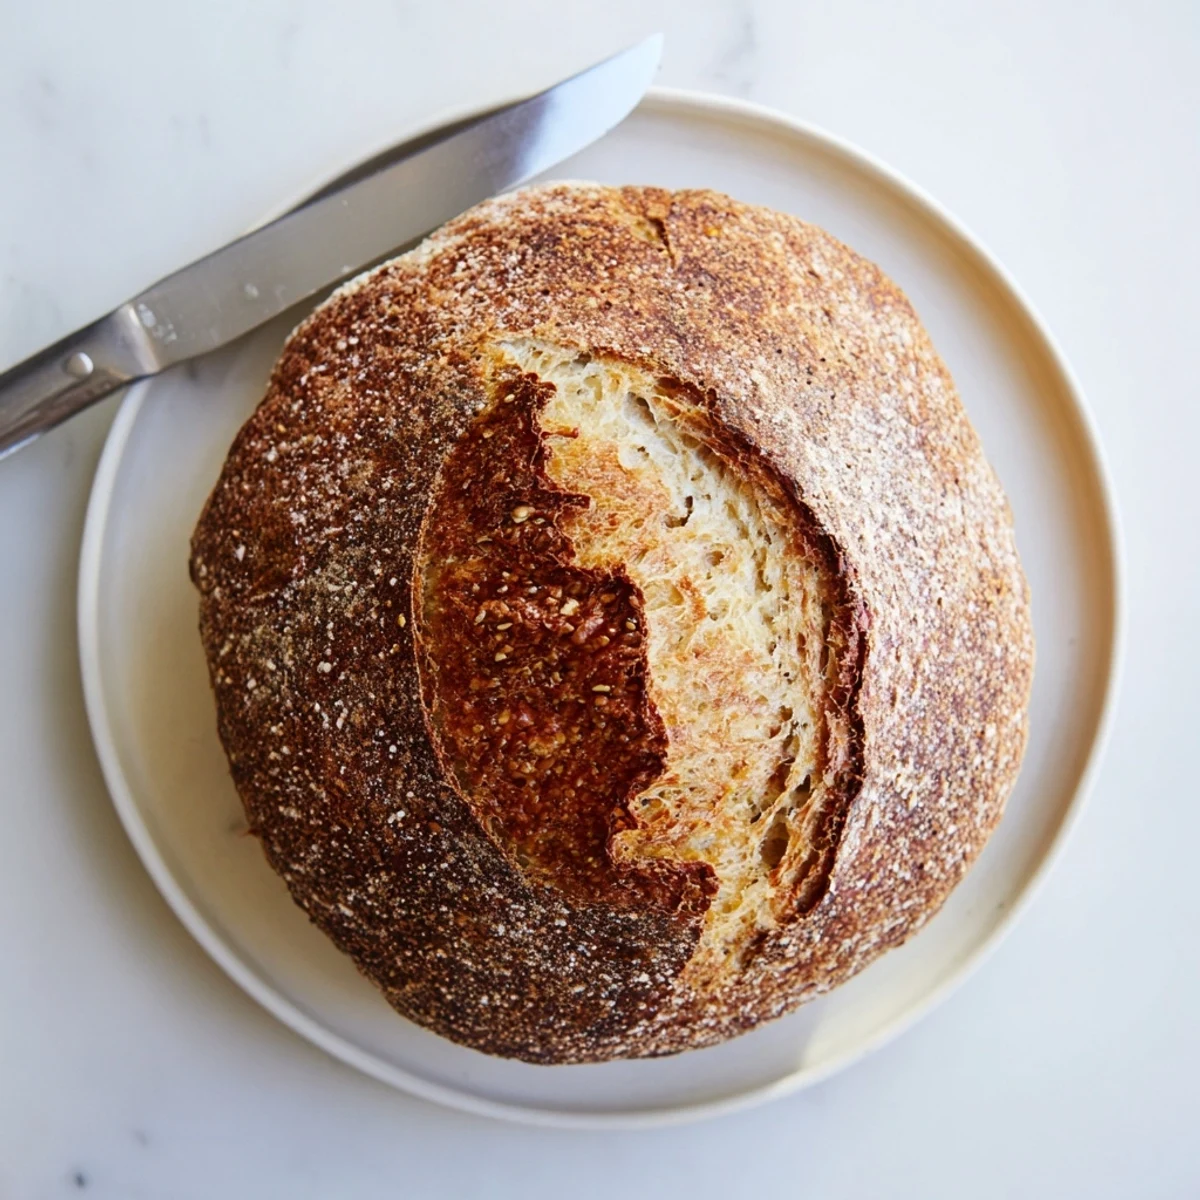
Pin There is something deeply satisfying about serving bread you made yourself, especially when people assume it came from a bakery. This recipe rewards patience and minimal effort with maximum bragging rights.
Recipe Questions & Answers
- → Why does crusty bread need such a long rising time?
-
The extended 12-18 hour rise allows natural fermentation to develop complex flavor and strengthen the gluten network without kneading. This slow process creates that authentic artisan taste and texture you'd find in European bakeries.
- → What makes the crust crackle and turn golden?
-
Baking in a preheated Dutch oven traps steam from the dough, creating a moist environment that allows the crust to expand before crisping. The intense heat from the heavy pot produces that signature golden color and crackling texture.
- → Can I bake this without a Dutch oven?
-
While a Dutch oven yields the best results, you can use a heavy cast iron skillet with a fitted lid, or place a metal bowl of water in the oven while baking to create steam. The crust may be slightly less crackling but still delicious.
- → How do I know when the dough is properly fermented?
-
Look for bubbles on the surface and a dough that has roughly doubled in size. It should look puffy and slightly jiggly when you gently shake the bowl. The surface may also show some small fermentation bubbles.
- → Why must I wait before slicing the bread?
-
Letting crusty bread cool for at least 30 minutes allows the internal moisture to redistribute throughout the loaf. Cutting too soon releases steam and can make the interior gummy or dense, rather than airy and tender.
- → Can I add mix-ins like olives or herbs?
-
Absolutely. Add chopped olives, roasted garlic, fresh herbs, cheese, or dried fruits during the initial mixing. These additions blend beautifully with the long fermentation and create exciting variations on the classic loaf.
