 Pin
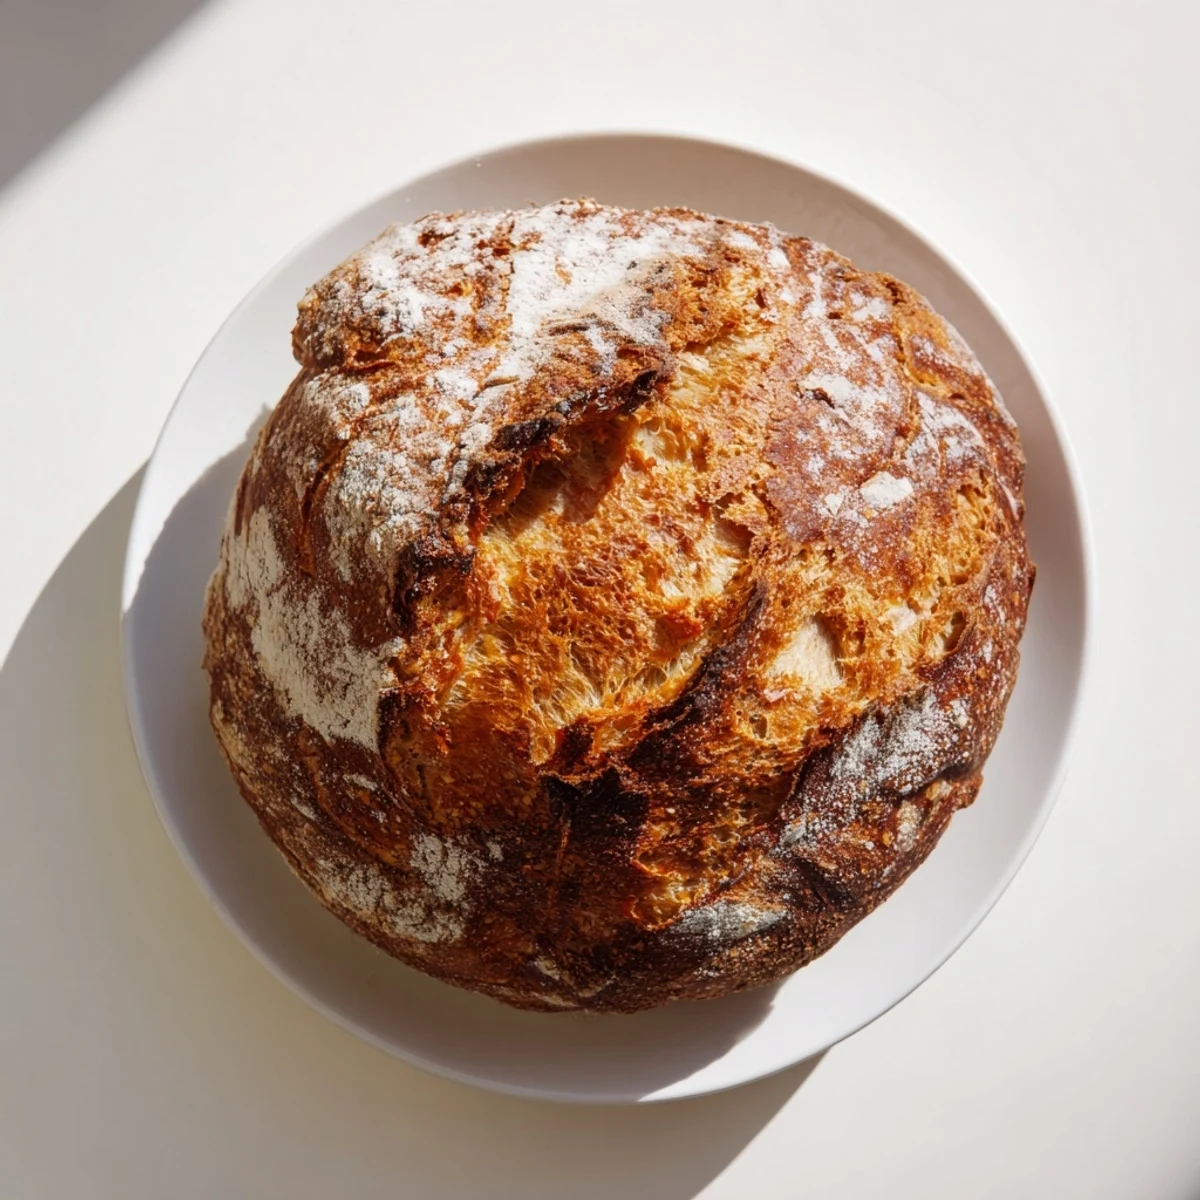
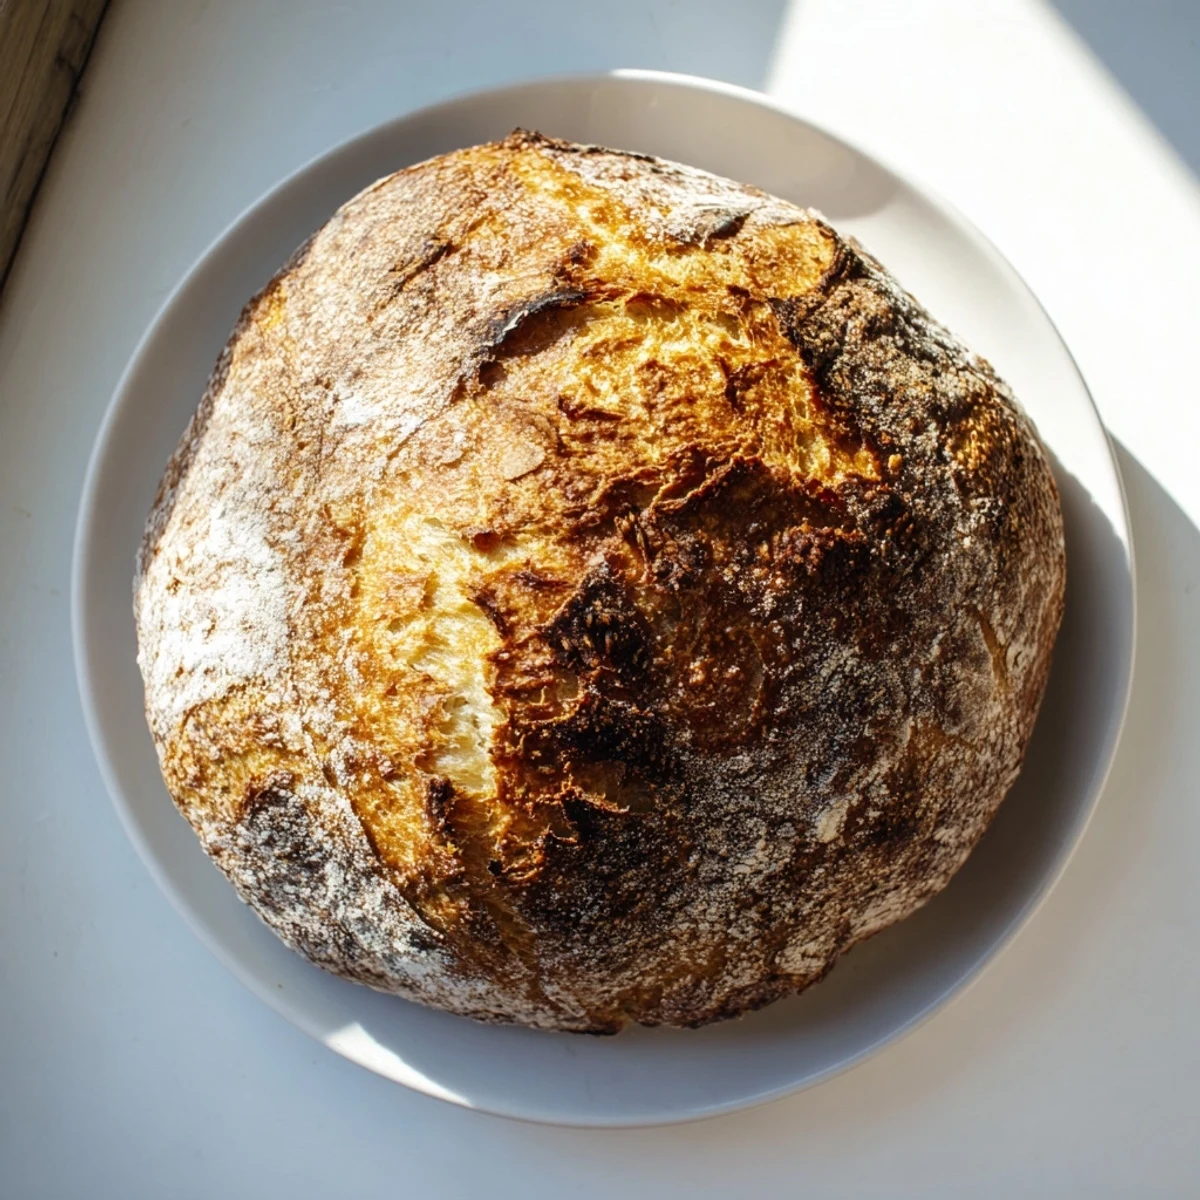
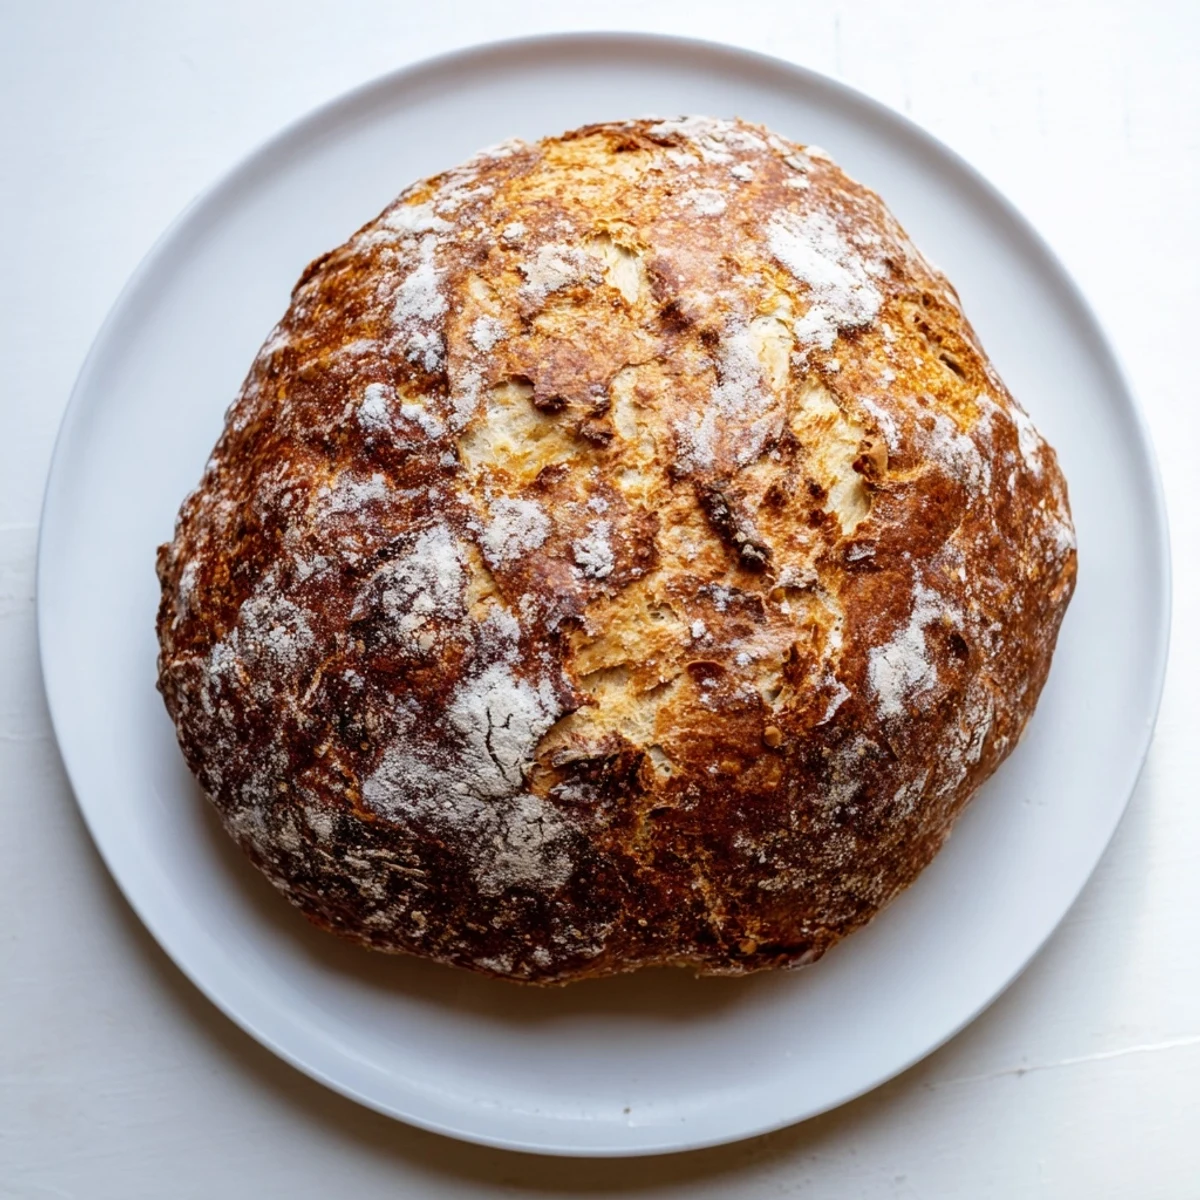
Pin Master the art of artisan breadmaking without the labor-intensive kneading process. This foolproof method combines flour, salt, yeast, and water for a dough that transforms overnight into a bubbly, fermented mixture ready for baking. The Dutch oven creates professional steam, resulting in a crackling crust and tender crumb that rivals bakery loaves.
Total hands-on time is just 10 minutes, making this ideal for busy schedules. The long fermentation develops complex flavors and improves digestibility. Customize with olives, nuts, or dried fruits for variation, or substitute up to one-third whole wheat flour for added nutrition.
The smell of this bread baking transforms an ordinary Tuesday into something special. I started making it during those endless winter months when leaving the house felt like a production, and now it is my weekend default. The first time I pulled that crackling, golden loaf from the oven, my kitchen smelled like a professional bakery. My roommate actually emerged from their bedroom asking if I had secretly enrolled in culinary school.
I once made three loaves in a single week because friends kept asking for the recipe. One friend admitted they ate half a loaf standing at their counter the moment it cooled down. This bread has this way of disappearing, warm and perfect, with just a smear of salted butter. It turns simple soup into a meal worth savoring.
Ingredients
- 3 1/4 cups bread flour: Bread flour gives the best chew, but all purpose works perfectly fine too
- 1 1/2 teaspoons salt: Do not reduce this, it is crucial for flavor and proper fermentation
- 1/2 teaspoon instant yeast: The long rise means you need very little yeast for big flavor
- 1 1/2 cups lukewarm water: Think bath temperature, about 100°F, to activate the yeast properly
- Extra flour or cornmeal: This prevents sticking and adds a professional touch to the bottom crust
Instructions
- Mix your dough:
- Whisk flour, salt, and yeast in a large bowl, then add water and stir until you have a shaggy, sticky dough
- Let it work its magic:
- Cover tightly and walk away for 12 to 18 hours while bubbles form and everything doubles in size
- Shape gently:
- Turn dough onto a floured surface and coax it into a rough ball with well floured hands
- Rest again:
- Place on parchment paper, cover, and let relax for 30 to 60 minutes while you preheat your oven
- Get your oven ready:
- Put your Dutch oven inside and heat to 450°F for at least 30 minutes so it is screaming hot
- Bake with steam:
- Transfer dough with parchment into the hot pot, cover, and bake for 30 minutes to create oven spring
- Create that crust:
- Remove the lid and bake another 12 to 15 minutes until deep golden brown and sounding hollow when tapped
- Cool completely:
- Let the loaf rest on a wire rack until fully cool or the inside will be gummy when you slice
 Pin
Pin This bread became my go-to host gift because people lose their minds over it. I once brought a loaf to a dinner party and the host actually texted me the next day begging for the recipe. There is something impossibly impressive about serving homemade bread that tastes like it came from a wood fired oven.
Making It Your Own
I have folded in chopped rosemary, grated garlic, and even cubes of cheddar cheese right before the second rise. Olives and sun dried tomatoes turn this into an entirely different experience. Just remember that add ins can affect hydration, so start with less than you think you need.
Storing Your Loaf
This bread stays surprisingly fresh for two days wrapped in a clean kitchen towel. After that, slice and freeze it in a freezer bag, then toast straight from frozen. I learned the hard way that plastic bags make the crust soft and sad, while paper bags keep it perfectly crisp.
Serving Suggestions
Warm slices with salted butter are honestly all you need, but this bread elevates any meal. Toast it and rub with raw garlic and tomato for a bruschetta situation. Use day old slices for panzanella or bread pudding because nothing should go to waste.
- Dip into olive oil with cracked pepper and flaky salt
- Use for epic grilled cheese with aged cheddar
- Serve alongside hearty soups and stews
 Pin
Pin There is something deeply satisfying about making bread that feels both ancient and entirely achievable. Your kitchen will smell incredible, and you did almost none of the work.
Recipe Questions & Answers
- → Why does the dough need to rise for 12-18 hours?
-
The extended fermentation allows natural enzymes to break down starches and proteins, developing deeper flavor complexity while making nutrients more bioavailable. This slow rise also creates the characteristic open crumb structure and improves the bread's keeping quality.
- → Can I reduce the rising time?
-
While possible, shorter rising periods sacrifice flavor development and texture. For a faster version, you could increase the yeast slightly and reduce the time to 8-10 hours, though the results won't match the depth of the original method.
- → What if I don't have a Dutch oven?
-
A heavy cast iron pot with a tight-fitting lid works equally well. Alternatively, bake on a preheated baking stone and create steam by placing a tray of ice cubes on the bottom rack of your oven.
- → How do I know when the bread is done baking?
-
The loaf should have a deep golden-brown crust, and when tapped on the bottom, it should sound hollow. An instant thermometer inserted into the center should read 200-205°F (93-96°C) for perfectly baked interior.
- → Can I freeze the dough or baked loaf?
-
The baked loaf freezes exceptionally well—wrap cooled bread tightly in plastic and foil for up to 3 months. Thaw at room temperature and refresh in a 350°F oven for 10 minutes. Freezing the raw dough isn't recommended as the long fermentation is essential to the process.
- → Why is my dough too sticky or too dry?
-
Humidity and flour absorption vary. If the dough seems dry, add water one tablespoon at a time. If too sticky to handle, incorporate additional flour gradually. The shaggy, sticky texture described is correct—the dough hydrates significantly during the long rest period.
