 Pin
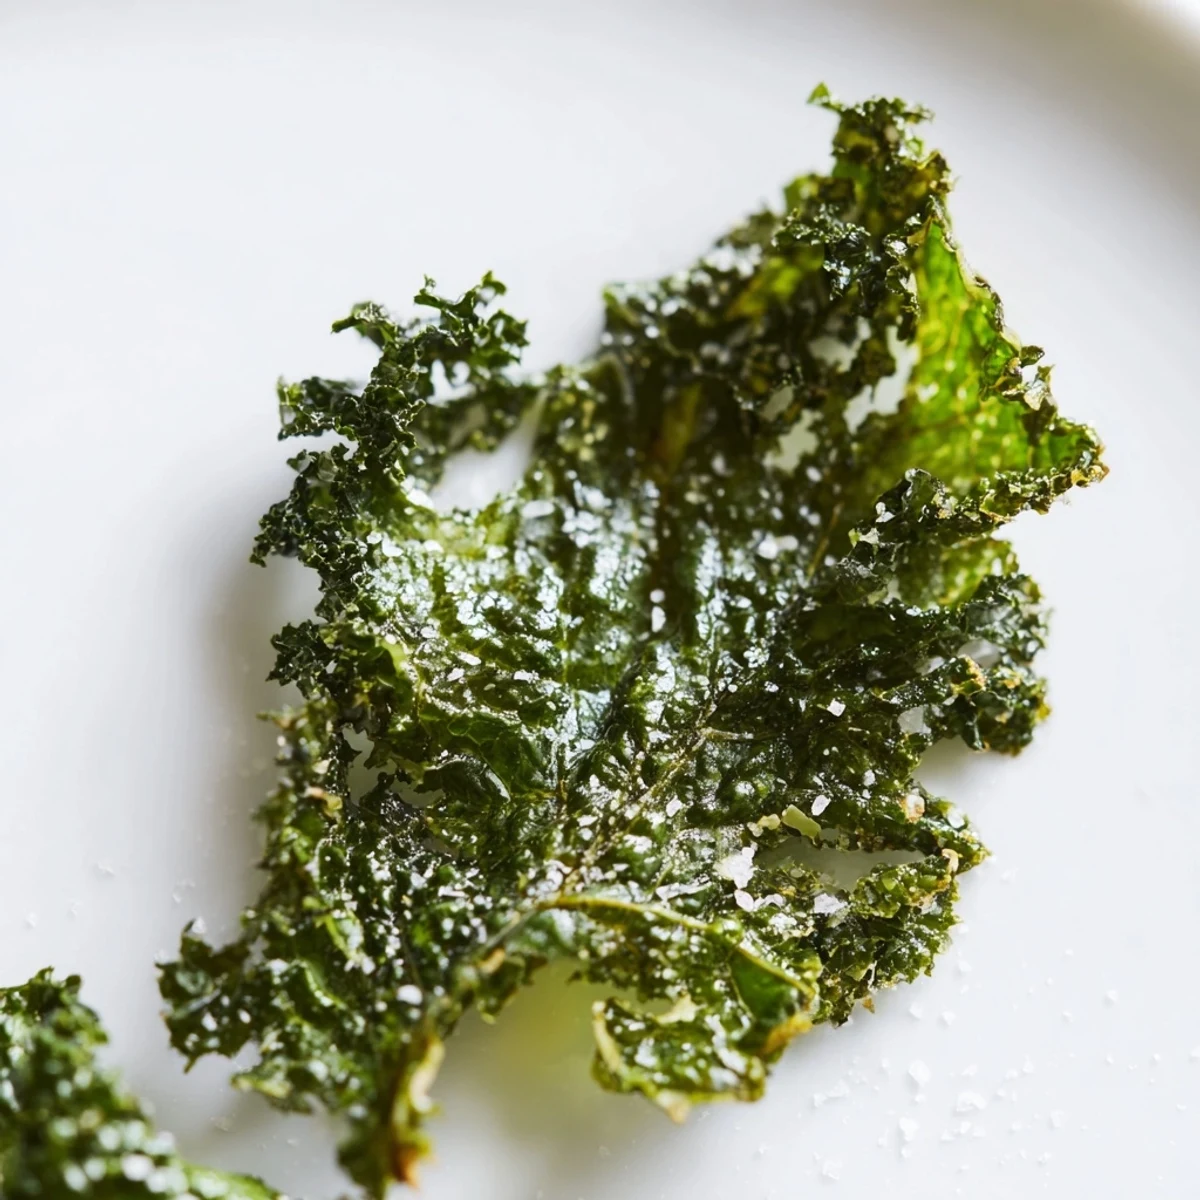
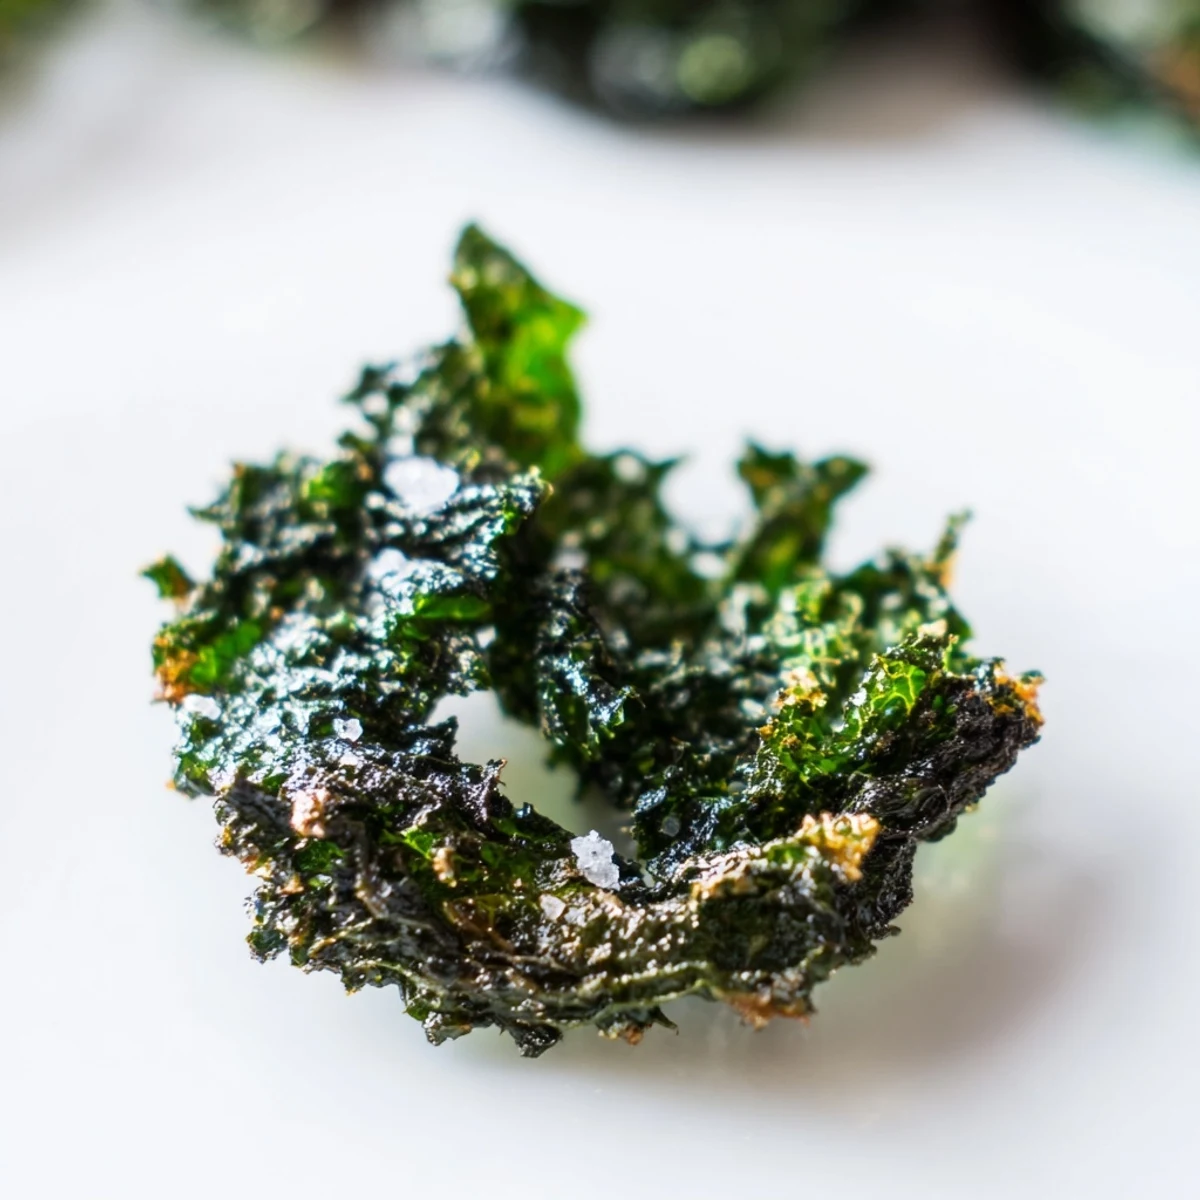
Pin Transform fresh green kale into irresistible, crispy chips with just olive oil and sea salt. This simple, healthy snack is perfect for satisfying crunchy cravings. Begin by thoroughly washing and drying your kale, then gently massage with olive oil and sea salt to ensure even coating. Spread the seasoned leaves in a single layer on baking trays, avoiding overlap for optimal crisping. Bake in a preheated oven until golden and perfectly brittle, about 15-18 minutes, making sure to watch closely towards the end to prevent burning. Serve these addictive chips as a guilt-free treat or a flavorful side. They store well in an airtight container for up to two days, though they're best enjoyed fresh from the oven.
I remember the first time I made these kale chips; it was a Tuesday evening, and I was craving something crunchy but didn't want the usual potato chips. The smell of the roasting kale wafting from the oven, mingling with a hint of olive oil, immediately piqued my curiosity. There’s something so satisfying about transforming a humble green into an irresistible, airy crisp. These green kale chips quickly became a staple in my kitchen, a testament to how simple ingredients can create pure magic.
I vividly recall a lazy Sunday afternoon, my friend Sarah was over, and she looked utterly baffled when I pulled out a huge bunch of kale. "We're making chips?" she asked, a hint of skepticism in her voice. But watching her face light up with surprise after her first bite, followed by a frantic reach for another, was pure joy. It proved to me that even the most health-averse can fall for these crispy delights.
Ingredients
- 1 large bunch green kale (about 200 g): Don't shy away from the darker, more robust varieties; they hold their structure beautifully and offer a delightful earthy flavor. The key here is to get it bone-dry after washing, as any lingering moisture will steam instead of crisp.
- 1½ tablespoons olive oil: Just enough to help the salt stick and promote that lovely crispiness without making the chips greasy. A good quality extra virgin olive oil can really elevate the overall taste.
- ½ teaspoon sea salt (or to taste): The coarser grains of sea salt cling better to the kale and provide a satisfying burst of flavor with every crunch. Start with a little, you can always add more after baking if needed.
Instructions
- Set the Stage:
- Preheat your oven to a cozy 150°C (300°F) and lay out two baking trays with parchment paper. This parchment is your best friend here, preventing any sticking and making cleanup a breeze.
- Wash and Spin Dry:
- Give your kale a thorough rinse under cool water, then—and this is crucial—dry it with absolute dedication. A salad spinner is fantastic for this; otherwise, pat it meticulously with kitchen towels until there's not a drop of moisture left.
- Massage with Love:
- Toss the super-dry kale pieces into a large bowl. Drizzle over the olive oil and sprinkle the sea salt generously. Now, get in there with your hands and gently massage each leaf, ensuring every single piece is lightly coated, feeling the oil spread evenly.
- Arrange and Roast:
- Spread your seasoned kale in a single, uncrowded layer across the prepared baking trays. Pop them into the preheated oven for 10 minutes, then rotate the trays and bake for another 5 to 8 minutes, keeping a keen eye on them as they crisp up and develop beautiful, slightly browned edges.
- Cool and Crunch:
- Once they're perfectly crisp, pull the trays from the oven and let them cool for just a few minutes. That cooling time helps them achieve their ultimate crunch factor before you dive in.
 Pin
Pin There was one time, during a particularly stressful work week, that these kale chips became my evening ritual. I’d make a fresh batch, the subtle aroma filling the kitchen, and just sit quietly, enjoying the satisfying crunch with each bite. It wasn't just a snack; it was a small moment of peace, a mindful pause that felt nourishing for both my body and my spirit.
Unlocking Flavor Potential
These chips are a fantastic blank canvas for all sorts of flavor experiments. I've often played around with a pinch of smoked paprika for a smoky depth or a dash of garlic powder for an aromatic kick. Nutritional yeast is another winner, adding a savory, cheesy note that's surprisingly delicious and completely vegan.
The Art of the Dry
Honestly, the drying stage is where success is truly forged. I learned the hard way with a few batches of sadly limp kale chips that even a tiny bit of water will sabotage your efforts. I use a salad spinner vigorously, then spread the leaves on clean kitchen towels and even let them air-dry for a bit if I have time, flipping them once.
Storage & Freshness
For the absolute best texture, these chips are truly at their peak right after cooling. However, if you do find yourself with leftovers, proper storage can extend their crunch just a little.
- Let them cool completely to room temperature before even thinking about storage.
- Transfer the cooled chips into an airtight container, ensuring it’s completely sealed off from humidity.
- They will maintain a decent crispness for up to two days, though they often get devoured much faster than that!
 Pin
Pin So go on, give these Green Kale Chips a try and discover the simple joy of a truly satisfying, healthy snack. They're a little taste of green goodness that always hits the spot.
Recipe Questions & Answers
- → How do I ensure my kale chips get crispy?
-
The key to truly crispy kale chips is to dry the kale leaves very thoroughly after washing. Any residual moisture will steam the kale instead of baking it to a crisp. A salad spinner is highly recommended, followed by patting the leaves with kitchen towels. Also, ensure the kale pieces are spread in a single layer on the baking sheet without overlapping to allow for even air circulation and baking.
- → What are some variations for seasoning kale chips?
-
While sea salt is a classic, you can easily customize the flavor. Try adding a pinch of smoked paprika for a smoky depth, garlic powder for an aromatic touch, or nutritional yeast for a cheesy, umami flavor. Onion powder, chili powder, or even a dash of cayenne can also elevate your chips. Experiment to find your favorite!
- → How long do homemade kale chips stay fresh?
-
For the best texture and crispness, homemade kale chips are ideal when consumed the same day they are baked. If you have leftovers, store them in an airtight container at room temperature for up to two days. Over time, they may lose some of their crunch due to moisture absorption, but they will still be flavorful.
- → Why do my kale chips burn easily?
-
Kale chips can burn quickly because they are thin and have a low moisture content once dried. It's crucial to bake them at a relatively low temperature (like 150°C / 300°F) and to watch them closely, especially during the last few minutes of baking. Rotating the trays halfway through ensures even cooking. The chips are done when crisp and slightly browned, not dark or charred.
- → Can I use other types of kale for this recipe?
-
Yes, while green kale is commonly used, you can also make chips with lacinato (dinosaur) kale or red kale. The preparation method remains the same: remove the tough stems, tear into bite-sized pieces, wash, dry thoroughly, and then season and bake. Lacinato kale often yields a slightly thinner, more delicate chip.
- → Is massaging the kale with oil really necessary?
-
Yes, gently massaging the kale with olive oil is a crucial step. It helps to evenly distribute the oil and seasoning across all the leaves, ensuring every piece gets coated. This even coating is vital for achieving uniform crispness and flavor throughout your batch of chips. It also helps to slightly tenderize the kale before baking.
