 Pin
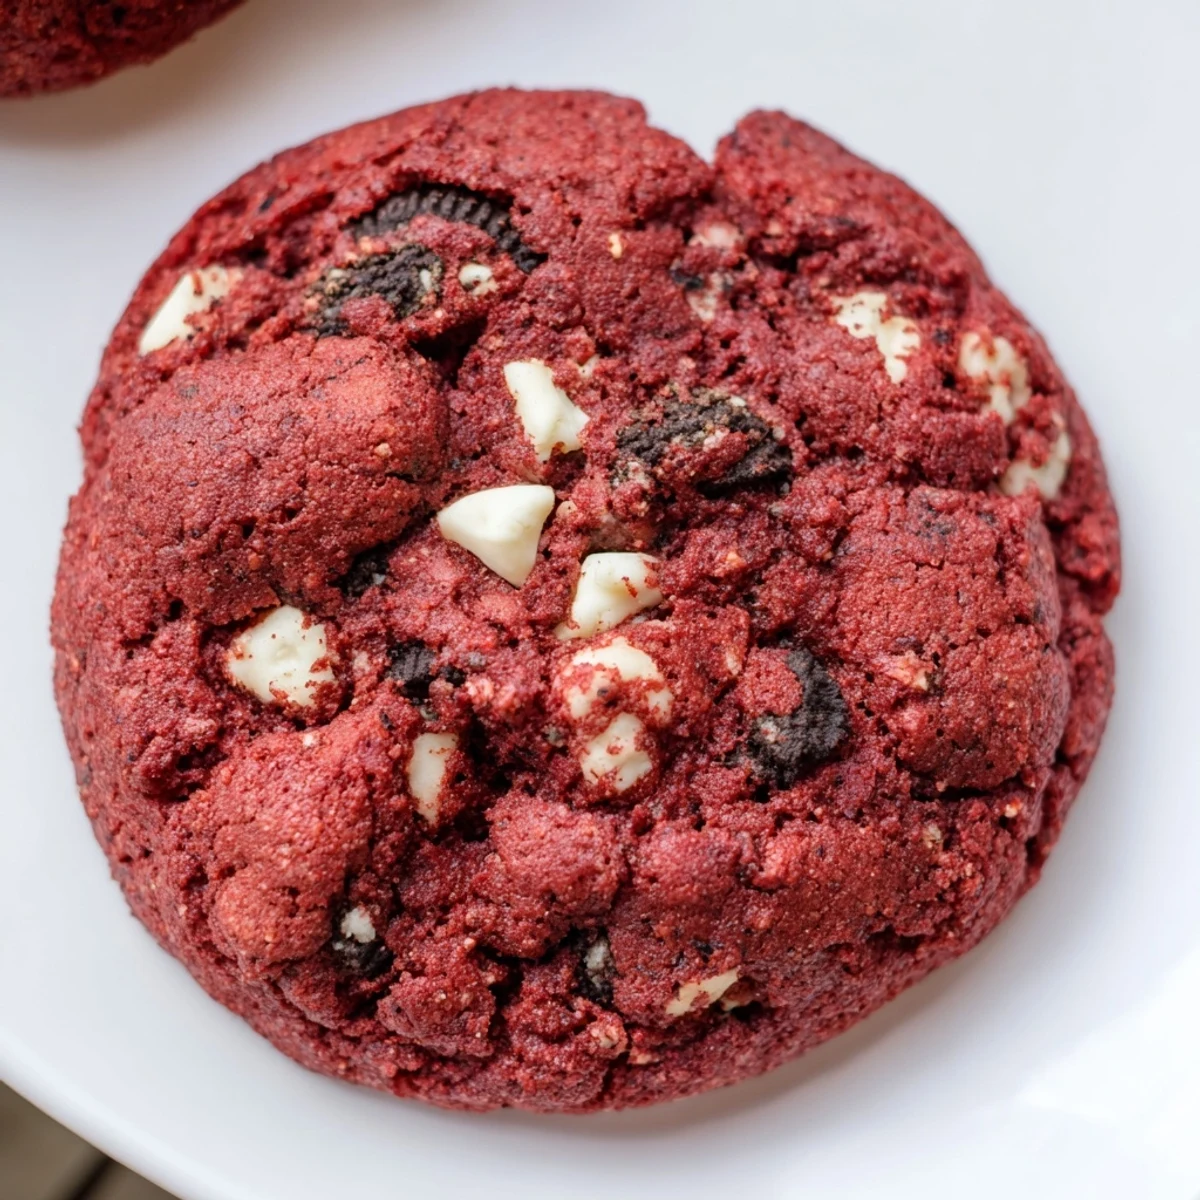
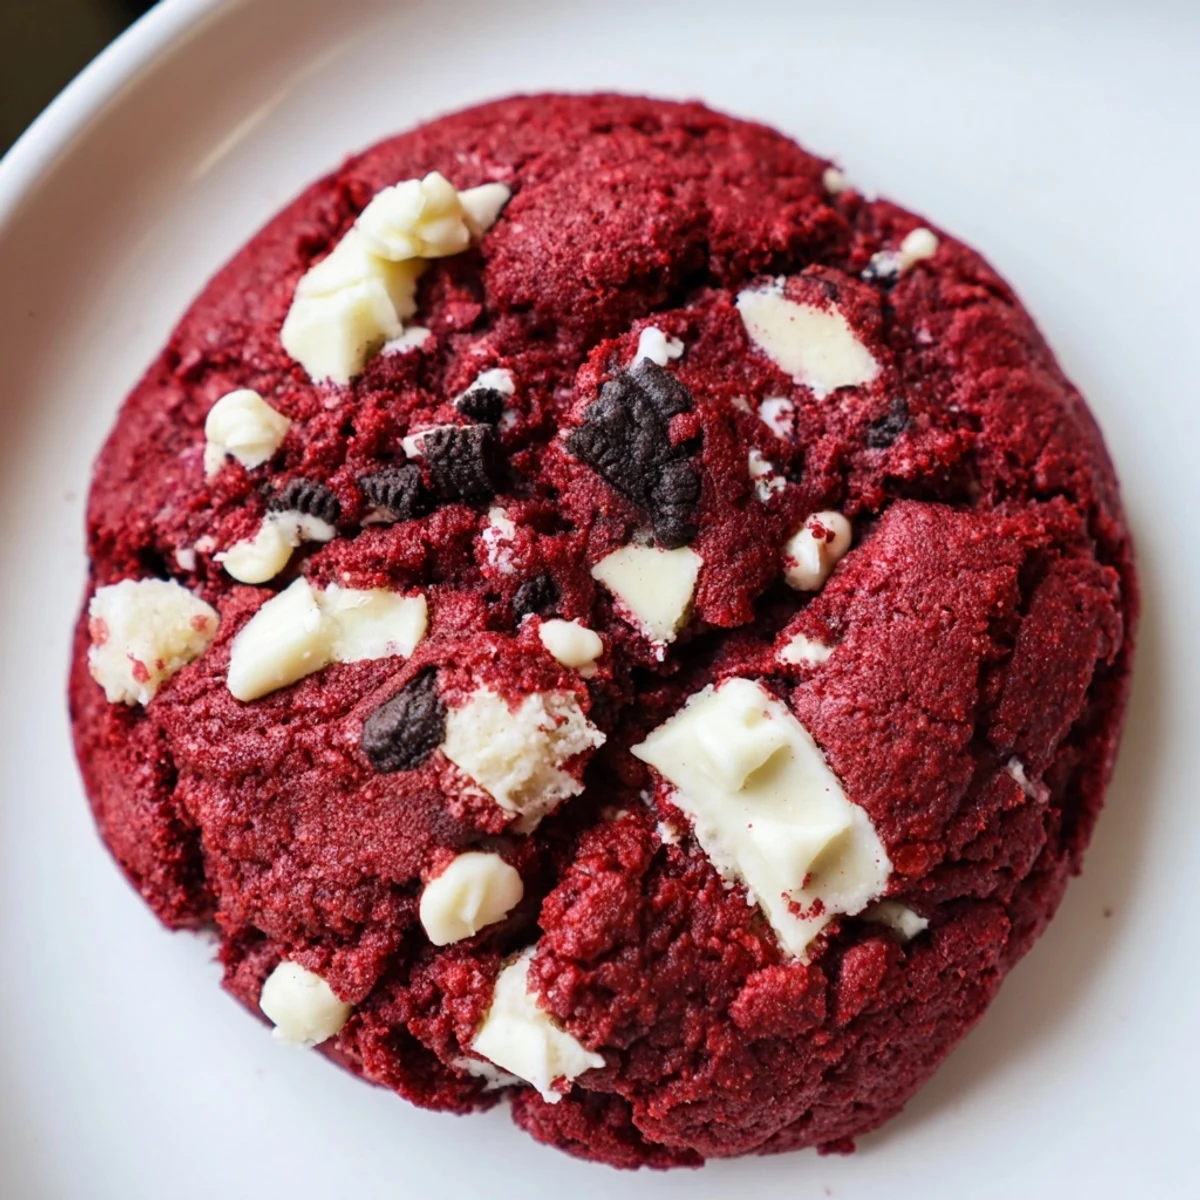
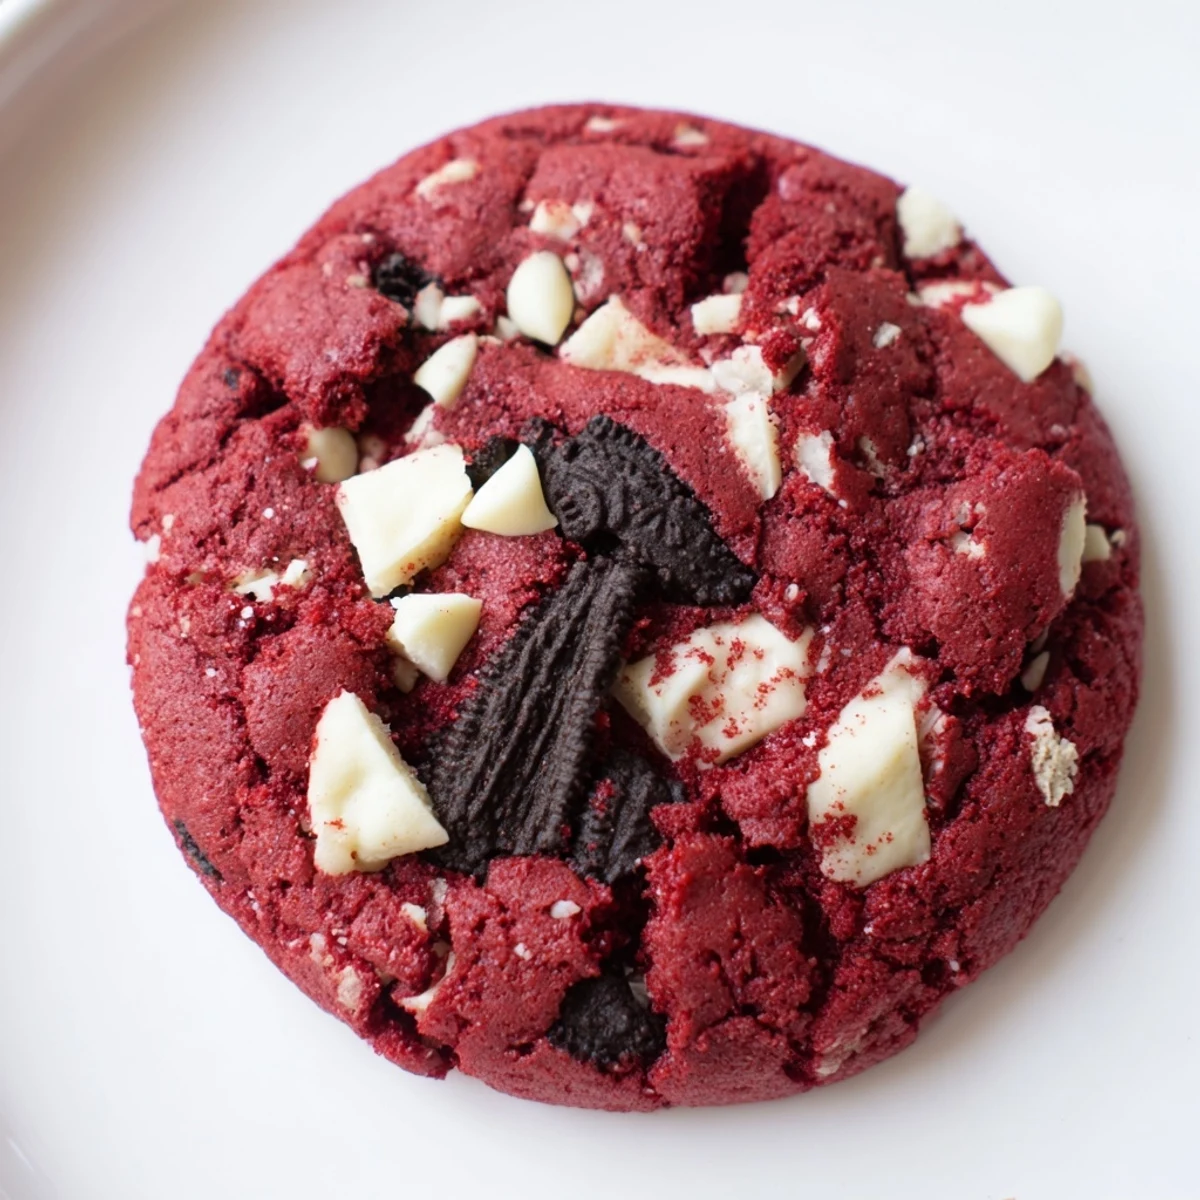
Pin These soft red velvet cookies bring together the best of both worlds—rich cocoa flavor and classic cookies-and-cream texture. The vibrant red dough gets its signature color from gel food coloring, while white chocolate chips add creamy sweetness throughout every bite.
What makes these truly special is the generous amount of chopped Oreo cookies folded into the batter. You'll get that familiar crunch and creaminess in each mouthful, creating the perfect contrast to the tender, cake-like cookie base.
Baking takes just 12 minutes, resulting in cookies with set edges and slightly soft centers—the ideal texture for maximum freshness. Let them cool on the baking sheet for 5 minutes to finish setting before transferring to a wire rack.
The first time I made these red velvet Oreo cookies, my kitchen counter looked like a crime scene. Red food coloring was everywhere, but one bite of that soft, cocoa-kissed dough with chunks of cream-filled cookies made me forget the mess entirely. Now they are the most requested treat at every gathering.
Last December, my neighbor texted me at midnight asking for the recipe because her husband kept talking about the cookies she tasted at our holiday party. That is when I knew these were not just cookies, they were conversation starters.
Ingredients
- All-purpose flour: The backbone that gives these cookies structure without making them cakey
- Unsweetened cocoa powder: Do not skip this, it provides that signature red velvet depth
- Baking soda: Helps achieve those perfectly puffy centers
- Salt: Balances the sweetness and intensifies the cocoa flavor
- Unsalted butter: Room temperature is non-negotiable for that creamy base
- Light brown sugar: Adds moisture and a subtle caramel note
- Granulated sugar: Creates crisp edges while keeping centers chewy
- Egg plus yolk: The extra yolk is my secret for ultra-rich dough
- Vanilla extract: Pure vanilla makes all the difference here
- Milk: Just enough to bring the dough together without making it sticky
- Red food coloring: Gel coloring gives you that vibrant red without altering the texture
- White chocolate chips: Creamy sweetness that plays beautifully with the cocoa
- Oreo cookies: Roughly chopped so every bite gets that cookies-and-cream moment
Instructions
- Preheat your oven:
- Set it to 350°F and line two baking sheets with parchment paper
- Whisk the dry ingredients:
- Combine flour, cocoa powder, baking soda, and salt in a medium bowl
- Cream the butter and sugars:
- Beat them for 2-3 minutes until the mixture looks pale and fluffy
- Add the wet ingredients:
- Mix in the egg, yolk, vanilla, milk, and red food coloring until everything is incorporated
- Combine everything:
- Gradually fold in the dry ingredients just until the flour disappears
- Add the mix-ins:
- Gently fold in those white chocolate chips and chopped Oreos
- Scoop the dough:
- Drop rounded balls about 2 inches apart on your prepared sheets
- Bake to perfection:
- 10-12 minutes until edges are set but centers still look slightly underdone
- Cool them down:
- Let them rest on the baking sheet for 5 minutes before moving them
 Pin
Pin These became my go-to birthday treat after my sister said they tasted like a bakery cookie but better. Now I double the batch and keep some dough in the freezer for emergency cookie cravings.
Getting That Perfect Red Color
I learned the hard way that liquid red food coloring can throw off your dough consistency. Gel coloring delivers that vibrant red without adding extra moisture, and a little goes a long way. Start with one teaspoon and add more until you reach your desired shade.
The Chopping Strategy
Rough chopping the Oreos creates varied sizes throughout each cookie. Some pieces melt into the dough while others stay distinct, giving you that perfect cookies-and-cream experience in every single bite. Do not worry about uniform pieces here.
Storage Secrets
These cookies stay soft for days when stored in an airtight container, but they rarely last that long in my house. For longer storage, freeze the baked cookies or scoop and freeze raw dough to bake fresh whenever the mood strikes.
- Place a piece of bread in the container to keep cookies extra soft
- Warm frozen dough balls for 30 seconds before baking for best results
- Room temperature storage keeps them perfectly chewy for up to five days
 Pin
Pin There is something magical about biting into a warm red velvet cookie with cream-filled cookie pieces. Hope these become your new favorite too.
Recipe Questions & Answers
- → Why are my cookies flat?
-
Flat cookies usually happen when the butter was too soft or the dough wasn't chilled. Make sure your butter is softened to room temperature but not melting. If your kitchen is warm, chill the dough for 15-20 minutes before baking.
- → Can I use liquid food coloring instead of gel?
-
Yes, but you'll need more liquid coloring to achieve the same vibrant red hue. Gel coloring is more concentrated, so start with 1 tablespoon of liquid and add more as needed. Keep in mind that extra liquid may slightly affect the dough consistency.
- → How do I store these cookies?
-
Store in an airtight container at room temperature for up to 5 days. Place a piece of parchment paper between layers to prevent sticking. For longer storage, freeze the baked cookies for up to 3 months or freeze the dough balls to bake fresh later.
- → Can I make the dough ahead of time?
-
Absolutely. The dough can be refrigerated for up to 48 hours before baking. In fact, chilling the dough enhances the flavor and helps prevent excessive spreading. When ready to bake, let the dough sit at room temperature for 10 minutes before scooping.
- → What's the best way to chop the Oreos?
-
Roughly chop the Oreos into various-sized pieces—some chunks and some smaller bits. This creates better texture distribution throughout the cookies. You can use a knife or pulse them in a food processor for just a few seconds. Don't crush them into fine crumbs.
- → Why should I remove the cookies while centers look underbaked?
-
Red velvet cookies continue cooking on the hot baking sheet after removal from the oven. Taking them out when centers appear slightly underbaked ensures they stay soft and chewy rather than becoming dry or cakey. The residual heat completes the baking process perfectly.
