 Pin
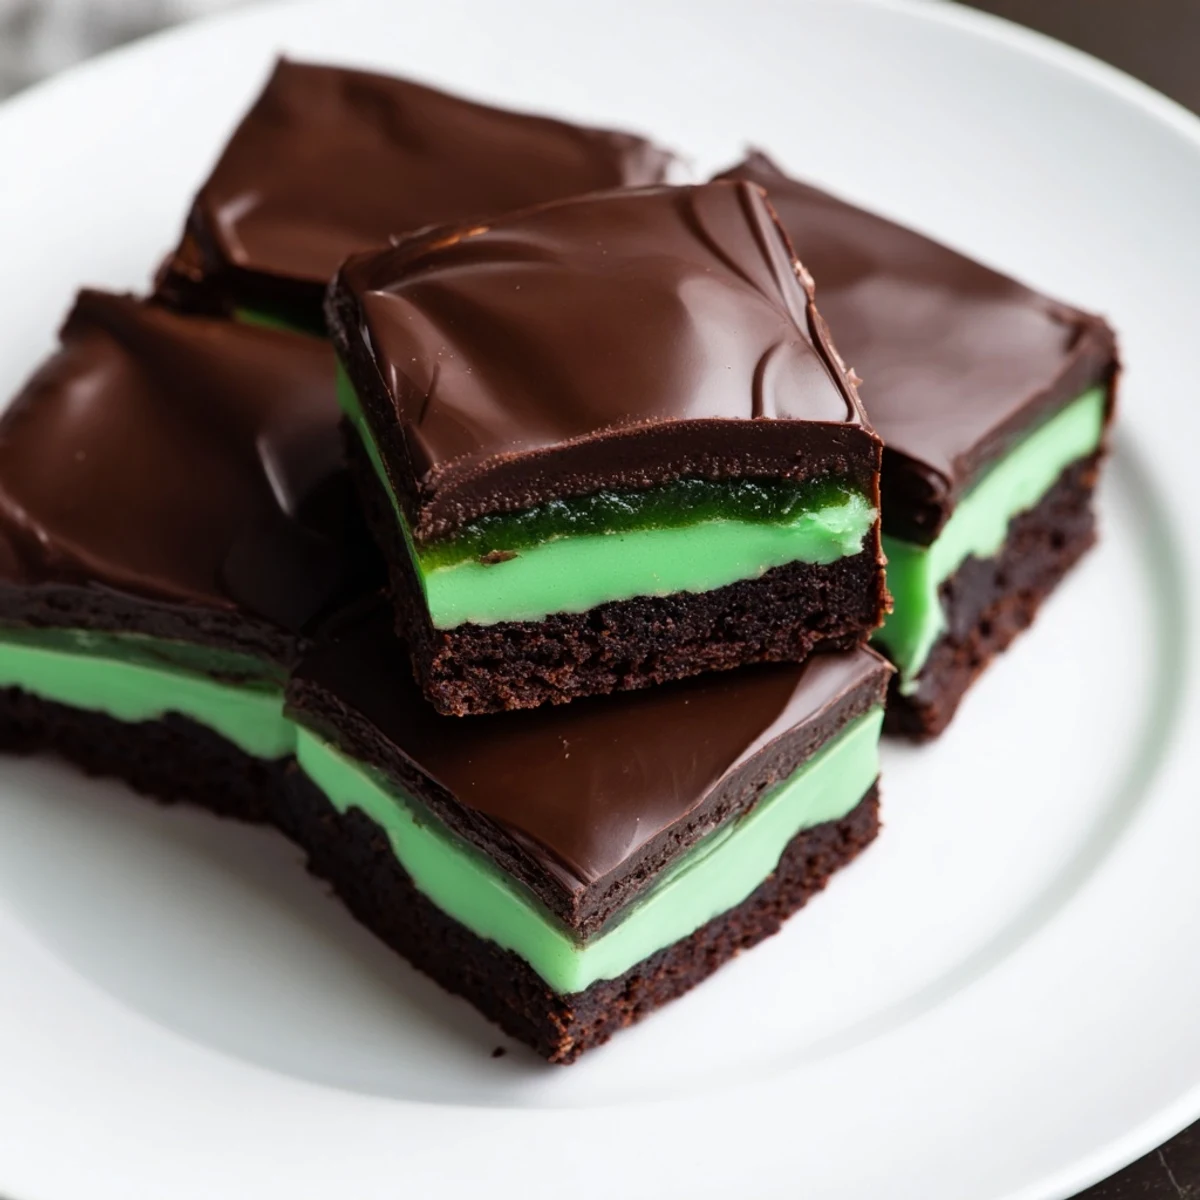
Pin These Shamrock Mint Brownies feature a fudgy chocolate base layered with a creamy mint filling and finished with a smooth chocolate ganache. The combination of rich chocolate and refreshing mint creates a perfect balance of flavors. After baking the dense brownie layer, a fluffy peppermint-infused cream is spread on top before chilling. Finally, a glossy chocolate ganache is poured over, then chilled again for a firm finish. Ideal for special occasions or satisfying a mint-chocolate craving, these treat squares cut cleanly and store well chilled.
Last winter, during that stretch of gray weekends where every day felt the same, I found myself craving something that felt like a celebration. I came across an old magazine clipping with mint and chocolate layered together, and something about the vibrant green peeking through dark chocolate made my kitchen feel cheerful again. The first batch disappeared so fast that my husband started asking when I'd accidentally make too much again.
My sister came over unexpectedly while I was making the mint layer, and she literally stood at the counter eating the scraps off the spatula. We ended up having an impromptu tasting party right there, both of us with chocolate smeared somewhere on our faces, deciding that maybe St. Patricks Day needed to be a weekly holiday instead of an annual one.
Ingredients
- 115 g unsalted butter: Melt this slowly with the chocolate for the smoothest brownie base possible
- 120 g semisweet chocolate chips: Choose good quality chips since the chocolate flavor is the star here
- 200 g granulated sugar: This creates the crackly top that everyone fights over
- 2 large eggs: Room temperature eggs incorporate better into the batter
- 1 tsp vanilla extract: Pure vanilla makes the chocolate taste more chocolatey
- 80 g all-purpose flour: Do not overmix or the brownies lose their fudgy texture
- 1/4 tsp salt: Balances the sweetness and enhances the chocolate flavor
- 60 g unsalted butter softened: Room temperature butter whips into the fluffiest mint layer
- 180 g powdered sugar: Sift this first to avoid lumps in your mint cream
- 2 tbsp whole milk: Add gradually to get the perfect spreadable consistency
- 1/2 tsp peppermint extract: Start with less than you think because it intensifies over time
- Green food coloring: A tiny drop goes a long way toward that festive look
- 120 g semisweet chocolate chips: These melt into the most luxurious ganache topping
- 60 ml heavy cream: Heat this until you see steam but do not let it boil
- 1 tbsp unsalted butter: This secret ingredient makes the ganache extra glossy
Instructions
- Melt the chocolate foundation:
- Set a heatproof bowl over simmering water and melt butter with chocolate chips, stirring gently until completely smooth and glossy like liquid silk.
- Build the brownie batter:
- Whisk in sugar until dissolved, then beat in eggs one at a time followed by vanilla, and fold in flour and salt just until no white streaks remain.
- Bake to fudgy perfection:
- Spread the batter in your lined pan and bake until a toothpick comes out with moist crumbs, then let cool completely because the mint layer will slide right off warm brownies.
- Whip up the mint cream:
- Beat softened butter until fluffy, gradually incorporate powdered sugar, then mix in milk and peppermint extract until silky smooth, adding food coloring drop by drop.
- Layer and chill:
- Spread the mint filling evenly over the completely cooled brownies and refrigerate for at least 30 minutes or the ganache will mix into the mint instead of sitting on top.
- Create the chocolate crown:
- Heat cream until steaming hot, pour over chocolate chips and butter, let stand for 2 minutes, then stir until you have a mirror smooth ganache.
- Finish with finesse:
- Pour the ganache over the chilled mint layer and spread gently, then chill until set before slicing with a warm knife for those picture perfect clean edges.
 Pin
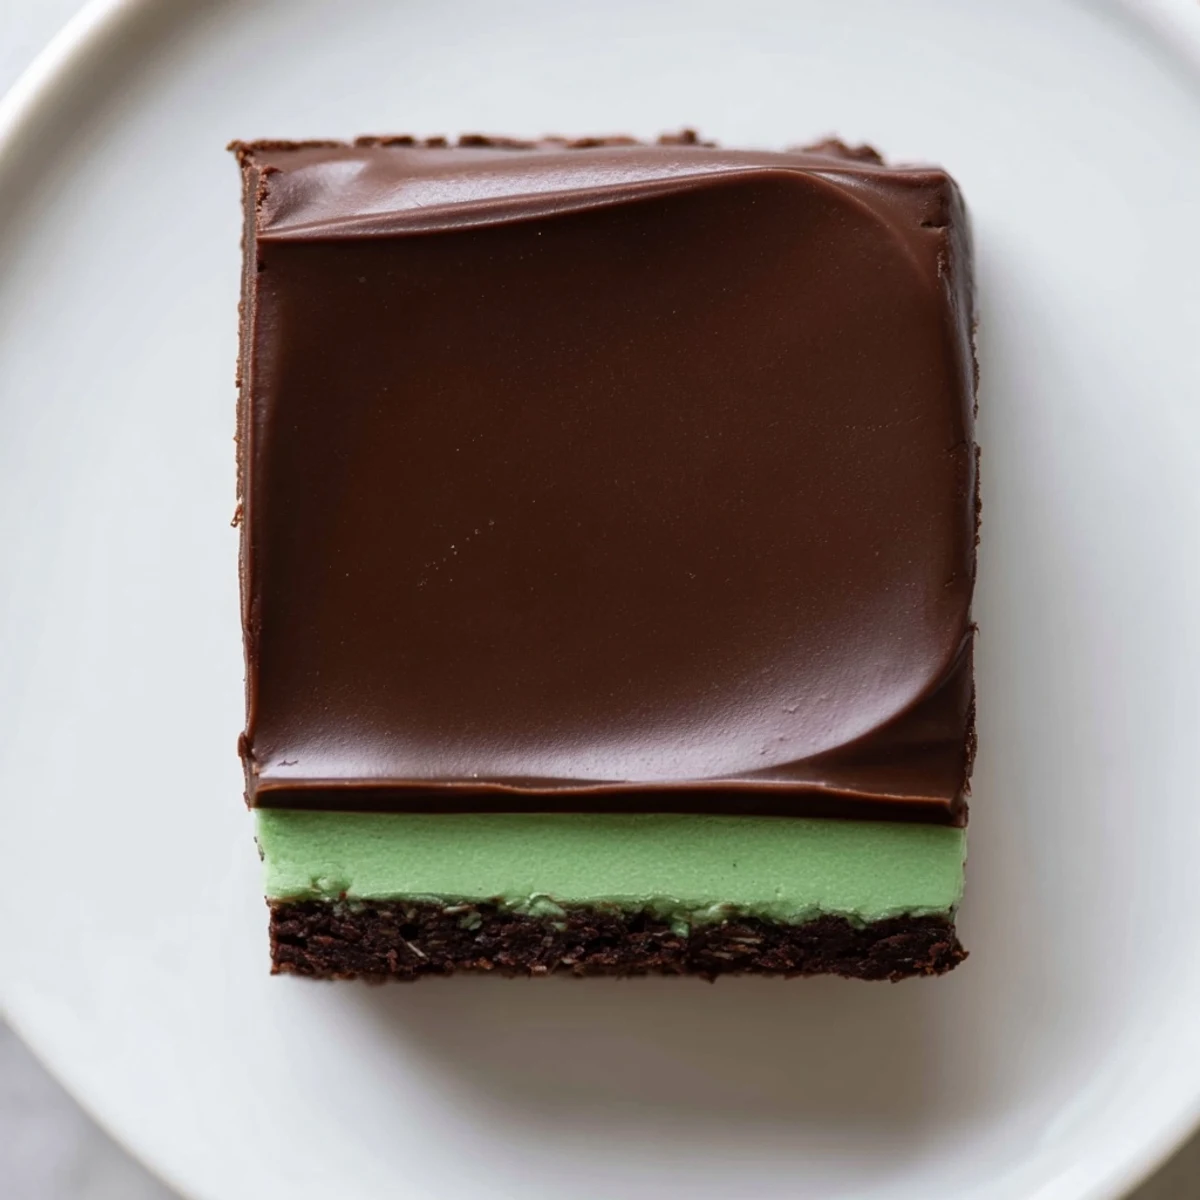
Pin These became my go-to contribution for every spring gathering last year. There is something deeply satisfying about bringing out a pan of these and watching people is eyes light up when they see that green layer peeking through the chocolate.
Getting The Layers Right
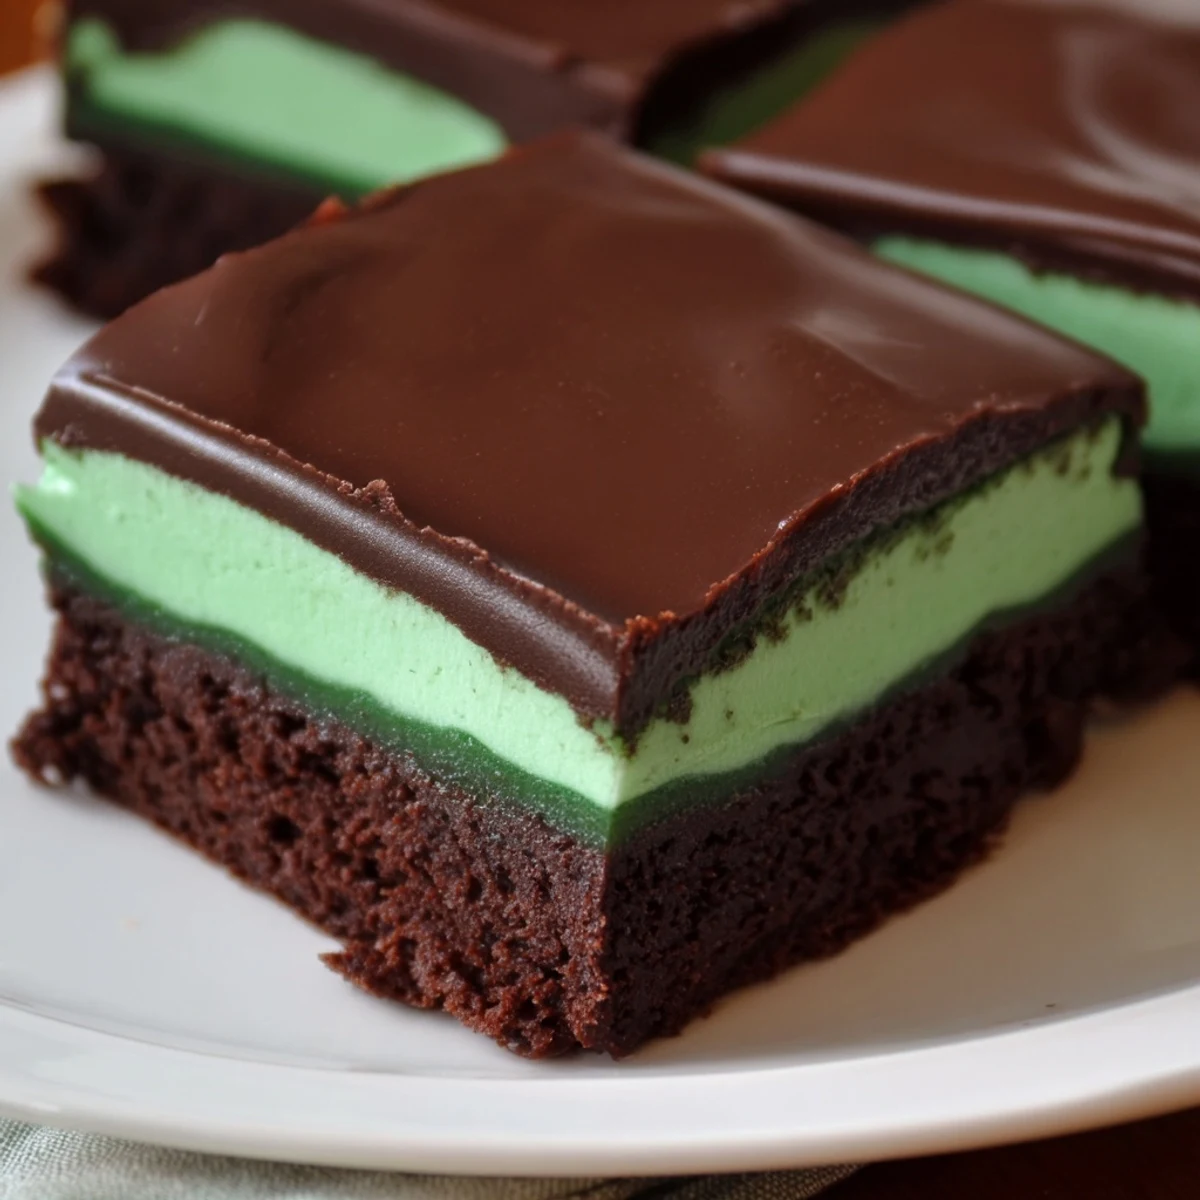
I learned the hard way that patience is not optional here. The brownie base must be completely cool before adding the mint cream, and the mint layer needs proper chilling time before the ganache goes on. Rush any step and the layers start to blend together, which still tastes delicious but loses that stunning striped effect that makes these special.
Making It Your Own
Sometimes I skip the food coloring entirely for a more sophisticated look. The mint flavor comes through just as beautifully, and the white cream against dark chocolate looks incredibly elegant. You could also swap the mint extract for coffee or orange extract depending on your mood.
Serving And Storage
These actually improve after a day in the refrigerator as the flavors meld together. Serve them slightly chilled for the best contrast between the cool mint and the dense brownie layer.
- Bring to room temperature for 15 minutes before serving if you prefer a softer texture
- Store with parchment between layers in an airtight container to prevent sticking
- These freeze beautifully for up to 3 months if you need to get ahead for parties
 Pin
Pin Hope these bring some festive joy to your kitchen. They have a way of turning ordinary Tuesdays into celebrations.
Recipe Questions & Answers
- → How do I achieve a fudgy brownie texture?
-
Using a higher ratio of butter and chocolate, along with minimal flour, helps keep the brownies rich and fudgy rather than cakey.
- → Can I substitute peppermint extract with fresh mint?
-
Fresh mint can be infused into the cream, but peppermint extract provides a more intense and distinct mint flavor that complements chocolate better.
- → What's the best way to spread the mint cream evenly?
-
Ensure the brownies are completely cooled before spreading the mint cream using an offset spatula for smooth, even coverage.
- → How should I store the brownies to keep them fresh?
-
Store in an airtight container in the refrigerator for up to five days to maintain freshness and texture.
- → Can these brownies be made gluten-free?
-
Yes, substitute the all-purpose flour with a gluten-free blend suitable for baking to accommodate gluten-free diets.
