 Pin
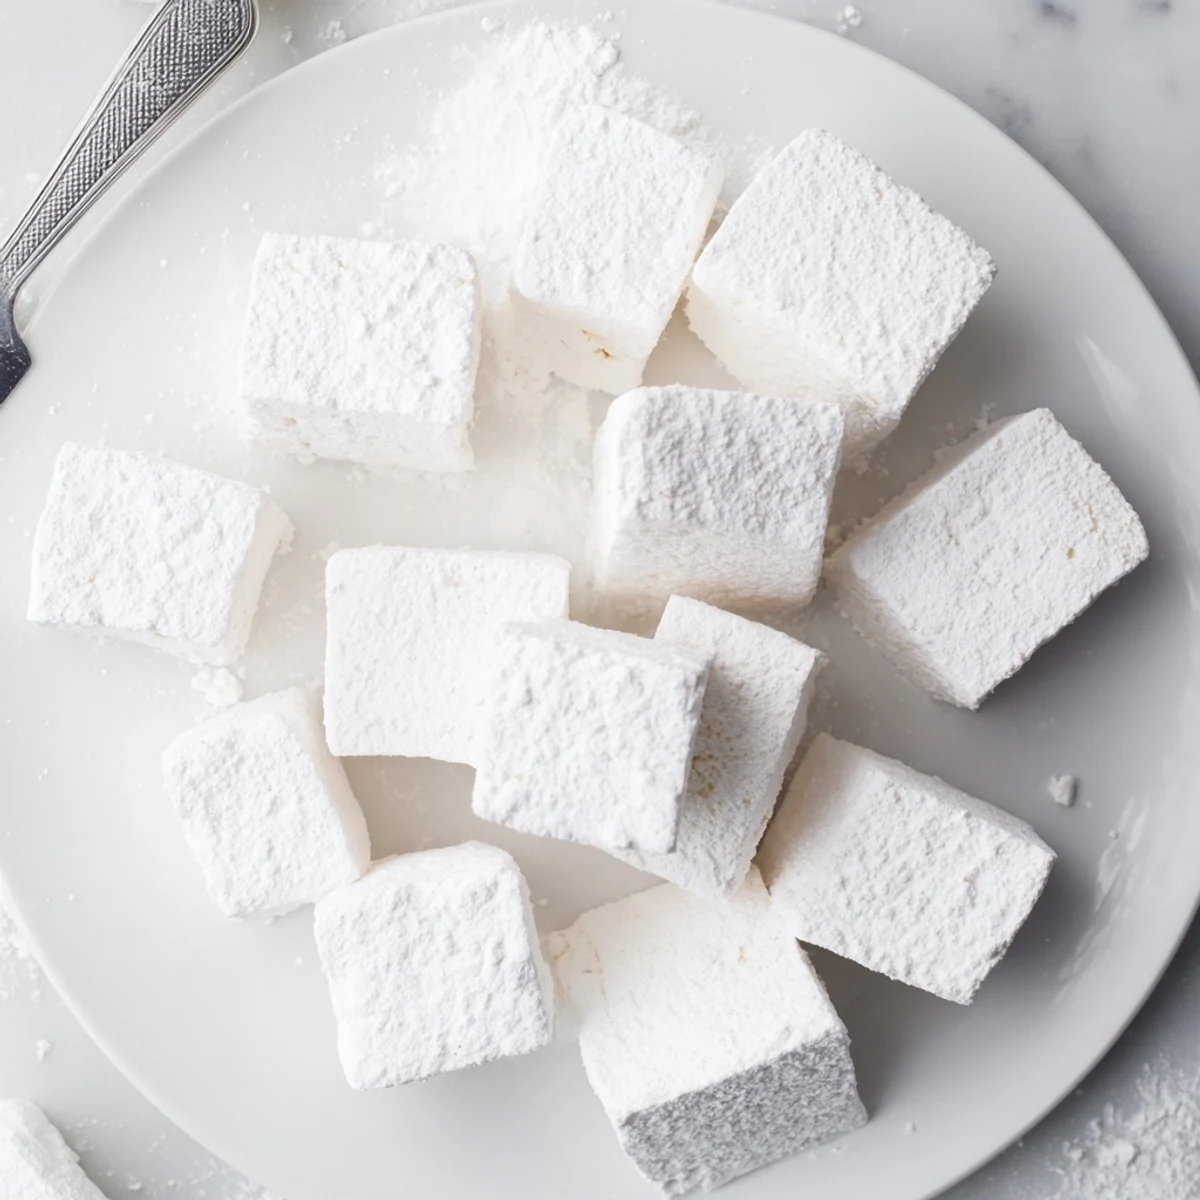
Pin These homemade marshmallows deliver the perfect balance of pillowy softness and sweet vanilla flavor. The process involves blooming gelatin, cooking a sugar syrup to precise temperature, then whipping the mixture until it triples in volume and becomes gloriously glossy. After setting for several hours, you'll have fluffy squares that elevate hot chocolate and make excellent gifts. Customizable with various extracts and colors, these confections are gluten-free and far superior to store-bought versions.
The first time I made marshmallows, I stood there staring at the mixer in disbelief as this glossy white cloud just kept growing and growing. Nothing in a baggie from the grocery store compares to watching sugar transform into something that feels alive in your bowl. My kitchen smelled like vanilla dreams, and I knew store bought would never cut it again.
I made a double batch for a winter party and watched adults turn into kids over homemade s'mores. Someone actually asked if I could teach them, which is how I know these are special enough to share.
Ingredients
- Granulated sugar: The foundation of your syrup and creates that perfect sweet base
- Light corn syrup: Prevents crystallization and keeps marshmallows soft and chewy
- Unflavored gelatin: The magic ingredient that gives marshmallows their signature bounce
- Pure vanilla extract: Use the good stuff here since it shines through in every bite
- Confectioners sugar and cornstarch: Essential dusting mixture keeps everything from sticking
Instructions
- Prep your pan and bloom the gelatin:
- Lightly grease a 9x9 inch pan and dust it with equal parts confectioners sugar and cornstarch. In your stand mixer bowl, sprinkle the gelatin over cold water and let it soften while you work on the syrup.
- Cook the sugar syrup:
- Combine granulated sugar, corn syrup, water, and salt in a medium saucepan. Stir over medium heat until dissolved, then stop stirring and let it boil until it reaches exactly 240 degrees F.
- Whip it into fluff:
- With the mixer on low, carefully pour the hot syrup into the gelatin. Gradually increase to high speed and beat for 10 to 12 minutes until the mixture has tripled in volume and looks like glossy white clouds.
- Add vanilla and spread:
- Beat in the vanilla during the final minute of mixing. Quickly scrape into your prepared pan using a greased spatula and smooth the top before it sets.
- Let it set and cut:
- Dust the top with more sugar mixture and let it sit uncovered for at least 4 hours. Flip onto a cutting board, slice into squares, and toss each piece in the remaining coating.
 Pin
Pin My niece helped me cut peppermint marshmallows last December, and we ended up with pink dusted everything from food coloring. Best kitchen mess I have ever made.
Making It Your Own
The vanilla version is classic, but swapping in peppermint extract transforms these into holiday essentials. Almond extract creates something sophisticated, and a drop of food coloring during that final minute makes them feel festive and special.
Timing Your Setup
Four hours feels like forever when you want to taste them, but letting them set completely makes cutting so much easier. I usually start them in the morning so they are ready by dinner time.
Storage And Gifting
These keep beautifully in an airtight container for up to a week, though they rarely last that long in my house. Layer them between parchment paper to prevent sticking.
- Package them in clear bags with pretty ribbon for instant gifts
- Dip half in chocolate for an extra special treat
- Keep a batch ready for unexpected hot chocolate cravings
 Pin
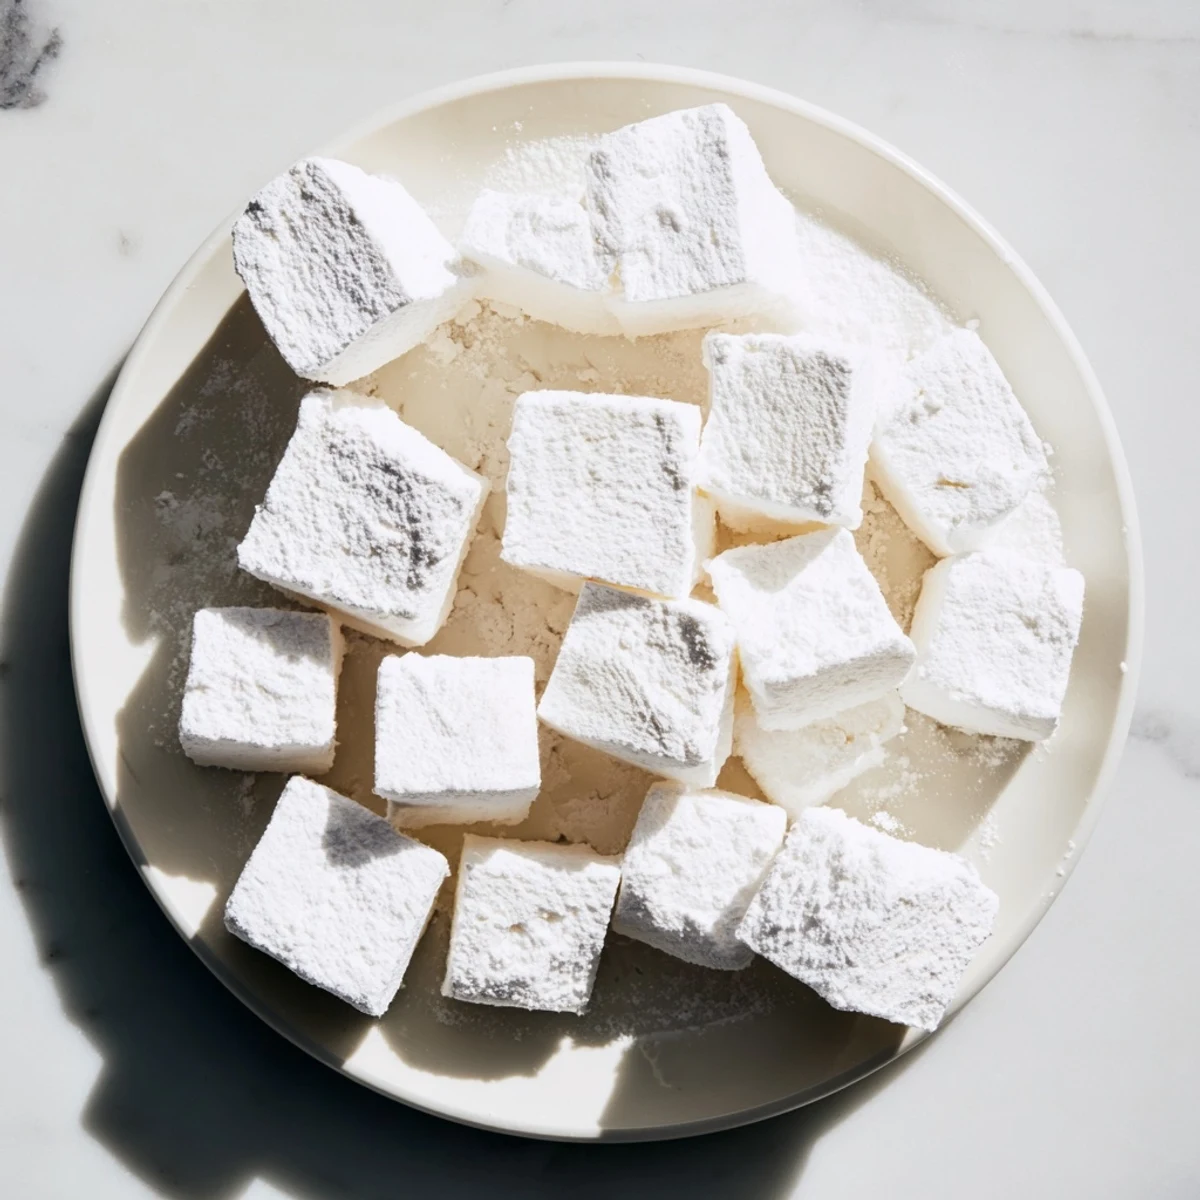
Pin There is something deeply satisfying about making something from scratch that most people only know from a plastic bag. Once you taste homemade, you will understand why these are worth every minute.
Recipe Questions & Answers
- → Why do I need a candy thermometer?
-
A candy thermometer ensures your sugar syrup reaches exactly 240°F (115°C), which is the soft-ball stage. This precise temperature creates marshmallows that hold their shape while remaining soft and chewy. Without it, you risk ending up with syrup that's too thin or overly firm.
- → Can I make these without a stand mixer?
-
While possible, a stand mixer makes the 10-12 minute whipping process much easier. If using a hand mixer, you'll need significant arm stamina and patience. The mixture must be whipped until tripled in volume and glossy—this develops the proper texture.
- → Why must the gelatin bloom before adding the syrup?
-
Blooming allows gelatin granules to absorb water and soften evenly. When the hot syrup hits the bloomed gelatin, it melts completely and distributes smoothly throughout the mixture. Skipping this step can result in grainy or lumpy marshmallows.
- → How do I store homemade marshmallows?
-
Keep them in an airtight container at room temperature for up to one week. Layer between parchment paper and dust generously with the cornstarch-confectioners sugar blend to prevent sticking. Avoid refrigeration, which makes them unpleasantly hard.
- → Can I make these vegan-friendly?
-
Traditional marshmallows require gelatin, which isn't vegan. However, you can substitute with agar powder or carrageenan, though the texture will differ slightly. Follow specific vegan marshmallow recipes as the ratios and techniques vary from this gelatin-based version.
