 Pin
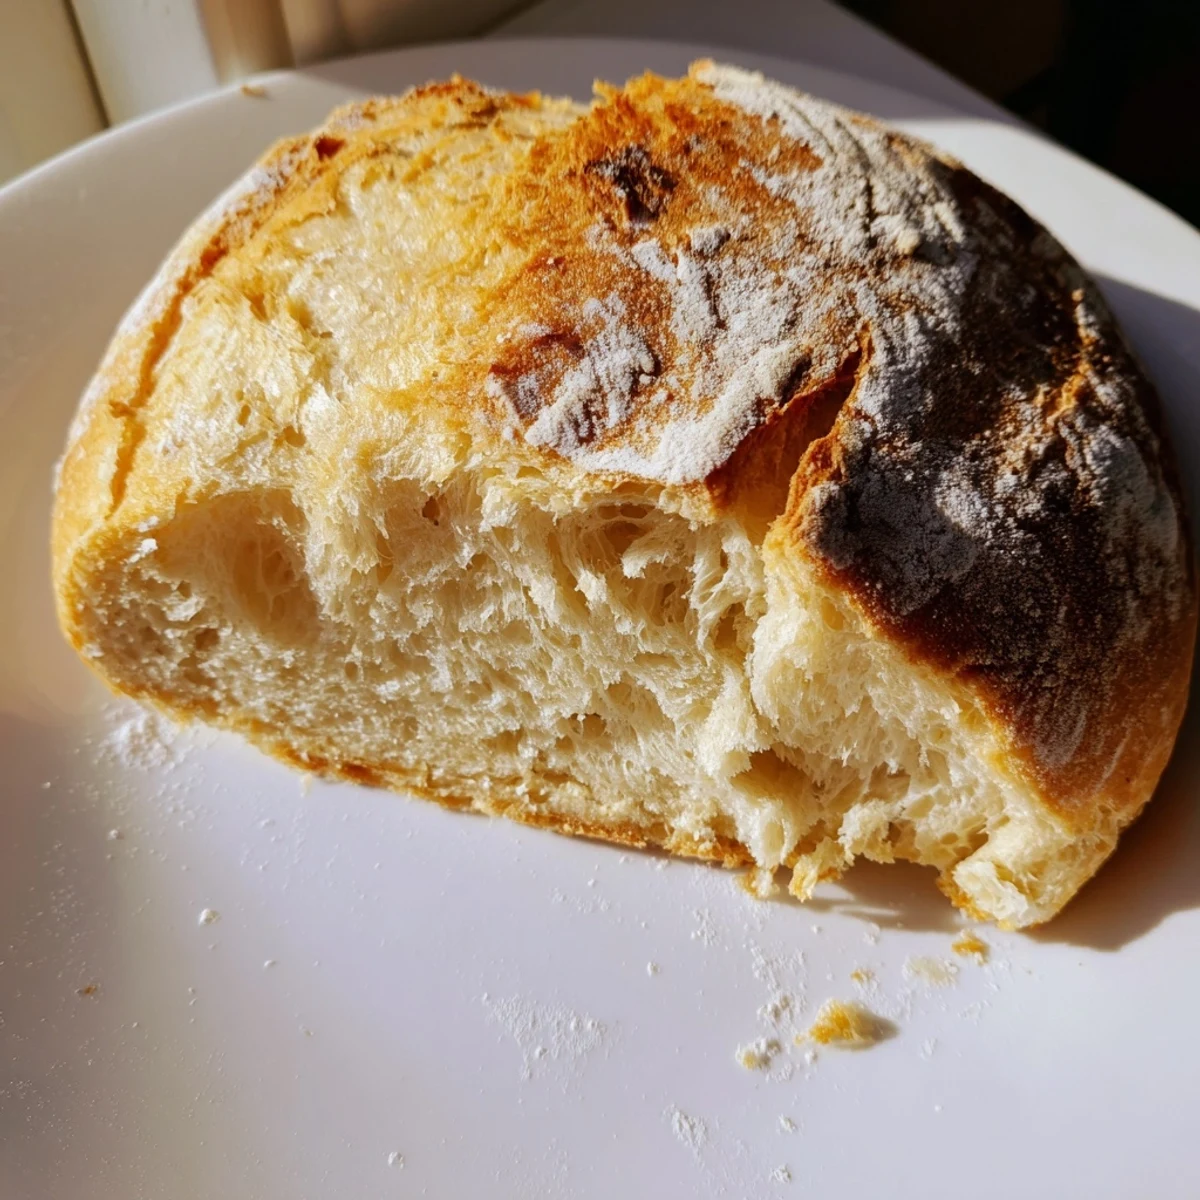
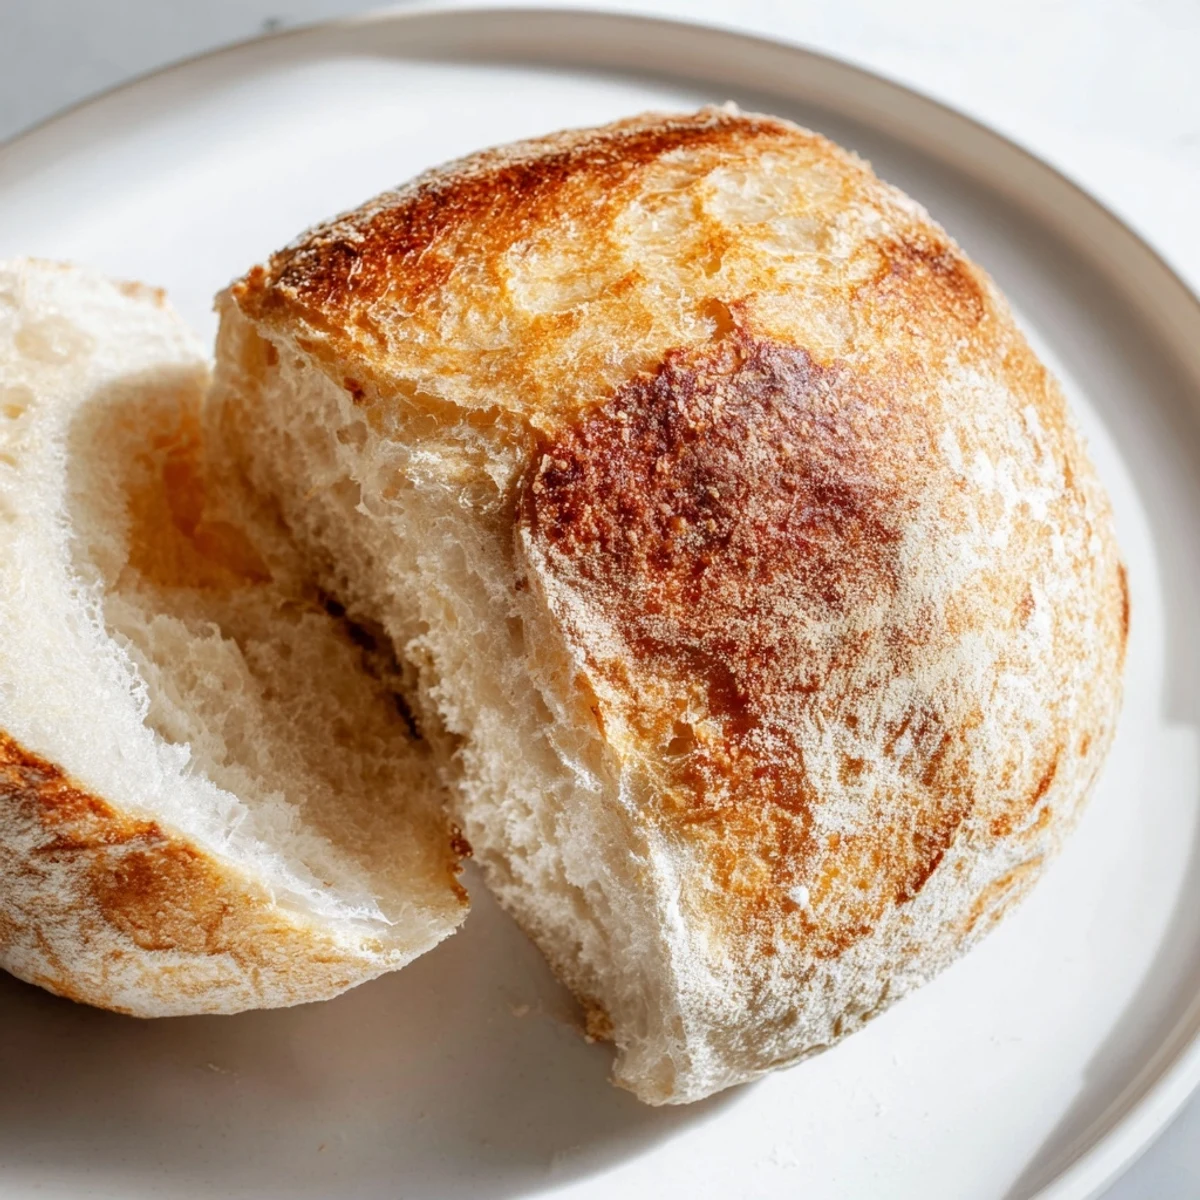
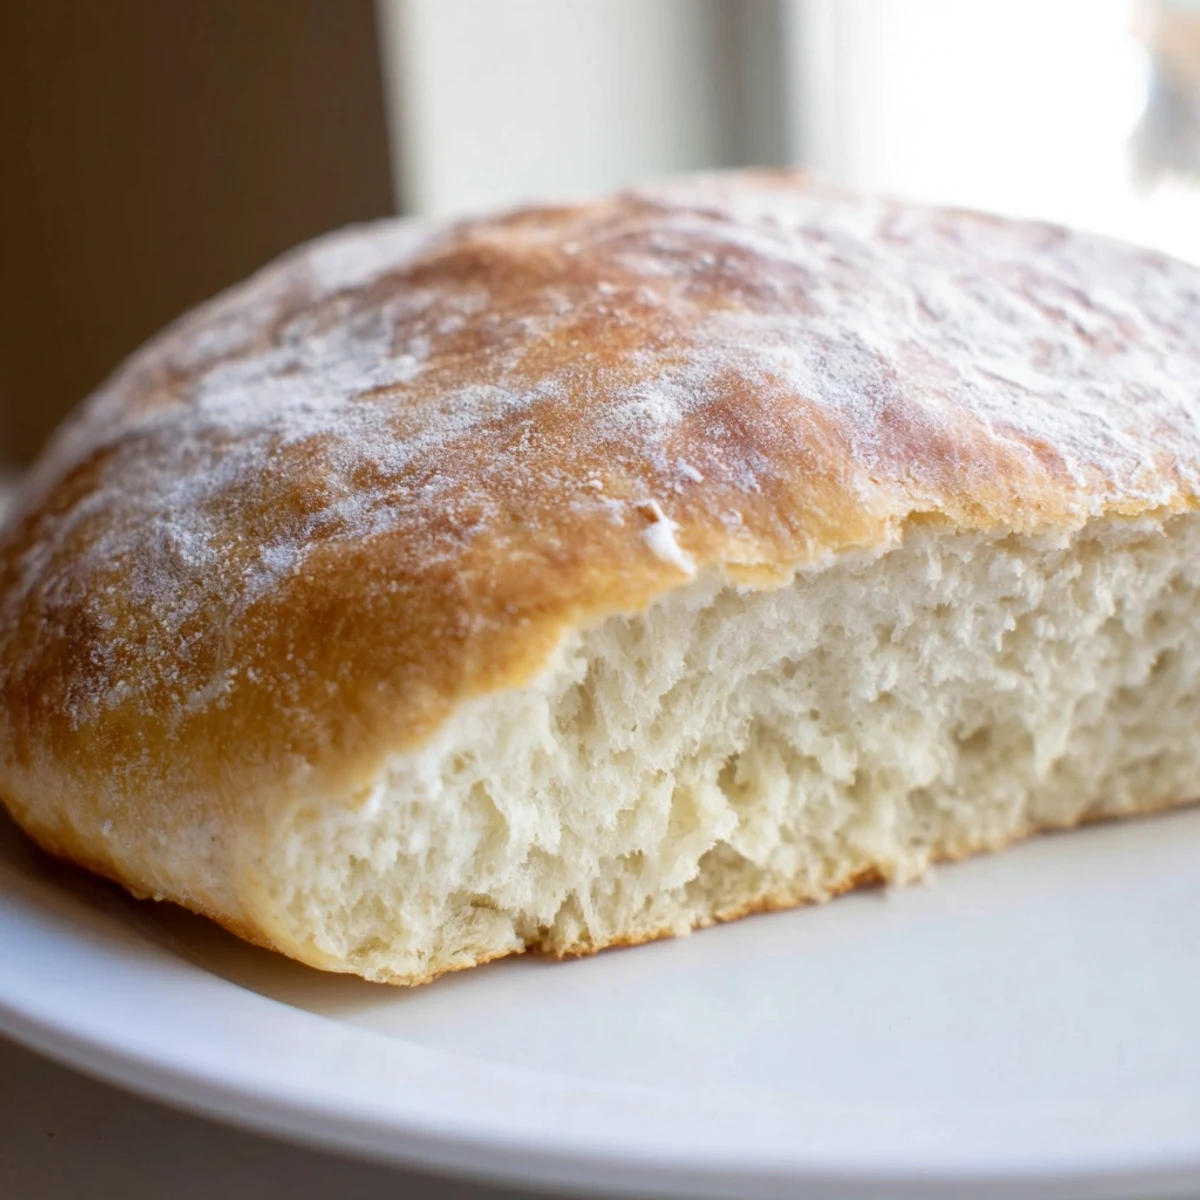
Pin This stovetop bread delivers soft, fluffy results without requiring an oven. The dough comes together with just flour, yeast, sugar, salt, olive oil, and warm water. After a simple kneading process and one-hour rise, the bread cooks in a covered skillet over low heat, developing a golden crust while staying tender inside.
The method works beautifully for anyone without oven access or wanting fresh bread in a hurry. The technique relies on gentle, even heating in a heavy pan—essentially creating a mini-oven environment. Total hands-on time is minimal, mostly for kneading and flipping halfway through cooking.
Adding dried herbs like rosemary or thyme elevates the flavor profile, while serving warm with butter brings out the best texture. Best enjoyed the same day, though leftovers reheat easily in a pan or toaster.
The rain was pounding against my kitchen window last winter when I discovered you dont actually need an oven to make bread happen. Id been craving something warm and doughy for hours, but my oven had died three days earlier and wouldnt be fixed until the weekend. That damp gray afternoon taught me that a heavy skillet and some patience can work absolute magic.
My roommate walked in mid-rise and asked why I was staring intently at a bowl covered with a tea towel. When I flipped that first loaf in the skillet and the smell hit us both, we ended up eating half the bread standing right there at the counter. Sometimes the best discoveries happen when you work with what you have.
Ingredients
- 2 ½ cups all-purpose flour: This creates just the right structure without becoming dense
- 1 ½ teaspoons instant dry yeast: Instant yeast cuts down on wait time and rises beautifully
- 1 teaspoon sugar: Feeds the yeast and helps that gorgeous golden color develop
- 1 teaspoon salt: Essential for flavor balance and dough structure
- 1 tablespoon olive oil: Keeps the crumb tender and adds lovely richness
- 1 cup warm water: Should feel like bath temperature on your wrist, around 110°F
Instructions
- Mix the dry foundation:
- Combine flour, yeast, sugar, and salt in a large bowl, whisking until everything feels evenly distributed
- Bring it together:
- Pour in the warm water and olive oil, then stir with your wooden spoon until a shaggy, sticky dough forms
- Knead until smooth:
- Turn onto a floured surface and knead for 8 to 10 minutes until the dough feels silky and springs back when you poke it
- Let it rise:
- Place in an oiled bowl, cover with a damp cloth, and tuck it somewhere warm for about an hour until it has doubled
- Shape your loaf:
- Punch down gently, form into a round, and place in a greased skillet with the smooth side up
- The first cook:
- Cover tightly with a lid and cook on the absolute lowest heat setting for 15 minutes, checking that the bottom isnt getting too dark
- Flip and finish:
- Carefully turn the loaf over, cover again, and cook another 12 to 15 minutes until golden and it sounds hollow when tapped
- Rest before slicing:
- Let cool on a wire rack for at least 15 minutes because cutting into hot bread will make it gummy
 Pin
Pin Last month during a power outage, I made this bread by the light of a camping lantern. My kids thought it was the best adventure dinner ever, slathering warm slices with peanut butter by flashlight. That night proved that wonderful food happens regardless of circumstances.
Getting That Perfect Rise
Ive learned that finding the warmest spot in your kitchen makes all the difference. Sometimes I preheat my oven for literally one minute, then turn it off and let the dough rise inside. The residual heat creates this cozy little environment that makes yeast go absolutely wild.
Mastering the Skillet Technique
The weight of your skillet actually matters here. Heavier pans distribute heat more evenly and prevent those frustrating burned spots. If you only have a lightweight pan, consider using a heat diffuser or simply checking the bottom more frequently during that first 15 minutes.
Serving Ideas That Work
This bread has become my go-to for impromptu dinner guests because it feels special without requiring advance planning. The texture is perfect for soaking up soups or stews. Try these serving approaches:
- Toast slices in butter and top with garlic and parsley for instant garlic bread
- Dip warm pieces in olive oil mixed with cracked pepper and flaky salt
- Use day old slices to make the most incredible grilled cheese sandwiches
 Pin
Pin Theres something deeply satisfying about making bread with nothing but a burner and a pan. I hope this recipe finds you on a day when you need a little kitchen magic.
Recipe Questions & Answers
- → Can I make this bread without a lid?
-
A tight-fitting lid is essential for trapping heat and creating steam, which helps the bread cook evenly and develop proper texture. Without it, the bread won't bake through properly. If you don't have a lid, try using a baking sheet or large plate that covers your skillet completely.
- → Why cook on the lowest heat setting?
-
Low heat prevents the bottom from burning while allowing the interior to cook completely. The trapped steam and gentle heat mimic an oven environment. Cooking too high will scorch the crust before the center finishes baking.
- → How do I know when the bread is done?
-
The bread should sound hollow when tapped on the bottom, and both sides should be golden brown. If you're unsure, you can insert a thermometer—it should read around 190-200°F (87-93°C) in the center.
- → Can I use whole wheat flour?
-
You can substitute up to half the all-purpose flour with whole wheat flour. Keep in mind that whole wheat absorbs more liquid, so you may need to add a bit more warm water. The texture will be denser and heartier.
- → What size skillet works best?
-
A 10-12 inch skillet with a heavy bottom provides the best results. The weight ensures even heat distribution, while the size allows room for the dough to expand slightly as it cooks. Cast iron or high-quality stainless steel works particularly well.
- → Can I double this batch?
-
You can double the dough ingredients, but you'll need to cook in two separate batches or use a larger pan. Overcrowding prevents proper heat circulation and results in unevenly cooked bread. Better to make two smaller loaves.
