 Pin
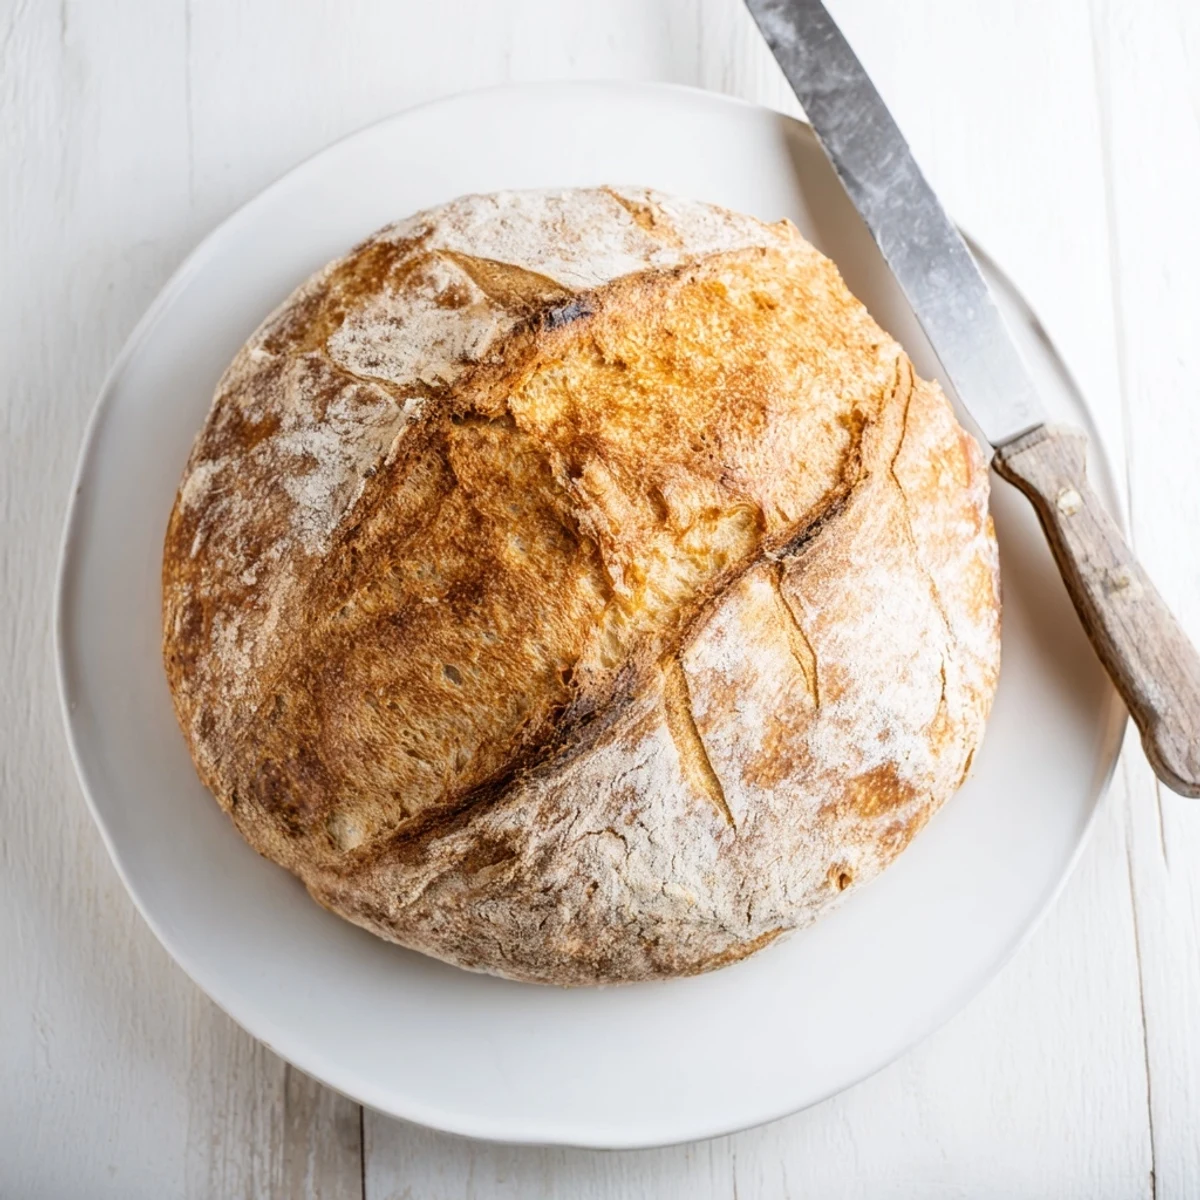
Pin This rustic European-style loaf delivers bakery-quality results with just four basic ingredients. The dough requires minimal kneading and develops beautifully through a simple rise-and-bake method. Perfect for first-time bakers, the technique creates that coveted crackly crust and tender, airy interior that makes homemade bread irresistible.
Theres nothing quite like the smell of fresh bread filling your kitchen on a rainy afternoon. I started making this rustic loaf during a particularly grey winter when comfort food was the only thing that seemed to make sense. The first time I pulled it from the oven, my roommate appeared instantly, drawn by the aroma like a cartoon character floating toward a pie on a windowsill. That golden crust crackling as it cooled is still one of my favorite kitchen sounds.
I once served this bread at a dinner party where I completely forgot to make dessert. Everyone was too busy tearing off chunks of the still warm loaf, slathering it with butter, and asking for the recipe to notice. That accidental success taught me that sometimes the simplest things steal the show.
Ingredients
- Bread flour: The higher protein content creates that beautifully chewy interior and gives the dough structure to rise tall
- Instant yeast: No need to proof it first, just mix it right in with the flour for a foolproof rise
- Lukewarm water: Think bathwater temperature, hot enough to wake up the yeast but not cook it
- Salt: Do not skip this, it is what transforms flour and water into something you actually want to eat
- Cornmeal or semolina: This prevents the dough from sticking and adds a subtle crunch to the bottom crust
Instructions
- Mix the dough:
- Combine your flour, salt, and yeast in a large bowl, then pour in the water and stir until everything comes together into a shaggy, sticky mass
- Let it rise:
- Cover the bowl and walk away for 1 to 2 hours until the dough has puffed up dramatically, looking bubbly and alive
- Shape the loaf:
- Turn the dough onto a floured surface, fold the edges underneath to create tension, and form it into a rough ball
- Second rest:
- Place your dough on parchment paper, cover it, and let it relax for 30 minutes while you heat the oven to 450°F
- Create steam:
- If you have a Dutch oven, put it in the oven now so it gets screaming hot, which creates the steam that makes a crispy crust
- Score and bake:
- Use a sharp knife to slash the top, then bake covered for 25 minutes before removing the lid for another 15 minutes until deeply golden
 Pin
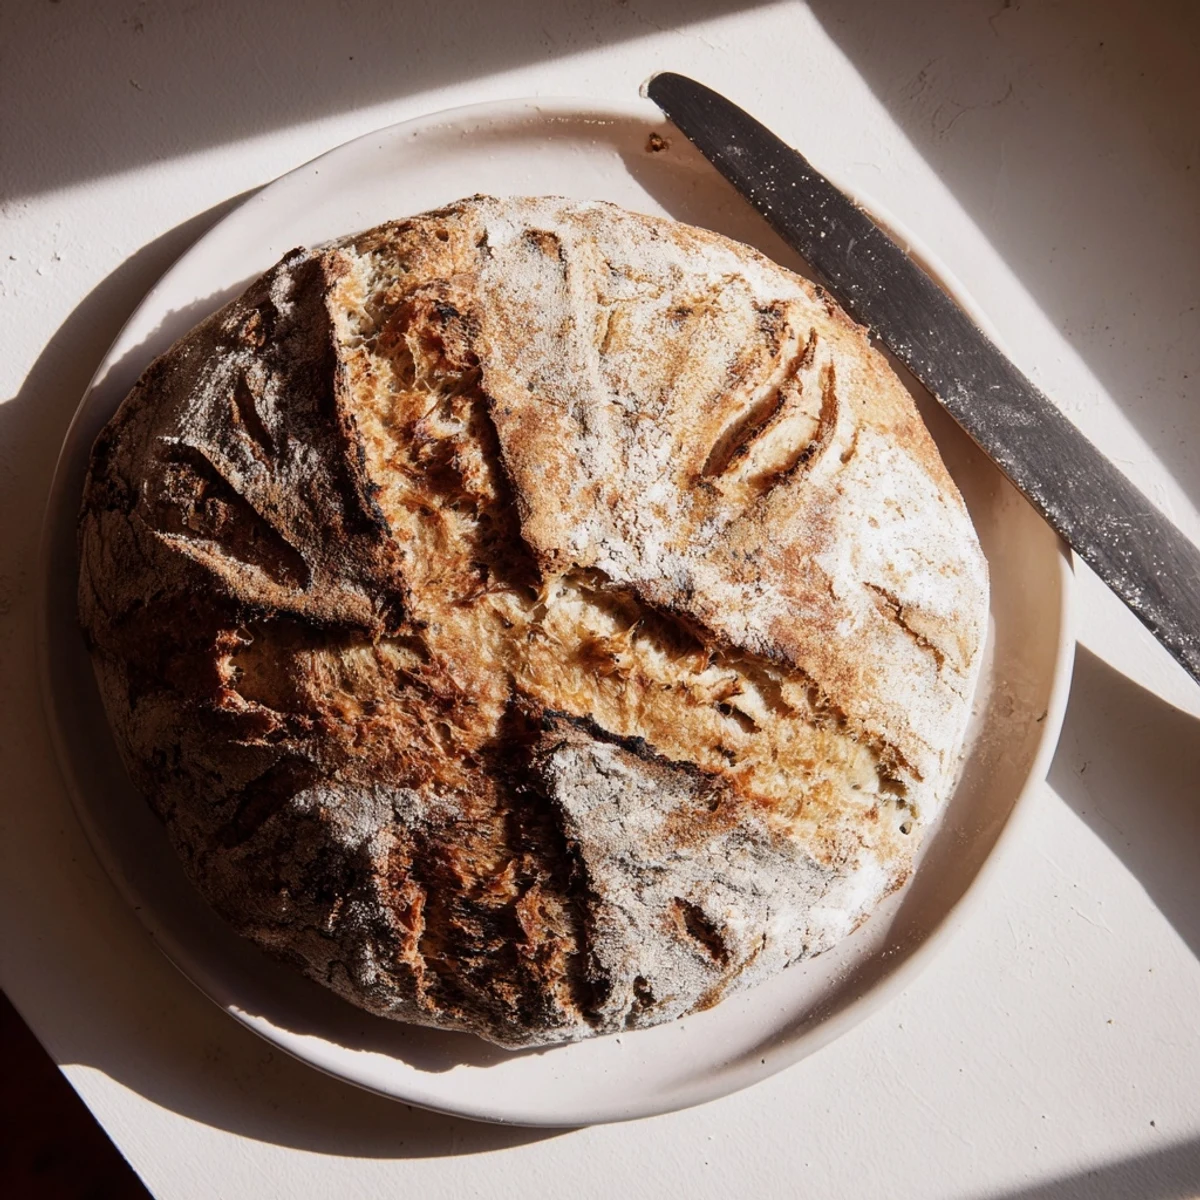
Pin This bread became a weekend ritual during a season when I was learning to slow down. Something about waiting for dough to rise forces you to be patient, and the reward is so worth it.
Getting The Best Crust
The secret to restaurant style crust is steam, which is why a Dutch oven works so well. If you do not have one, you can create steam by throwing a few ice cubes into a metal pan on the bottom rack of your oven when you put the bread in. The sudden burst of steam transforms the surface of the dough into that crackly, golden exterior that makes the most satisfying sound when you squeeze it.
Customizing Your Loaf
Once you have the basic method down, this recipe becomes a canvas. Try adding chopped rosemary and roasted garlic to the dough for a savory version, or mix in olives and sun dried tomatoes for a Mediterranean twist. I have even added cubes of cheddar cheese that melt into pockets throughout the bread. Just keep the flour to water ratio the same and you can experiment endlessly.
Storage And Serving
Homemade bread is best eaten the same day, because it does not have the preservatives that keep store bought bread soft for days. Store any leftovers in a paper bag, which lets the bread breathe and keeps the crust from getting soft. If it does go slightly stale, do not worry, just slice it and toast it, or cut into cubes and bake with olive oil for croutons that will make your salads legendary.
- Let the bread cool completely before slicing or the steam will escape and make the interior gummy
- A serrated knife works best for cutting through that crusty exterior without squishing the soft inside
- This bread freezes beautifully wrapped tightly in foil and thawed in a 350°F oven for 10 minutes
 Pin
Pin There is something deeply satisfying about making your own bread, like you are participating in an ancient human tradition. Grab some butter and enjoy every warm, crusty bite.
Recipe Questions & Answers
- → What makes this bread rustic?
-
The rustic character comes from the high-heat baking method and simple dough formulation. The crust develops deep golden color and crackle, while the interior stays moist and chewy with irregular air pockets typical of artisan European loaves.
- → Can I make this without a Dutch oven?
-
Absolutely. While a Dutch oven creates ideal steam for crust development, a heavy baking sheet or pizza stone works well. Place a metal pan with ice cubes on the bottom rack while baking to generate steam for better crust formation.
- → How do I know when the bread is done?
-
The crust should be deep golden brown, and when you tap the bottom of the loaf, it should sound hollow. An instant-read thermometer inserted into the center should read 190-200°F (88-93°C) for fully baked bread.
- → Why does the dough need to rest before baking?
-
The final 30-minute rest allows the gluten to relax after shaping, which helps the dough expand evenly in the oven. This step also improves the texture, creating a more open crumb structure inside the finished loaf.
- → What's the purpose of scoring the bread?
-
Scoring creates a controlled weak point in the dough's surface, allowing steam to escape and the bread to expand properly during baking. This prevents ugly tearing and creates that beautiful artisan bloom pattern on the crust.
- → Can I add other ingredients to the dough?
-
Yes. Try adding chopped rosemary, thyme, or roasted garlic. You can also mix in olives, sun-dried tomatoes, or shredded cheese. Keep additions to 1/2 cup or less to maintain the dough structure and rise.
