 Pin
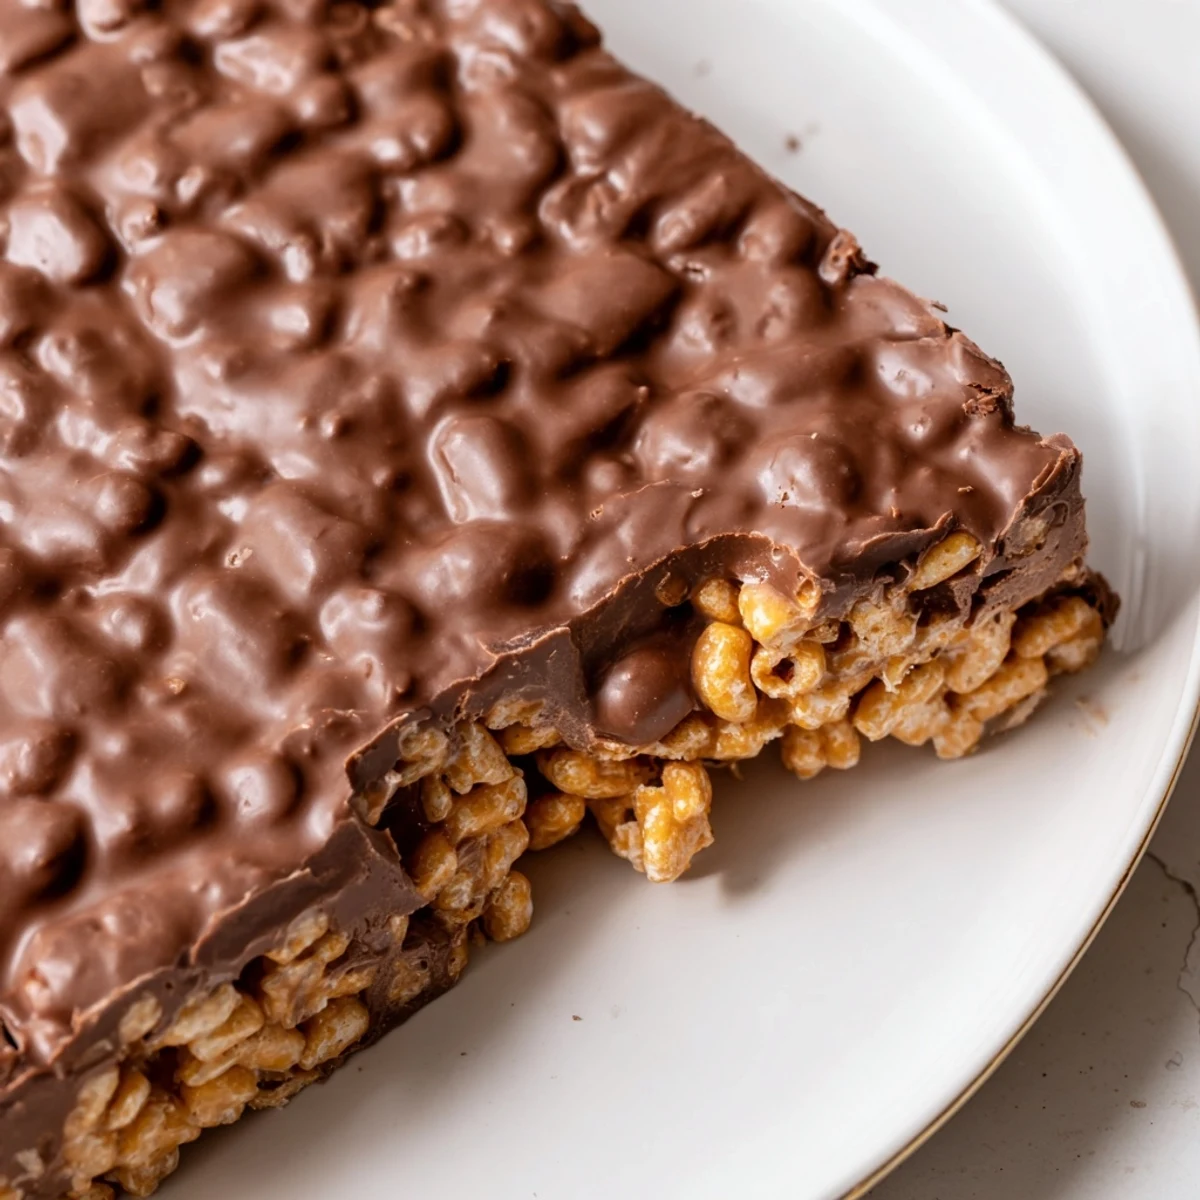
Pin These sweet and crunchy no-bake bars combine gluten-free Honey Chex cereal with a creamy peanut butter and honey mixture, topped with smooth chocolate. Ready in just 15 minutes of prep time, these bars require no oven—simply melt, mix, press, and chill for an hour. The result is a perfectly balanced treat with satisfying crunch from the cereal, rich nuttiness from peanut butter, natural sweetness from honey, and a decadent chocolate finish.
Rainy Saturday afternoons were made for recipes like this one. I discovered these bars during a week when my oven had completely given up the ghost, and I was desperate for something sweet without relying on store-bought treats. The crunch of Honey Chex combined with that chocolate-peanut butter duo turned out to be exactly the comfort food I needed.
I brought these to a book club meeting once, and honestly, people were more interested in the recipe than the actual book discussion. My friend Sarah called me two days later begging for the recipe because her husband had finished the entire batch. Now they are my go-to contribution whenever I need something that looks impressive but barely requires any effort.
Ingredients
- 4 cups gluten-free Honey Chex cereal: The honey variety adds just enough sweetness without being cloying, and the gluten-free version ensures everyone can enjoy them
- 1 cup creamy peanut butter: Use the natural stuff or regular creamy peanut butter, either works beautifully here
- 1/2 cup honey: This acts as your binder and adds a floral sweetness that pairs perfectly with the peanut butter
- 1/4 cup unsalted butter: Helps everything melt together smoothly and adds that richness we all crave in treats
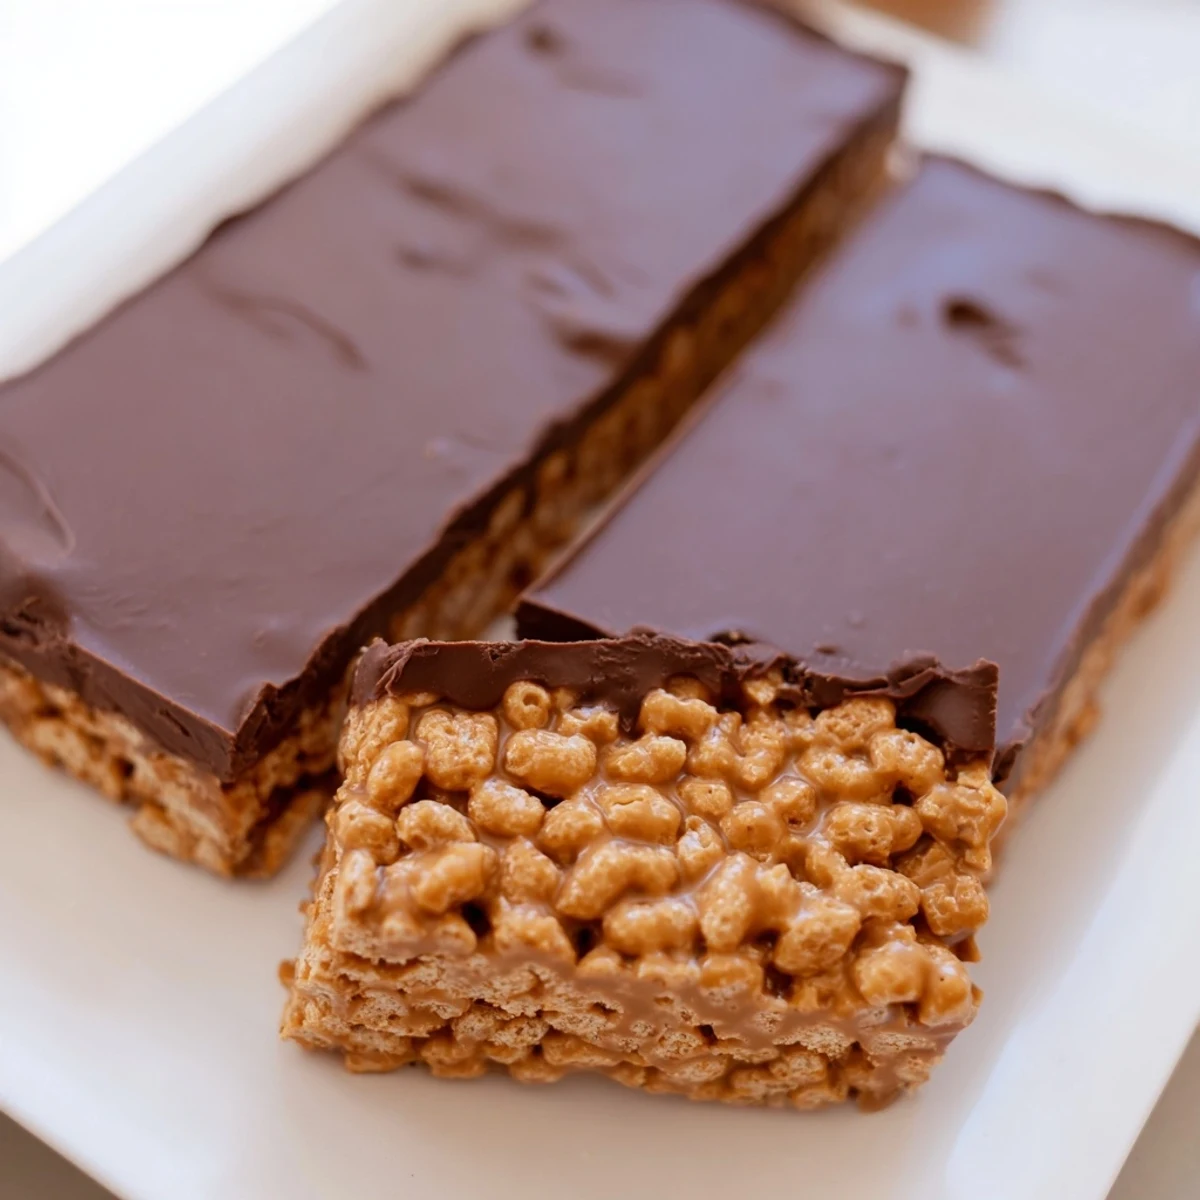
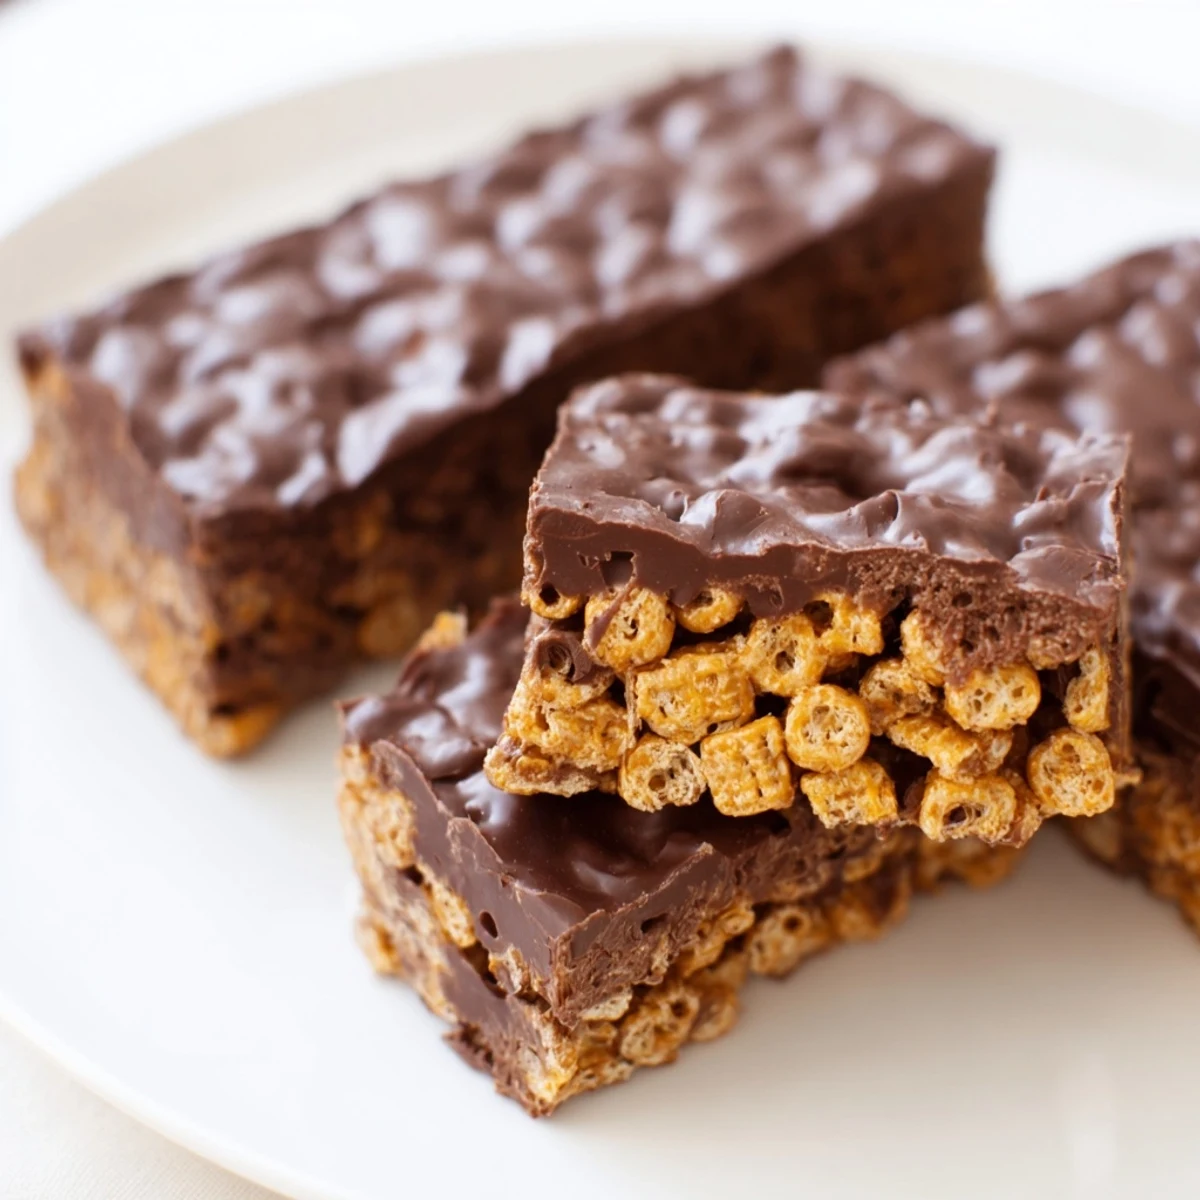
- 1 cup semisweet chocolate chips: Make sure they are certified gluten-free, and semisweet balances the sweet base perfectly
- 2 tablespoons creamy peanut butter: This little trick makes the chocolate topping glossy and prevents it from cracking when you cut the bars
Instructions
- Prep your pan:
- Line an 8x8-inch baking pan with parchment paper, letting the edges hang over like little handles that will help you lift the bars out later
- Mix the sticky base:
- In a large saucepan over medium-low heat, melt the peanut butter, honey, and butter together, stirring until completely smooth and combined
- Coat the cereal:
- Gently fold in the Honey Chex cereal until every piece is coated in that glossy peanut butter mixture
- Press it in:
- Firmly press the mixture into your prepared pan using the back of a spoon or a spatula, getting it as even as possible
- Make the chocolate topping:
- Microwave the chocolate chips and remaining peanut butter together in thirty-second intervals, stirring between each, until completely smooth and glossy
- Spread and chill:
- Pour the chocolate over the cereal base and spread evenly, then refrigerate for at least one hour until everything is set
- Cut and serve:
- Lift the whole block out using the parchment handles and cut into sixteen squares, then try to eat just one
 Pin
Pin These became a Christmas tradition in our house after I made them on a whim one December when the holiday chaos had completely taken over. Now my kids start asking for them as soon as the decorations come out, and I happily oblige because they are so simple to make.
Storage Secrets
The refrigerator is your friend here. These bars actually get better after a day or two as the flavors meld together. Keep them in an airtight container and they will stay perfectly fresh for a whole week, assuming they last that long.
Flavor Variations
Sometimes I swap in sunflower seed butter for a nut-free version that tastes surprisingly similar. You could also add a pinch of flaky sea salt on top of the chocolate before it sets, which creates this incredible sweet and salty situation.
Serving Ideas
These bars work for everything from after-school snacks to dessert at dinner parties. Serve them slightly chilled so the chocolate layer is firm and satisfying. They pair wonderfully with a cold glass of milk or a hot cup of coffee.
- Cut them small for parties since they are quite rich
- Let them sit at room temperature for ten minutes before serving for the best texture
- Package them in little treat bags with ribbon for gifting
 Pin
Pin Hope these bring as much joy to your kitchen as they have to mine. Happy cooking!
Recipe Questions & Answers
- → Are these bars truly gluten-free?
-
Yes, when you use certified gluten-free Chex cereal and ensure your chocolate chips are gluten-free. Always check packaging for cross-contamination warnings.
- → Can I make these ahead of time?
-
Absolutely! These bars store beautifully in an airtight container in the refrigerator for up to one week, making them perfect for meal prep or advance party planning.
- → How do I get clean cuts when slicing?
-
Let the bars set completely in the refrigerator for at least one hour. Use a sharp knife warmed under hot water and wiped dry between cuts for clean edges.
- → Can I substitute the peanut butter?
-
Yes! Sunflower seed butter works well for a nut-free version. Almond butter or cashew butter also create delicious variations with slightly different flavor profiles.
- → Why add sea salt on top?
-
A sprinkle of flaky sea salt enhances the chocolate flavor and creates a delightful sweet-salty contrast that makes these bars taste more sophisticated and balanced.
- → Can I freeze these bars?
-
Yes, freeze individually wrapped bars for up to 3 months. Thaw in the refrigerator for best texture—the chocolate may bloom slightly but will still taste delicious.
